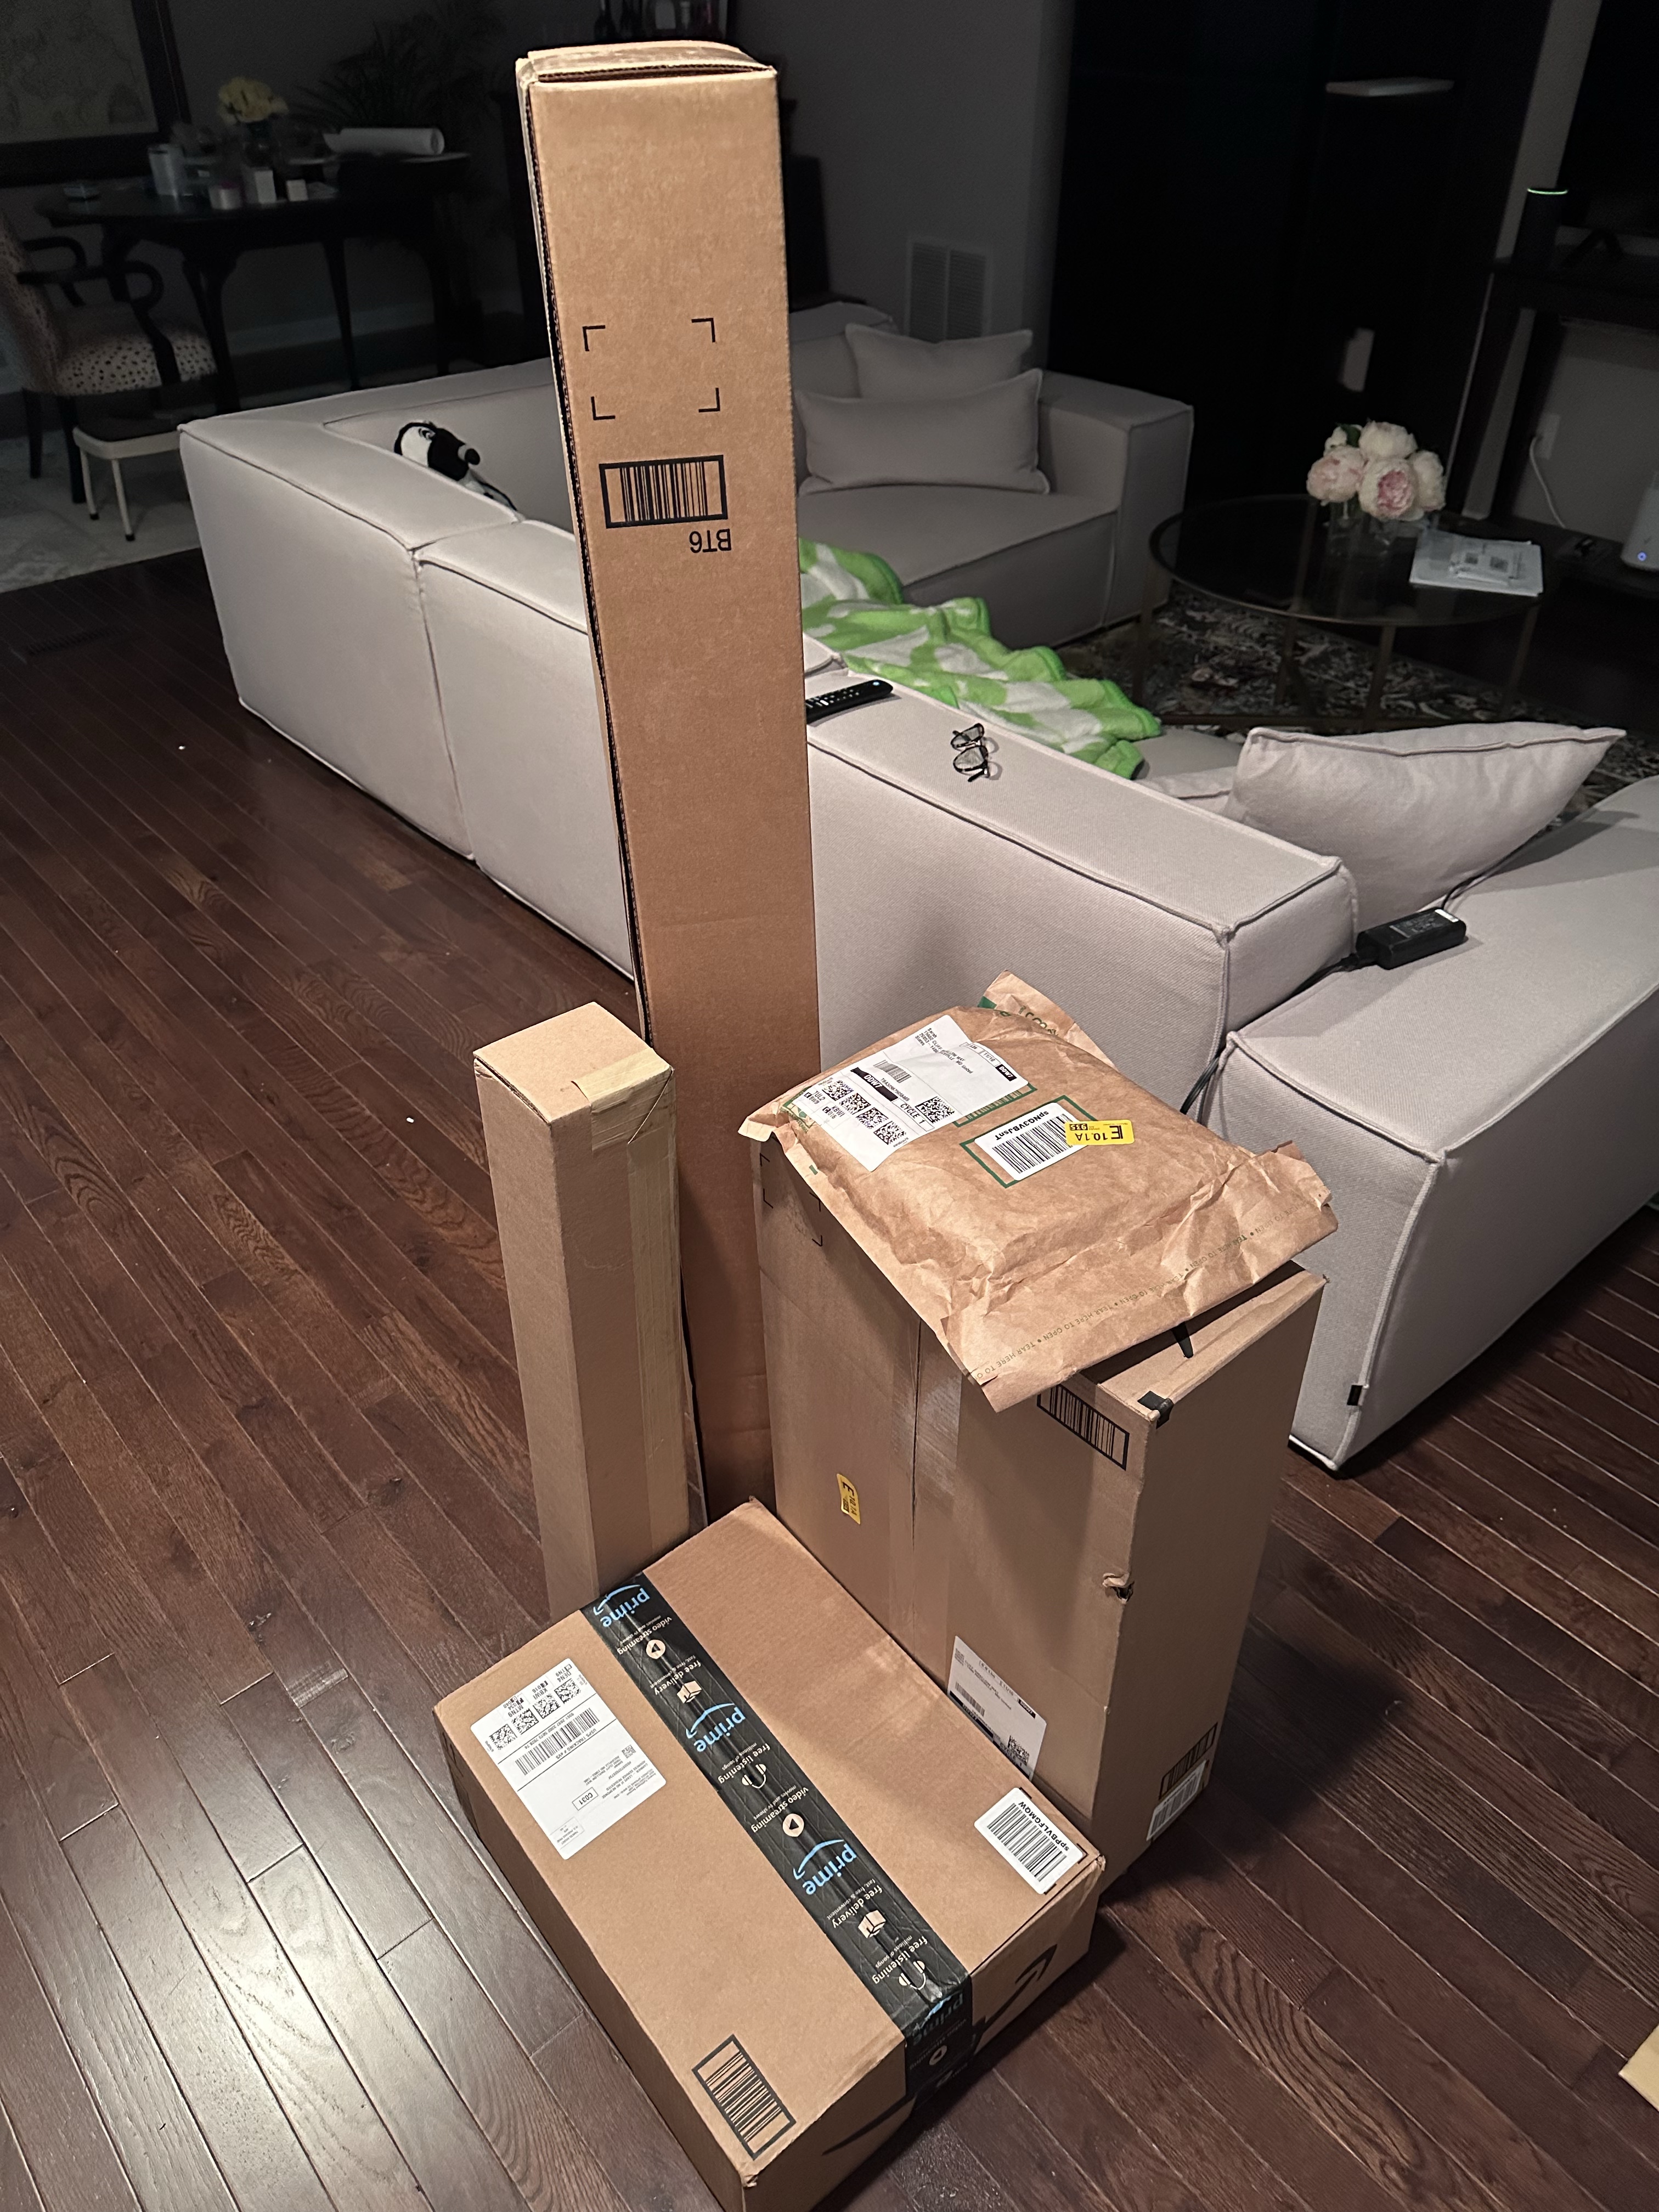
Time for another update! Things have been busy here, most recently with …
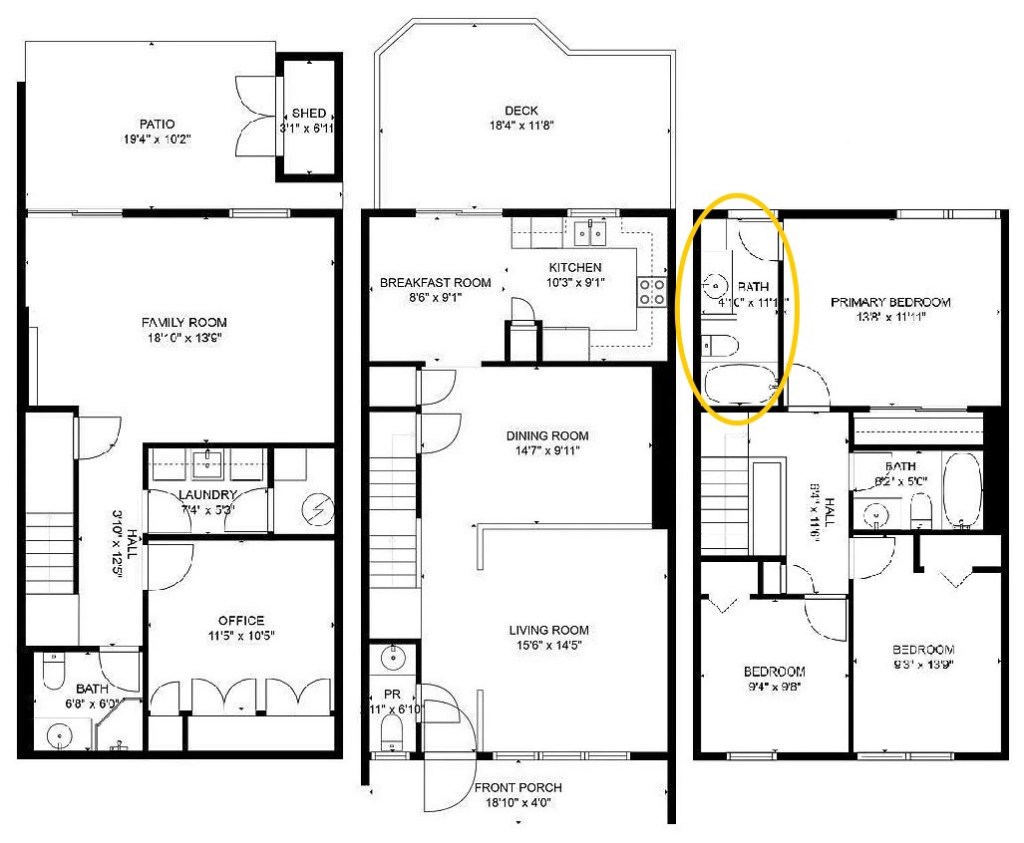
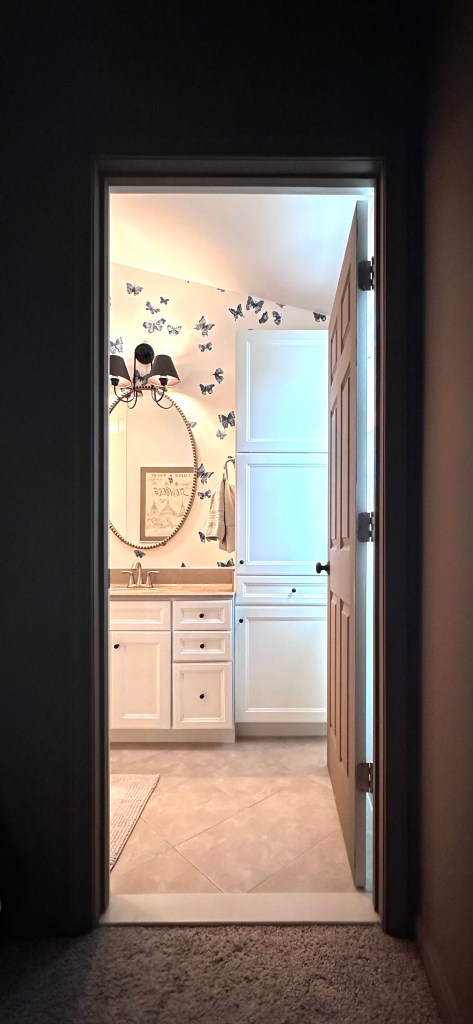
The primary bathroom! This was definitely my Roman Empire for a bit – just look at this peach masterpiece:
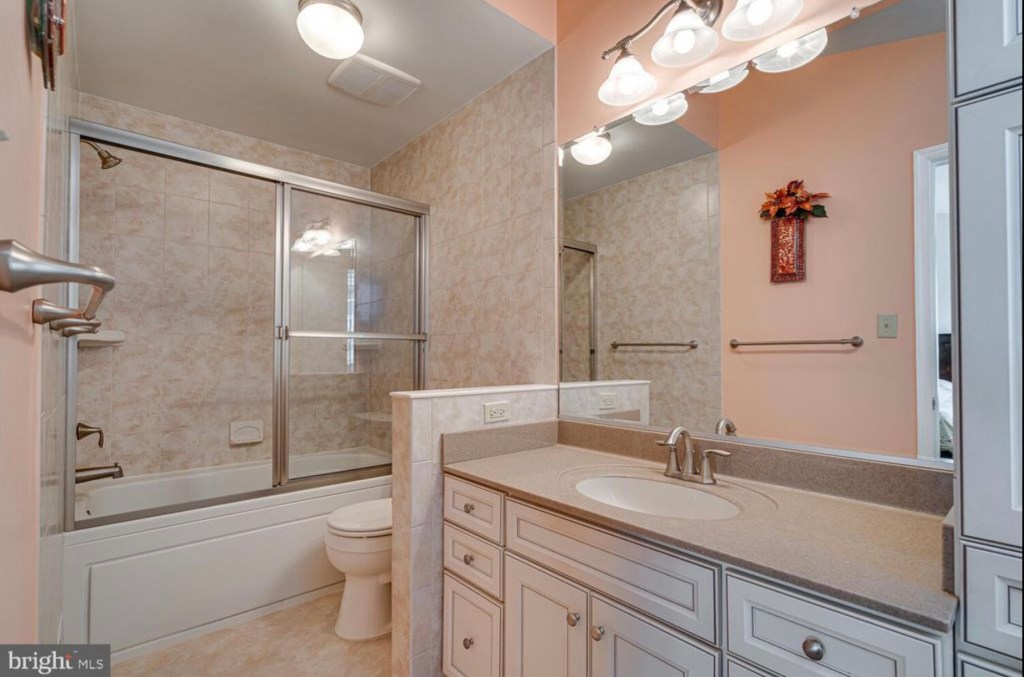
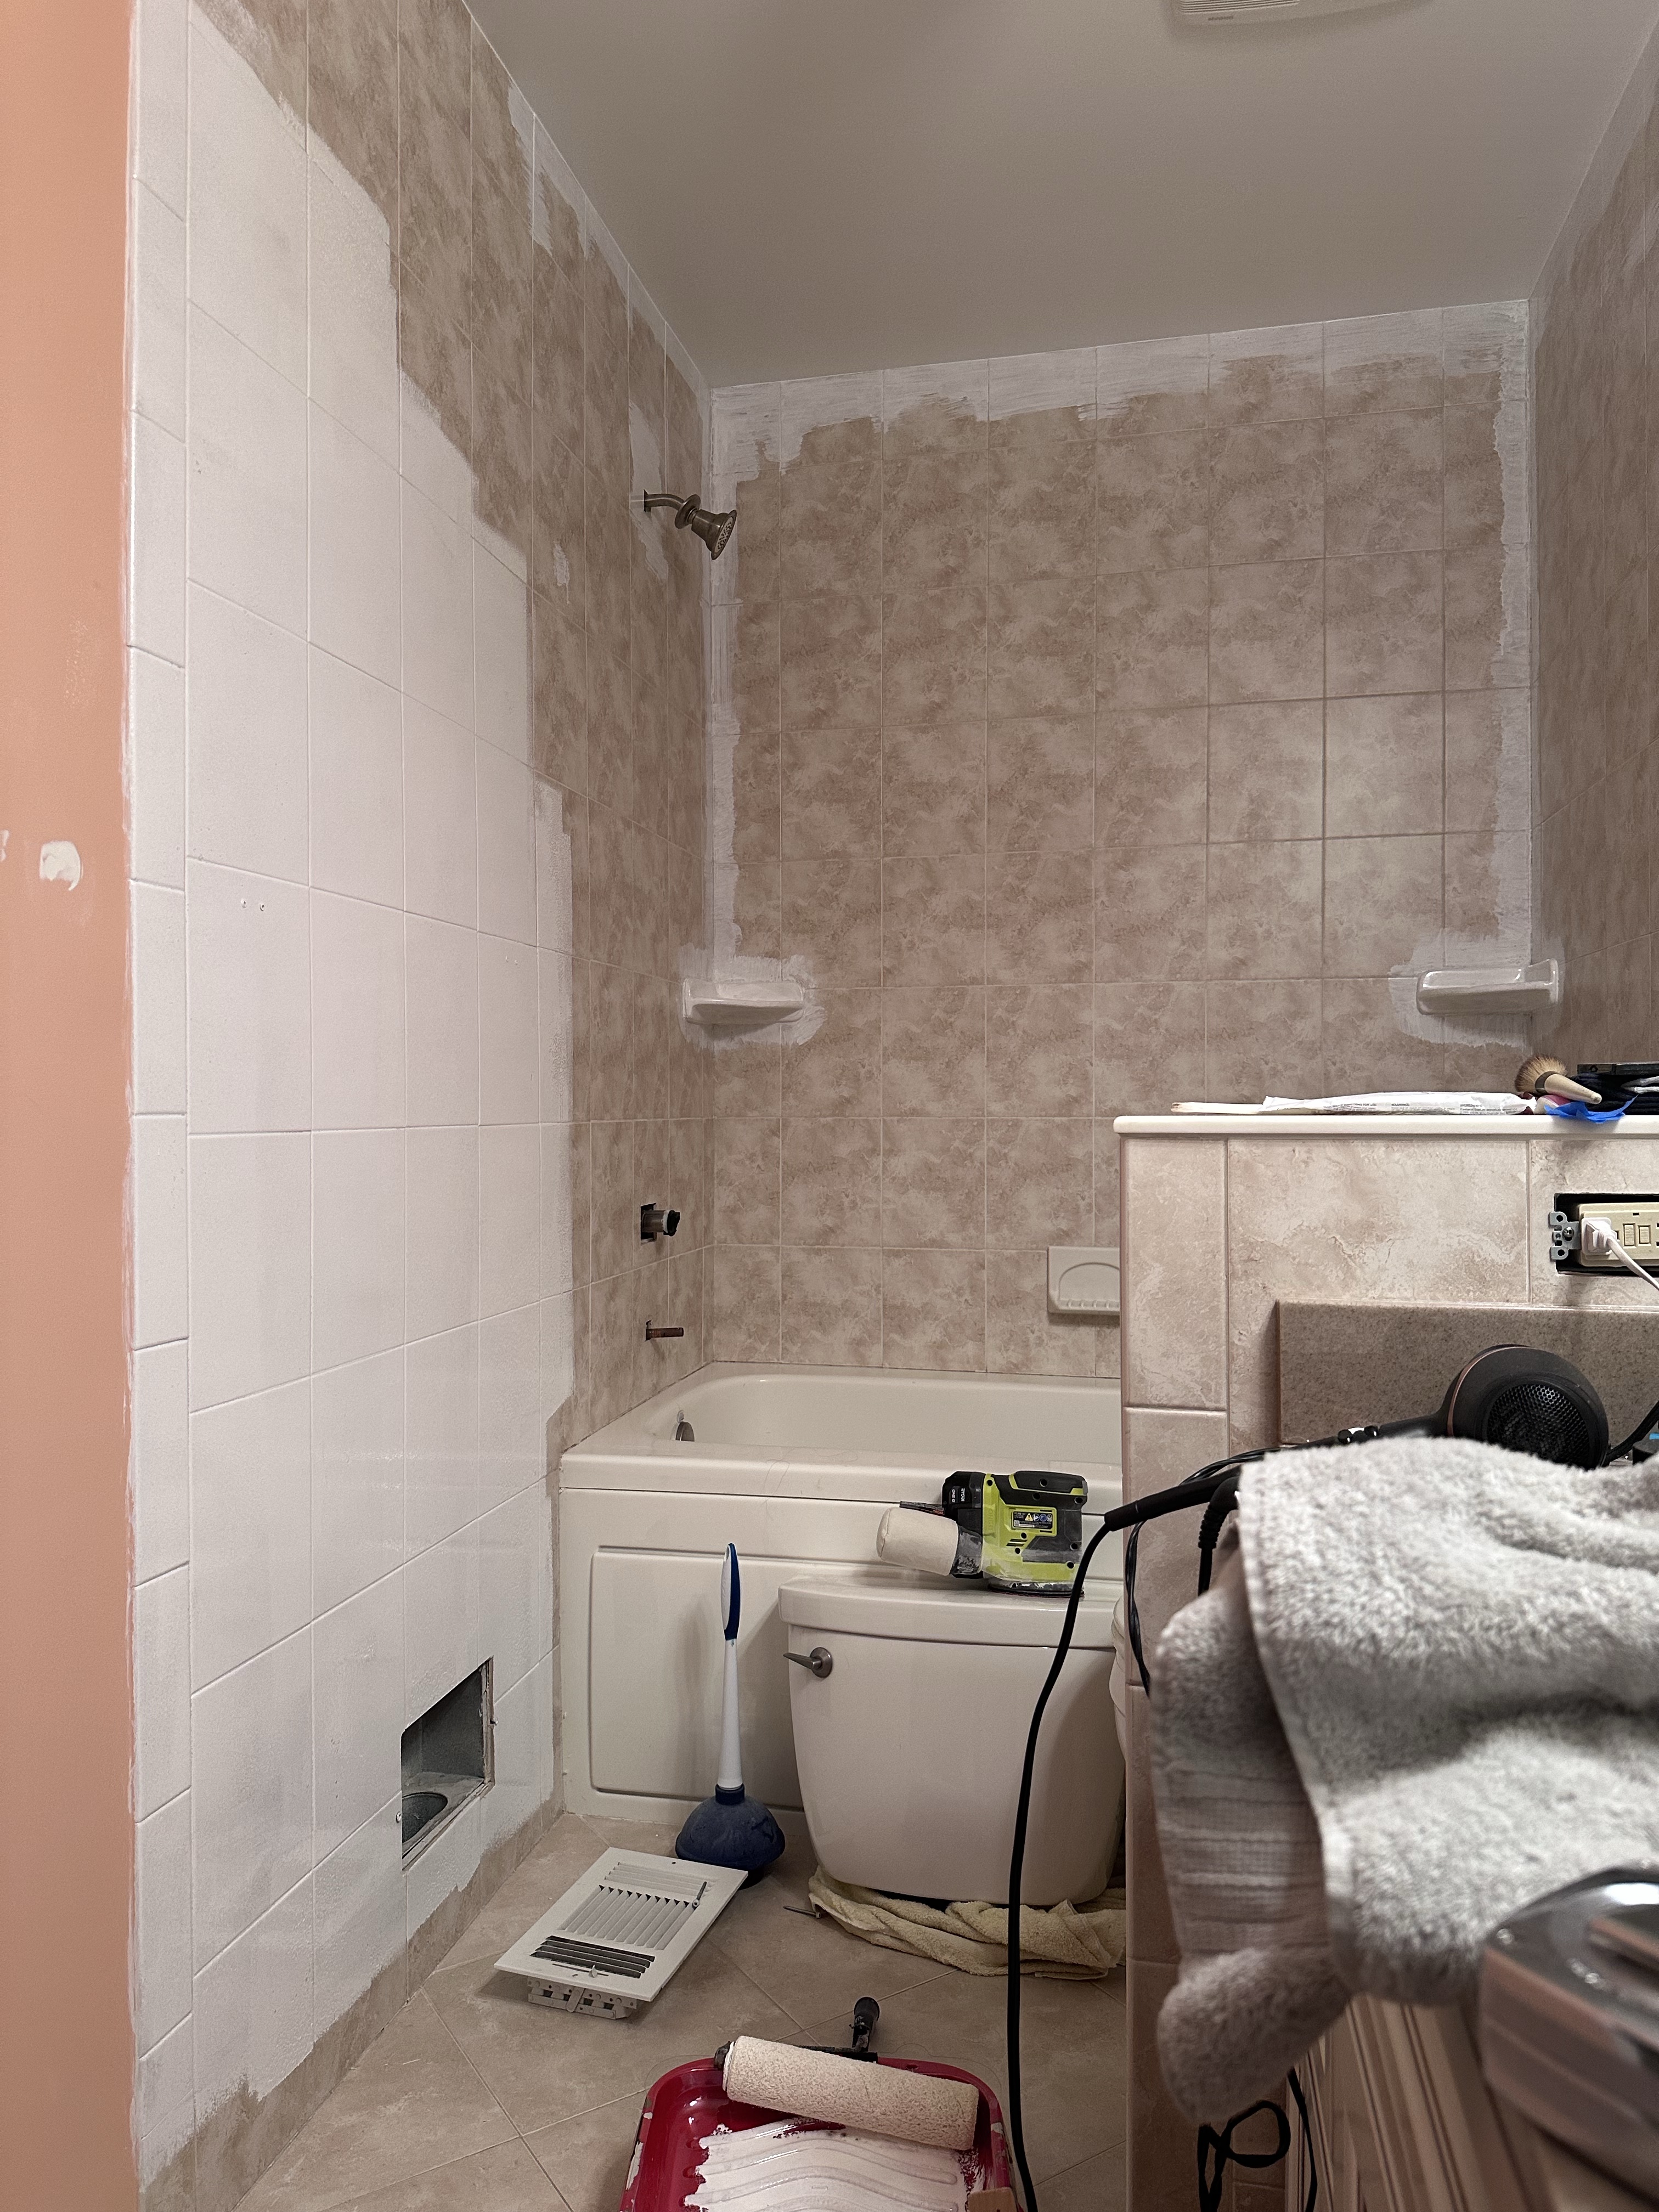
It’s not for me to yuck anybody’s yum, and I’m sure the previous owner liked this when it was redone a few years ago … however, it’s certainly not my taste. Firstly, the original layout would have had an enclosed shower and toilet room, with the vanity area open to the bedroom (which is why it has the same vaulted ceilings). That layout would have been my preference, but now that it’s been enclosed, there’s two different ceiling lines in one room. Along with the shower doors, tall cabinets, light fixture, mirror, pony wall, and countertops, there’s just … a lot of different horizontal lines going on. I also don’t like the wall color, wall tiles, floor tiles, jacuzzi tub, shower head, shower doors, towel bars everywhere, vanity light, that mirror, cabinets that don’t go all the way to the ceiling, or the finish on the cabinets (French Provincial?). I do like … the pony wall, because it hides the toilet a bit, the window, and I don’t hate the counter.
The original plan was therefore to rip almost everything out, including the drywall and the tub, and basically start fresh. But, that could have been about $15,000, and that type of investment just doesn’t feel like it makes sense; it’s also pretty wasteful, considering most of this stuff was just installed and even if I don’t like the finishes, it’s good quality and well done. So instead of tearing everything out, we’ll make the best of it.
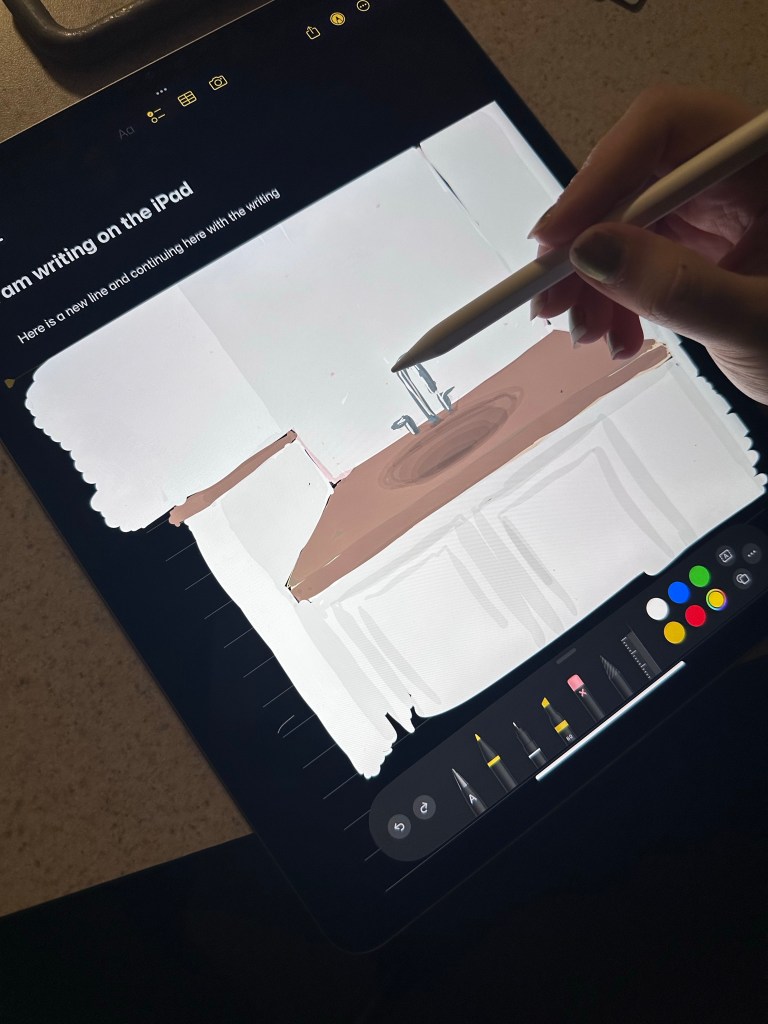
So, I thought about the design for this one for a long, long time, and went through about 3029380492348 iterations. I probably tried about 20 different wallpaper samples, including faux grasscloth (can’t put the real stuff in a full bathroom!) and different murals. My lil’ sis even did a hand-drawn rendering to test out ideas:
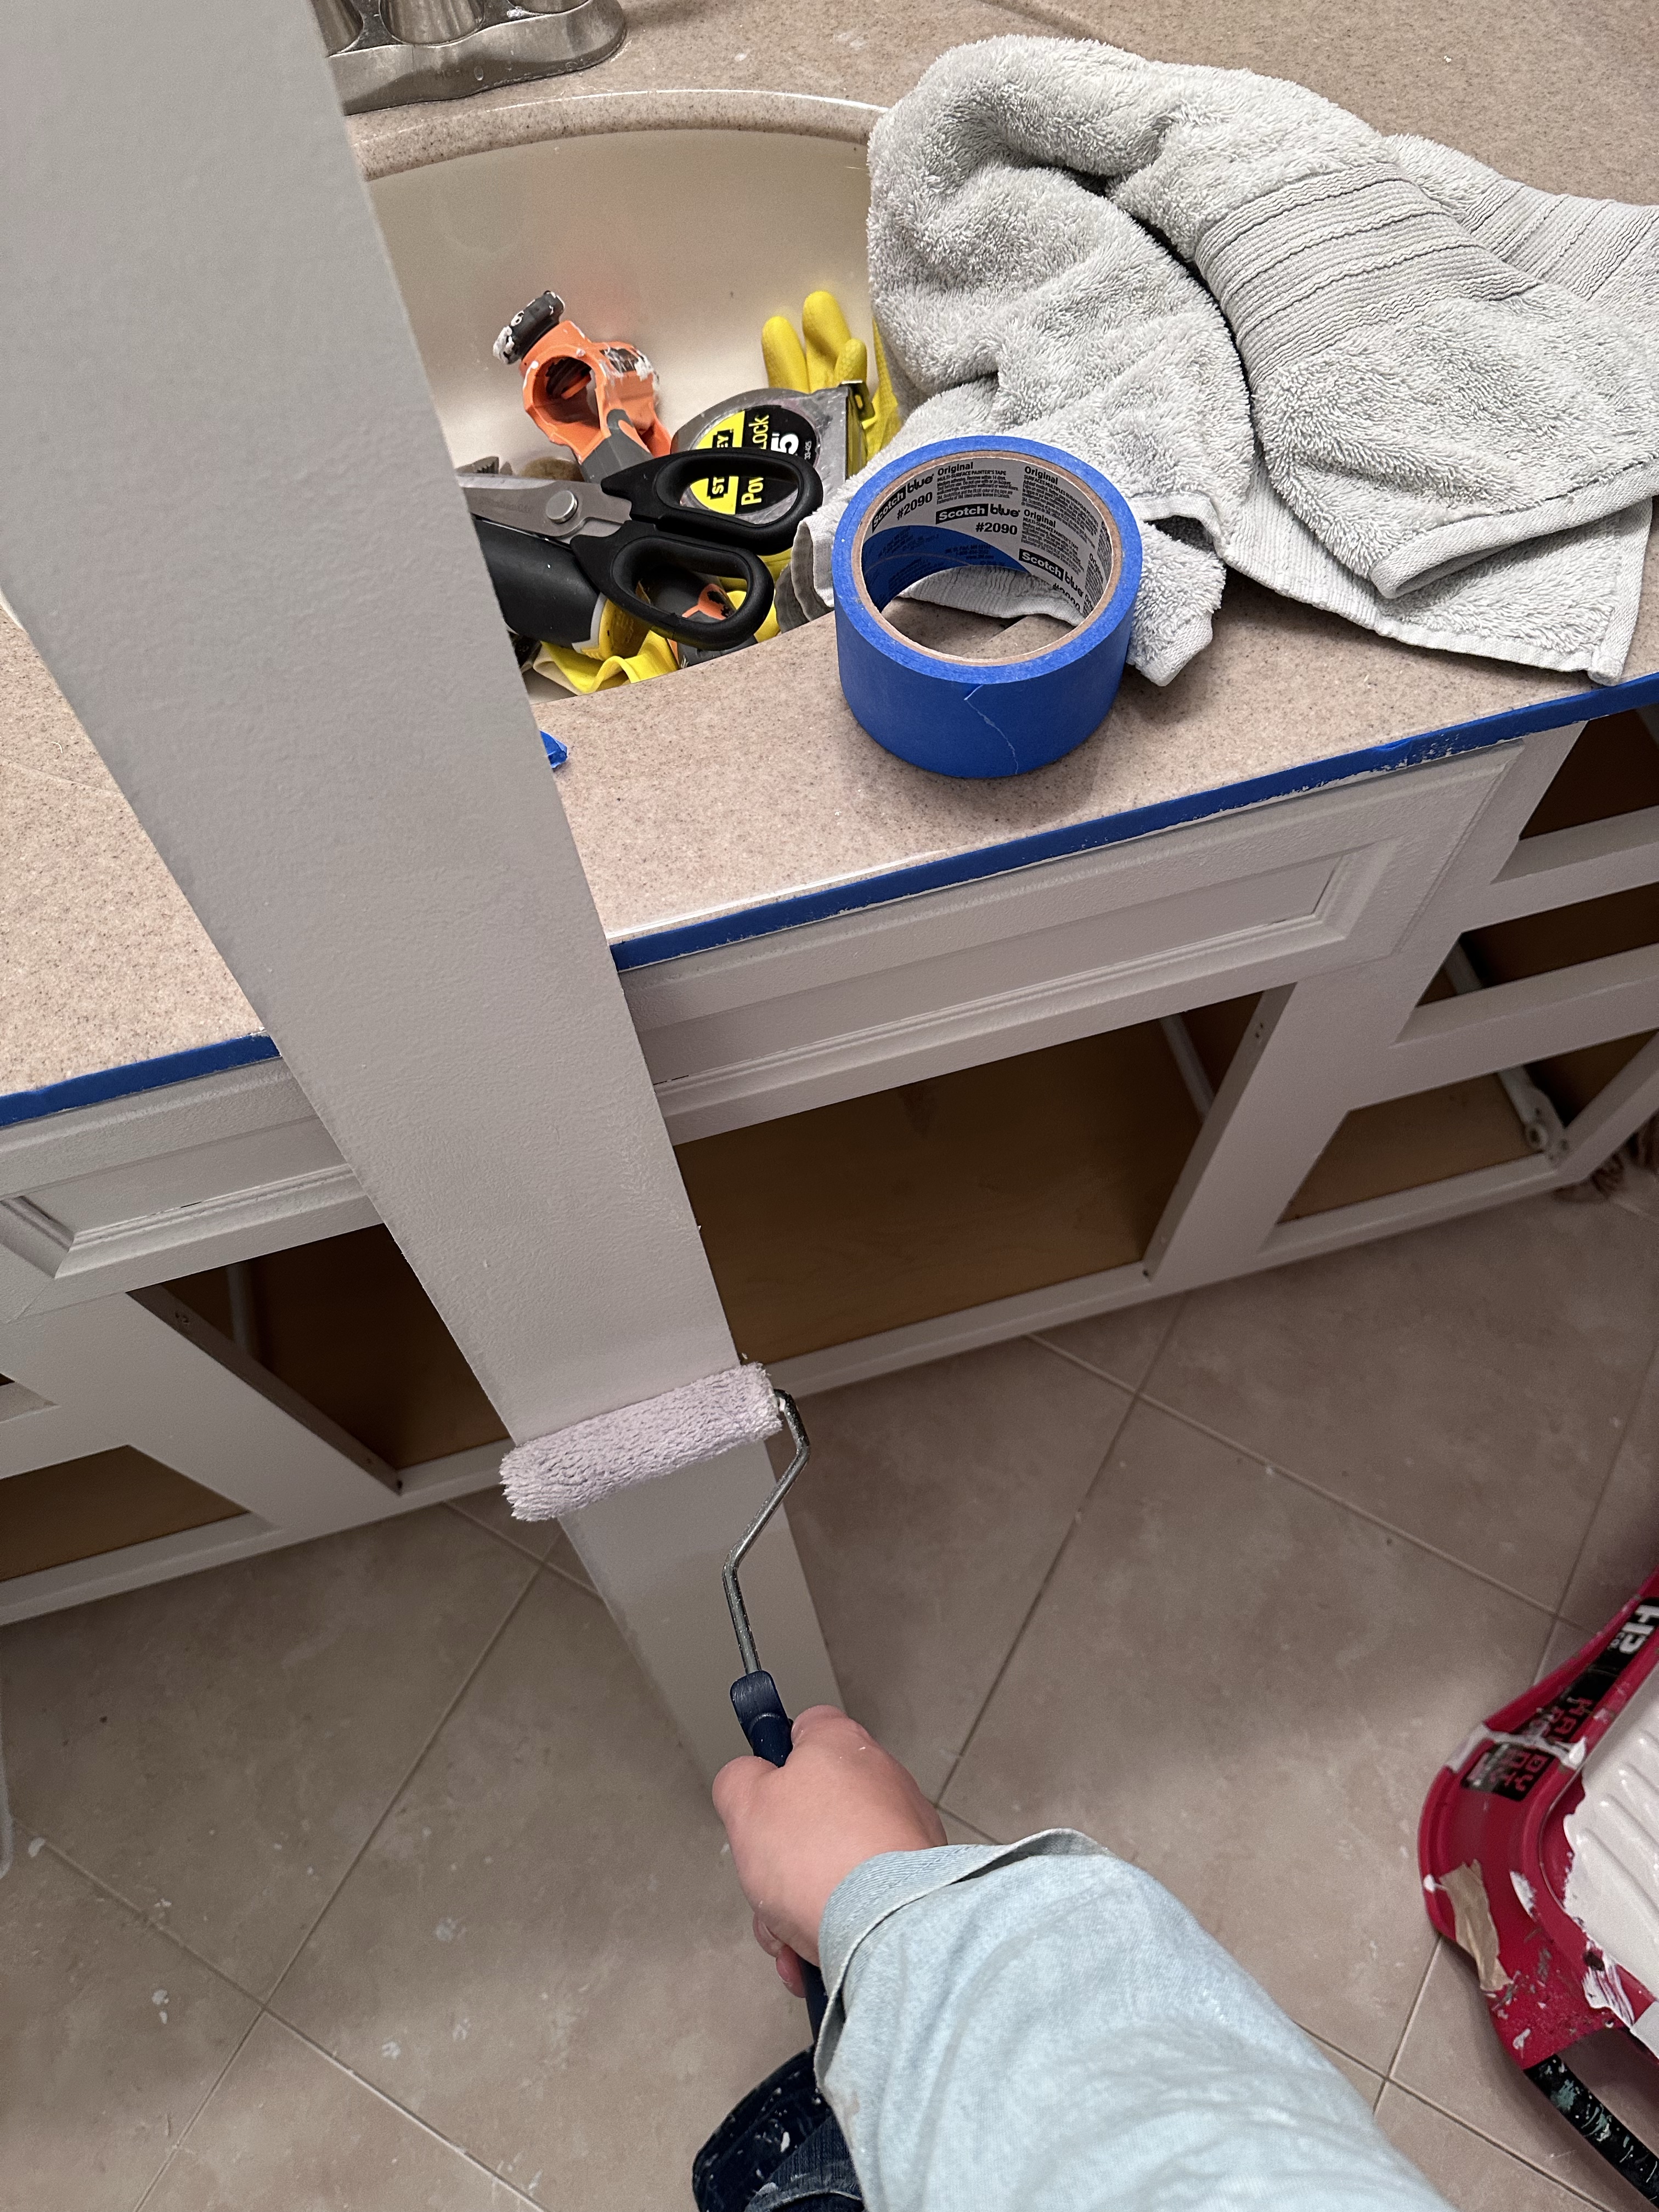
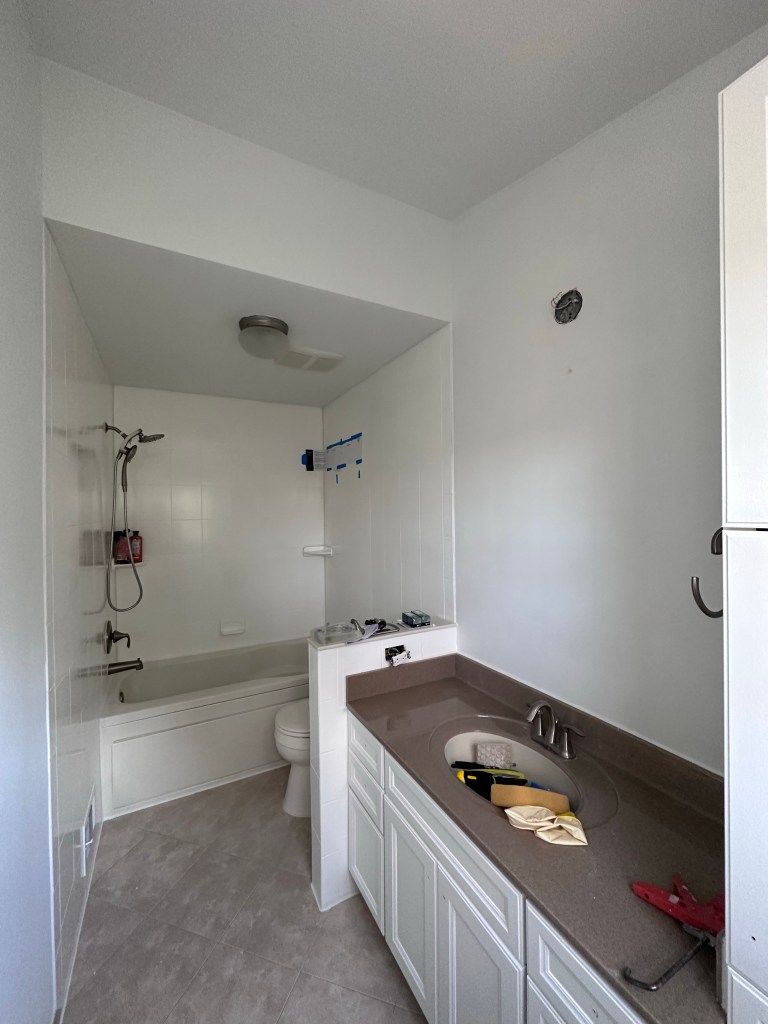
Ultimately, I decided to get started by taking everything out and cleaning the whole place up –
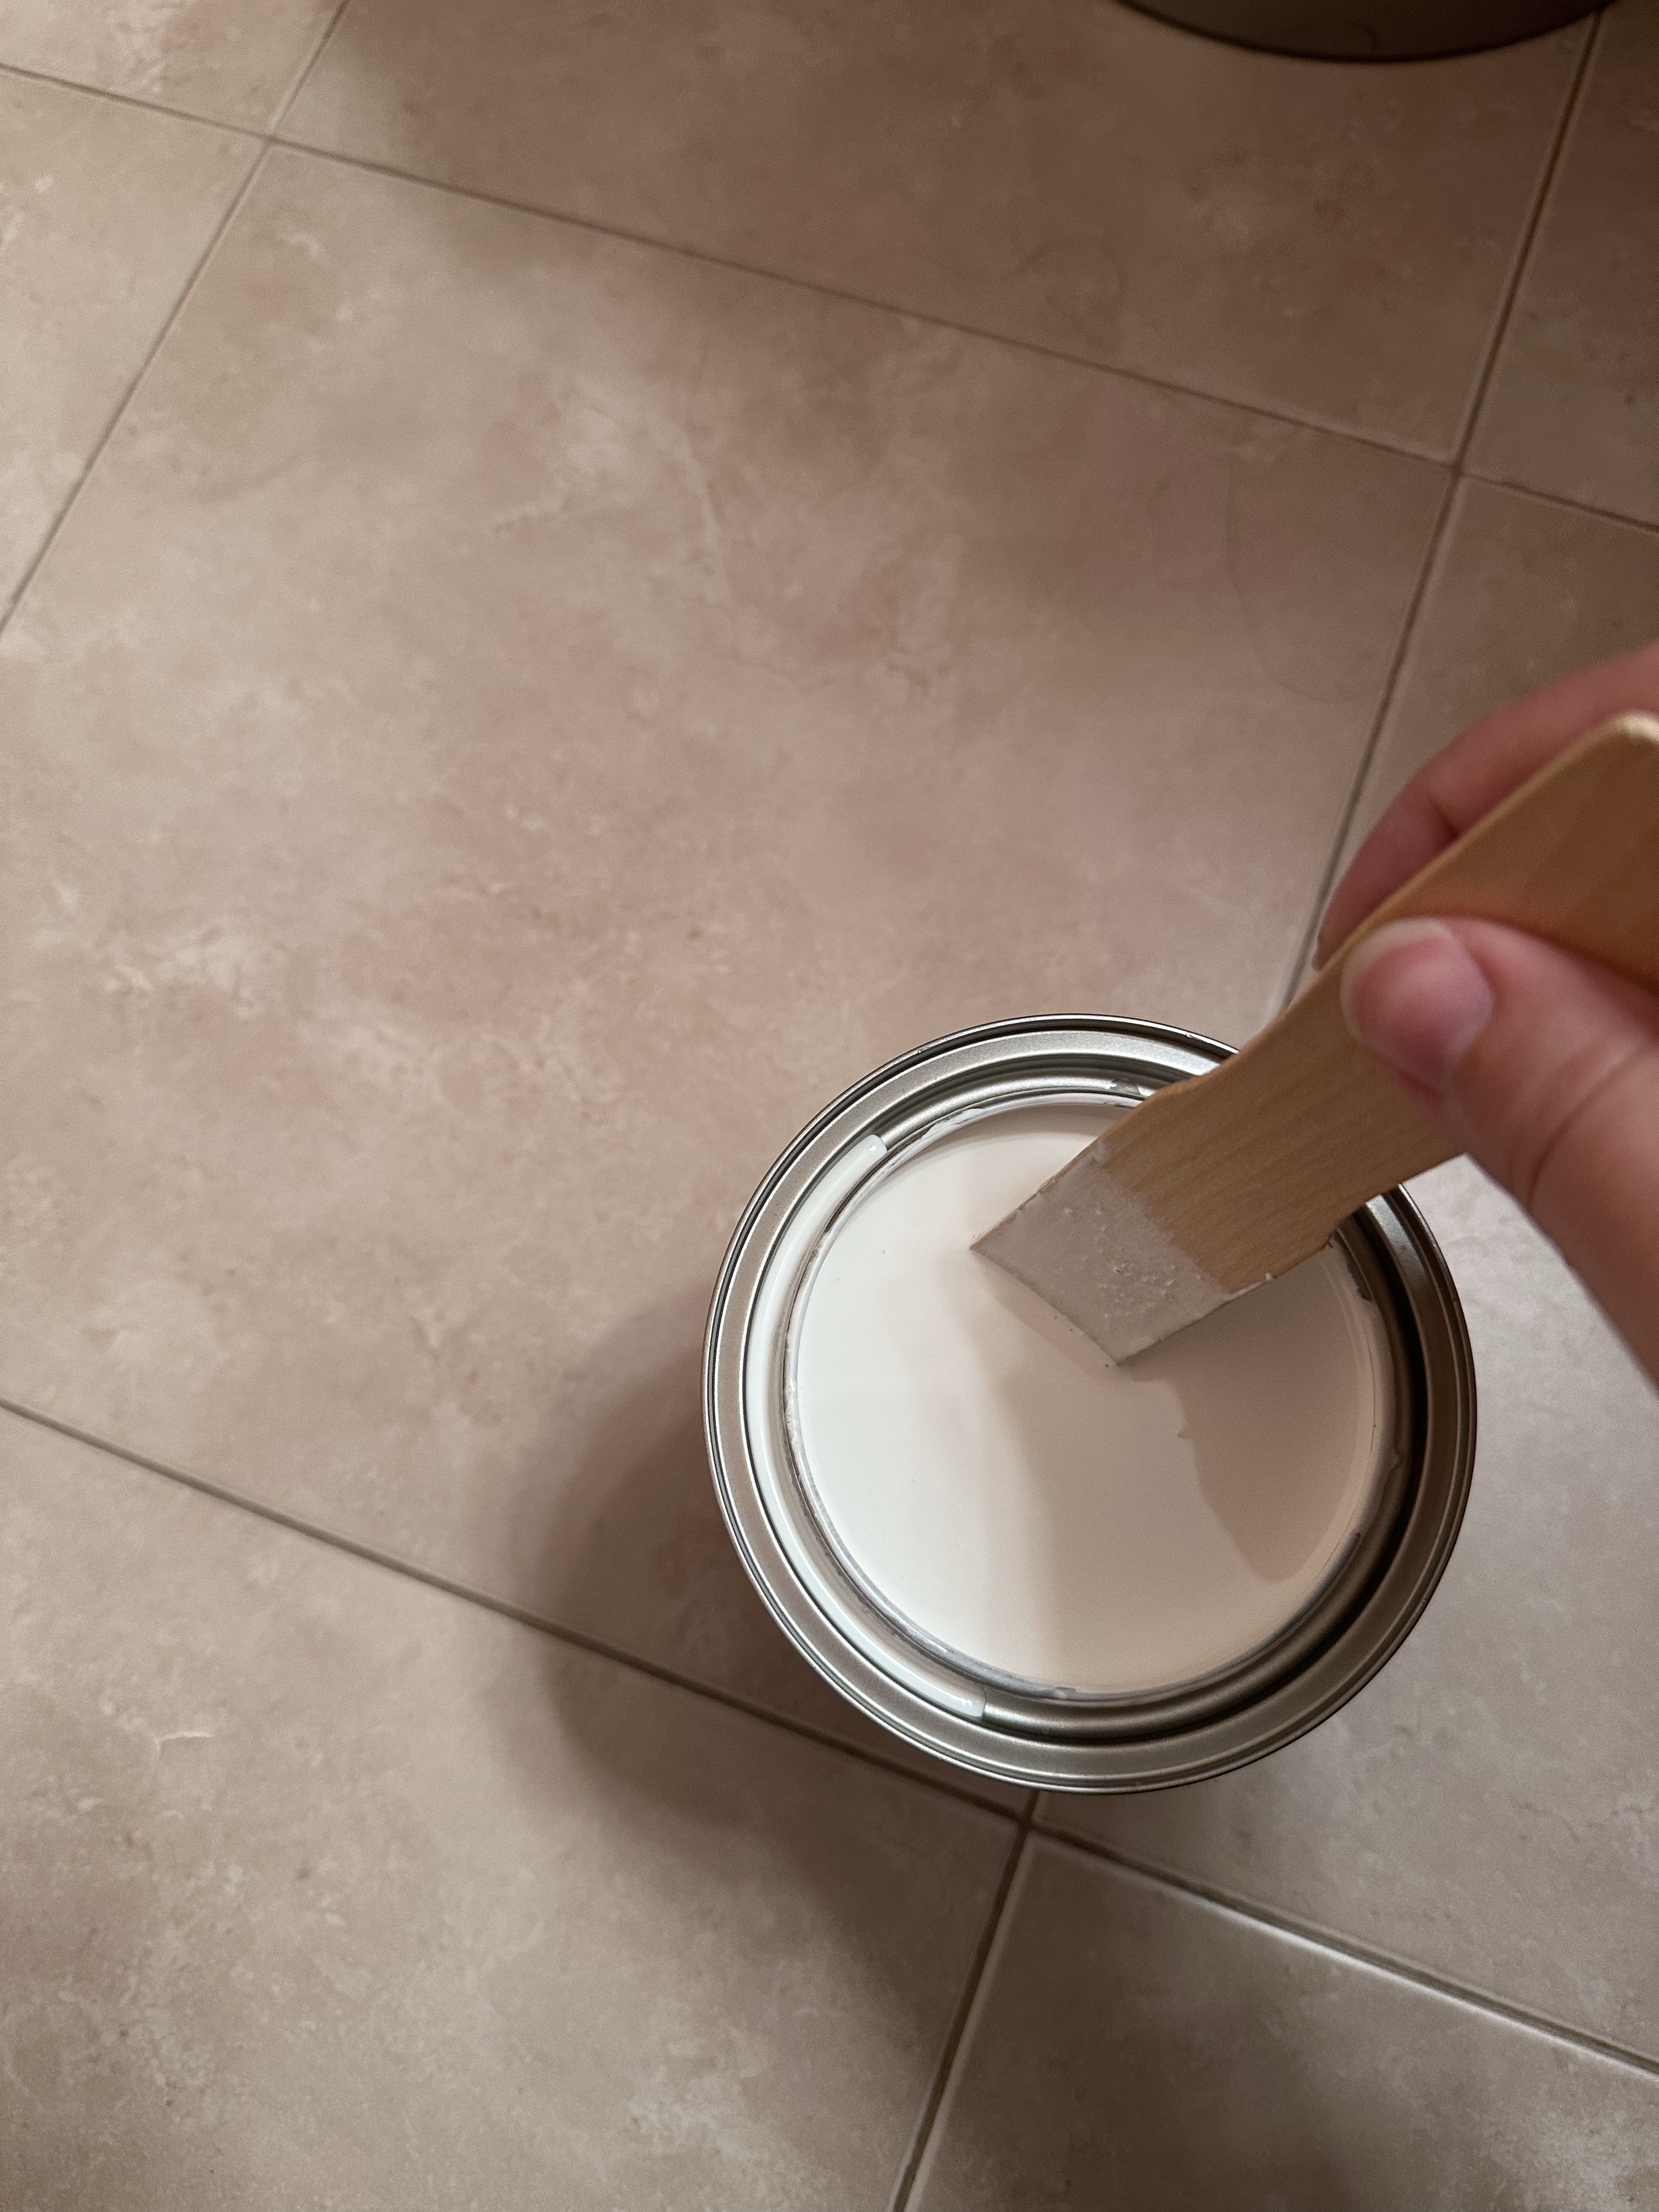
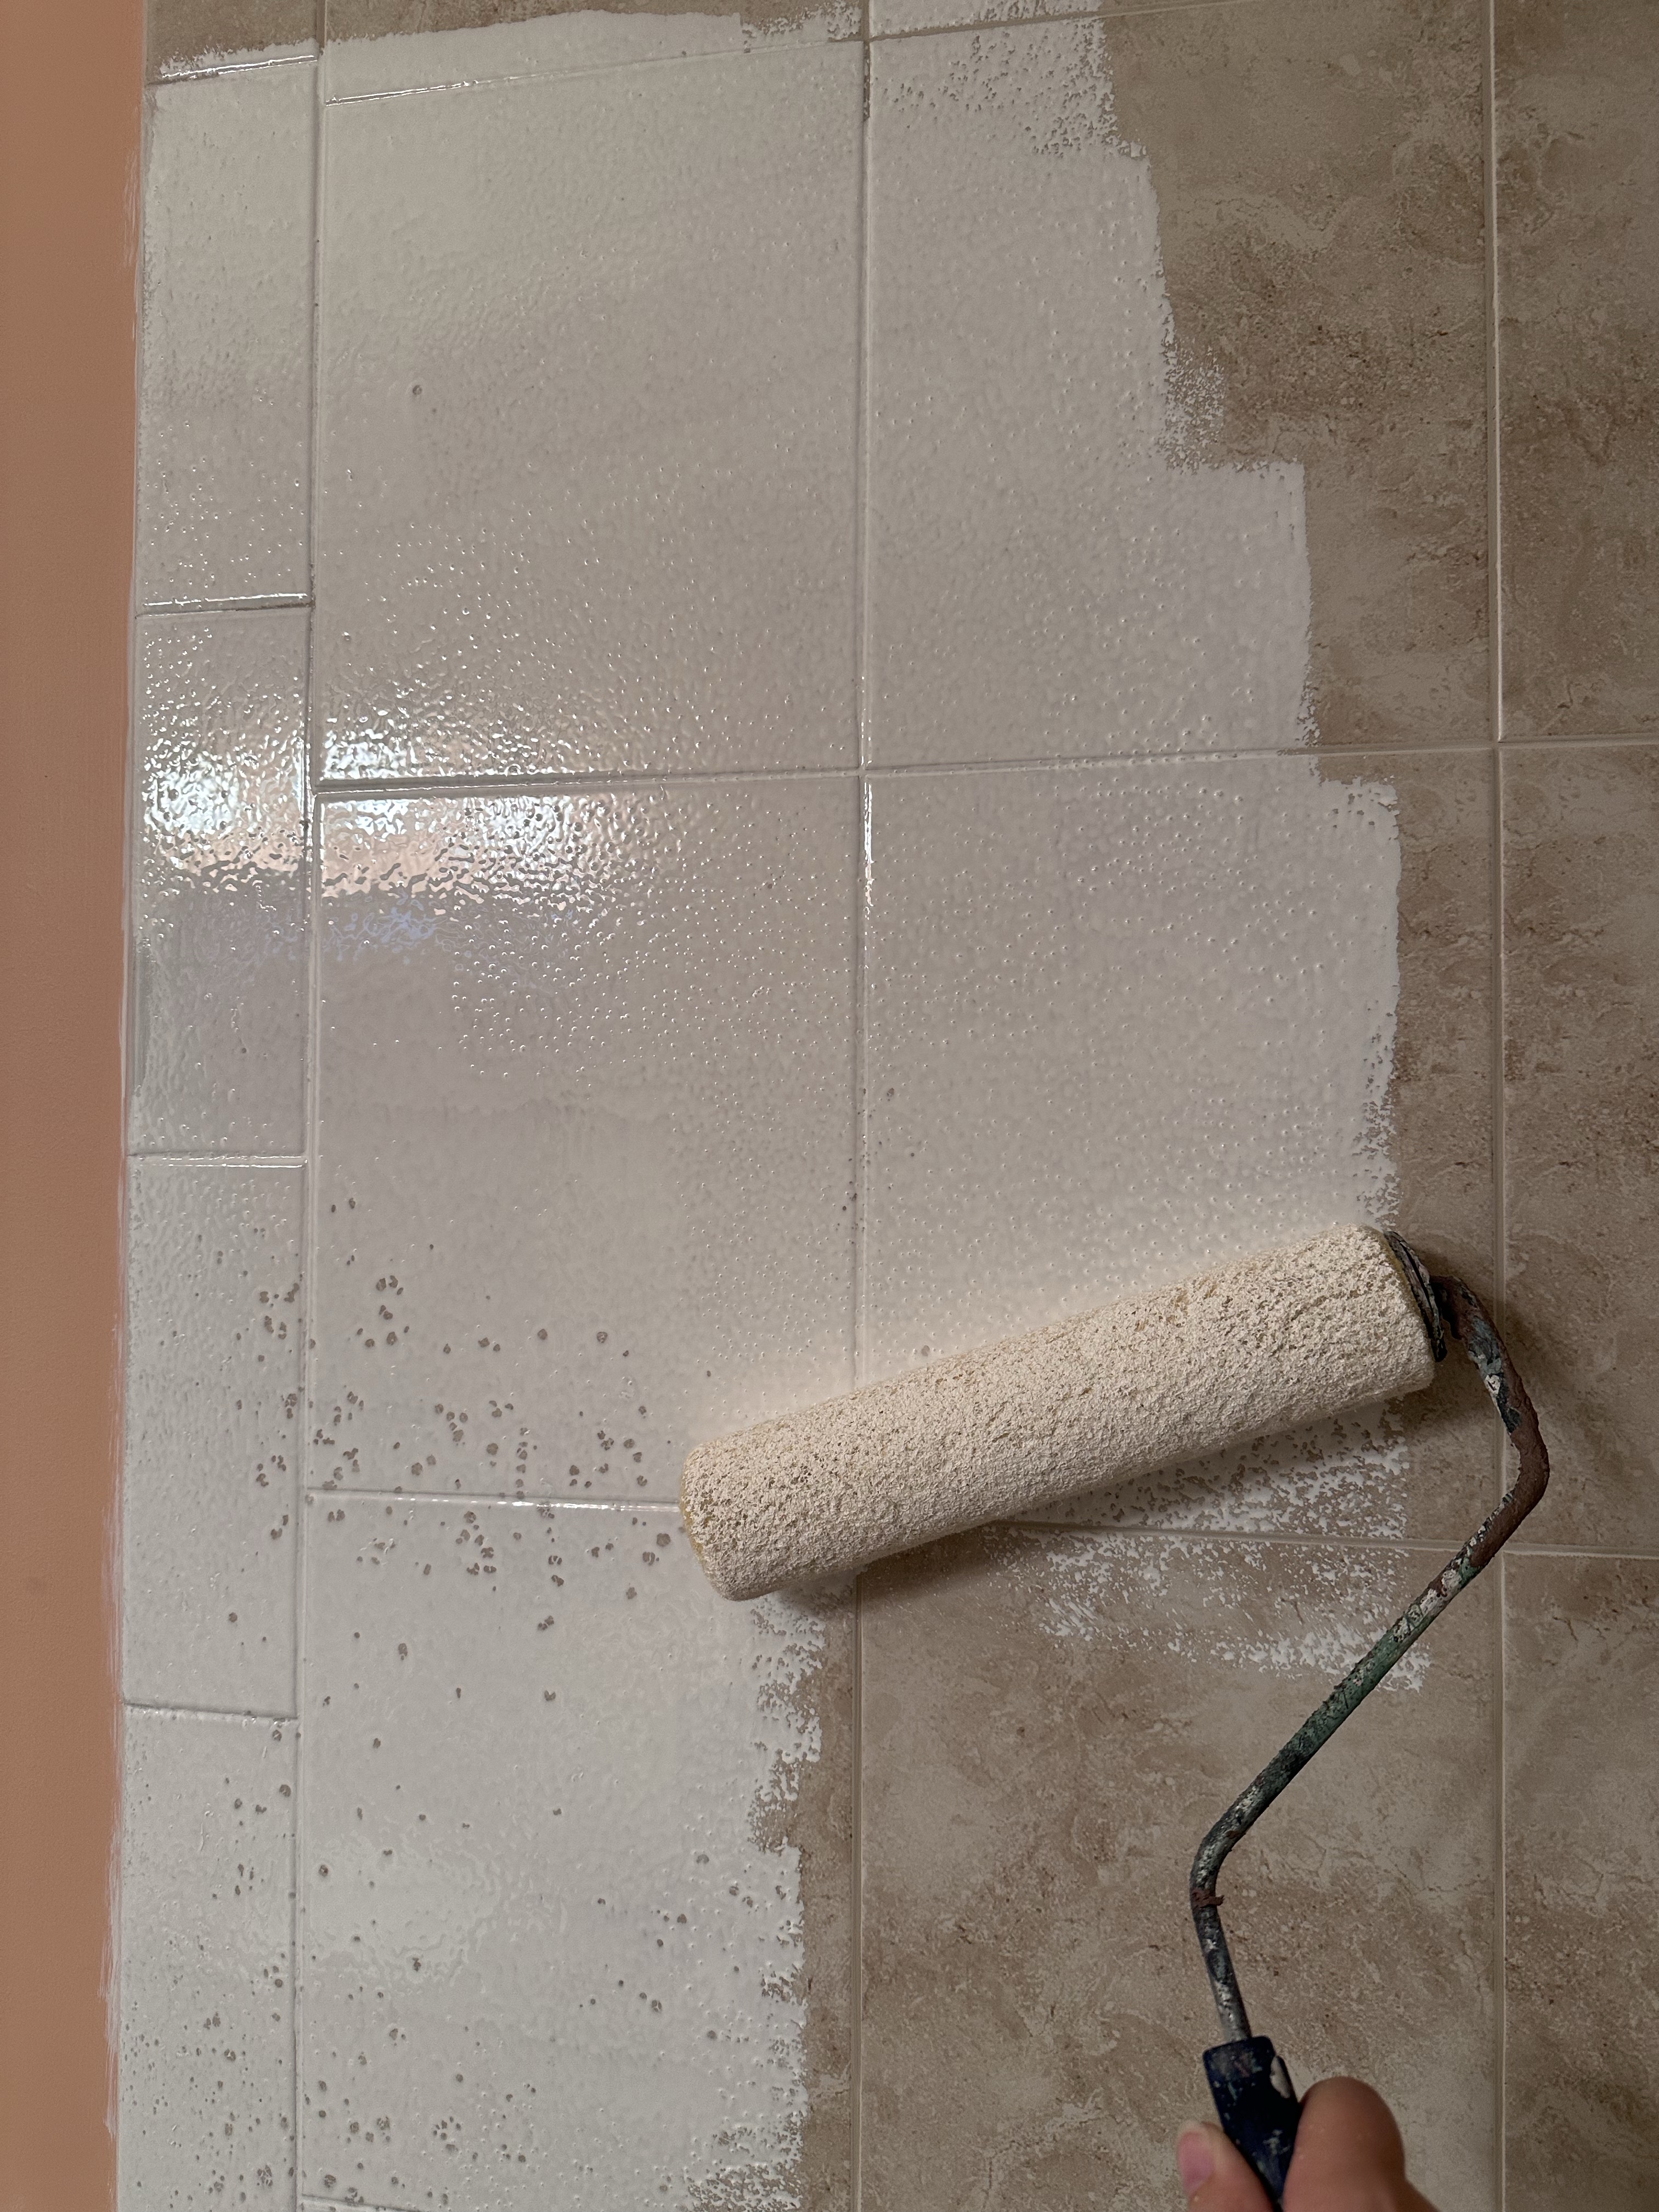
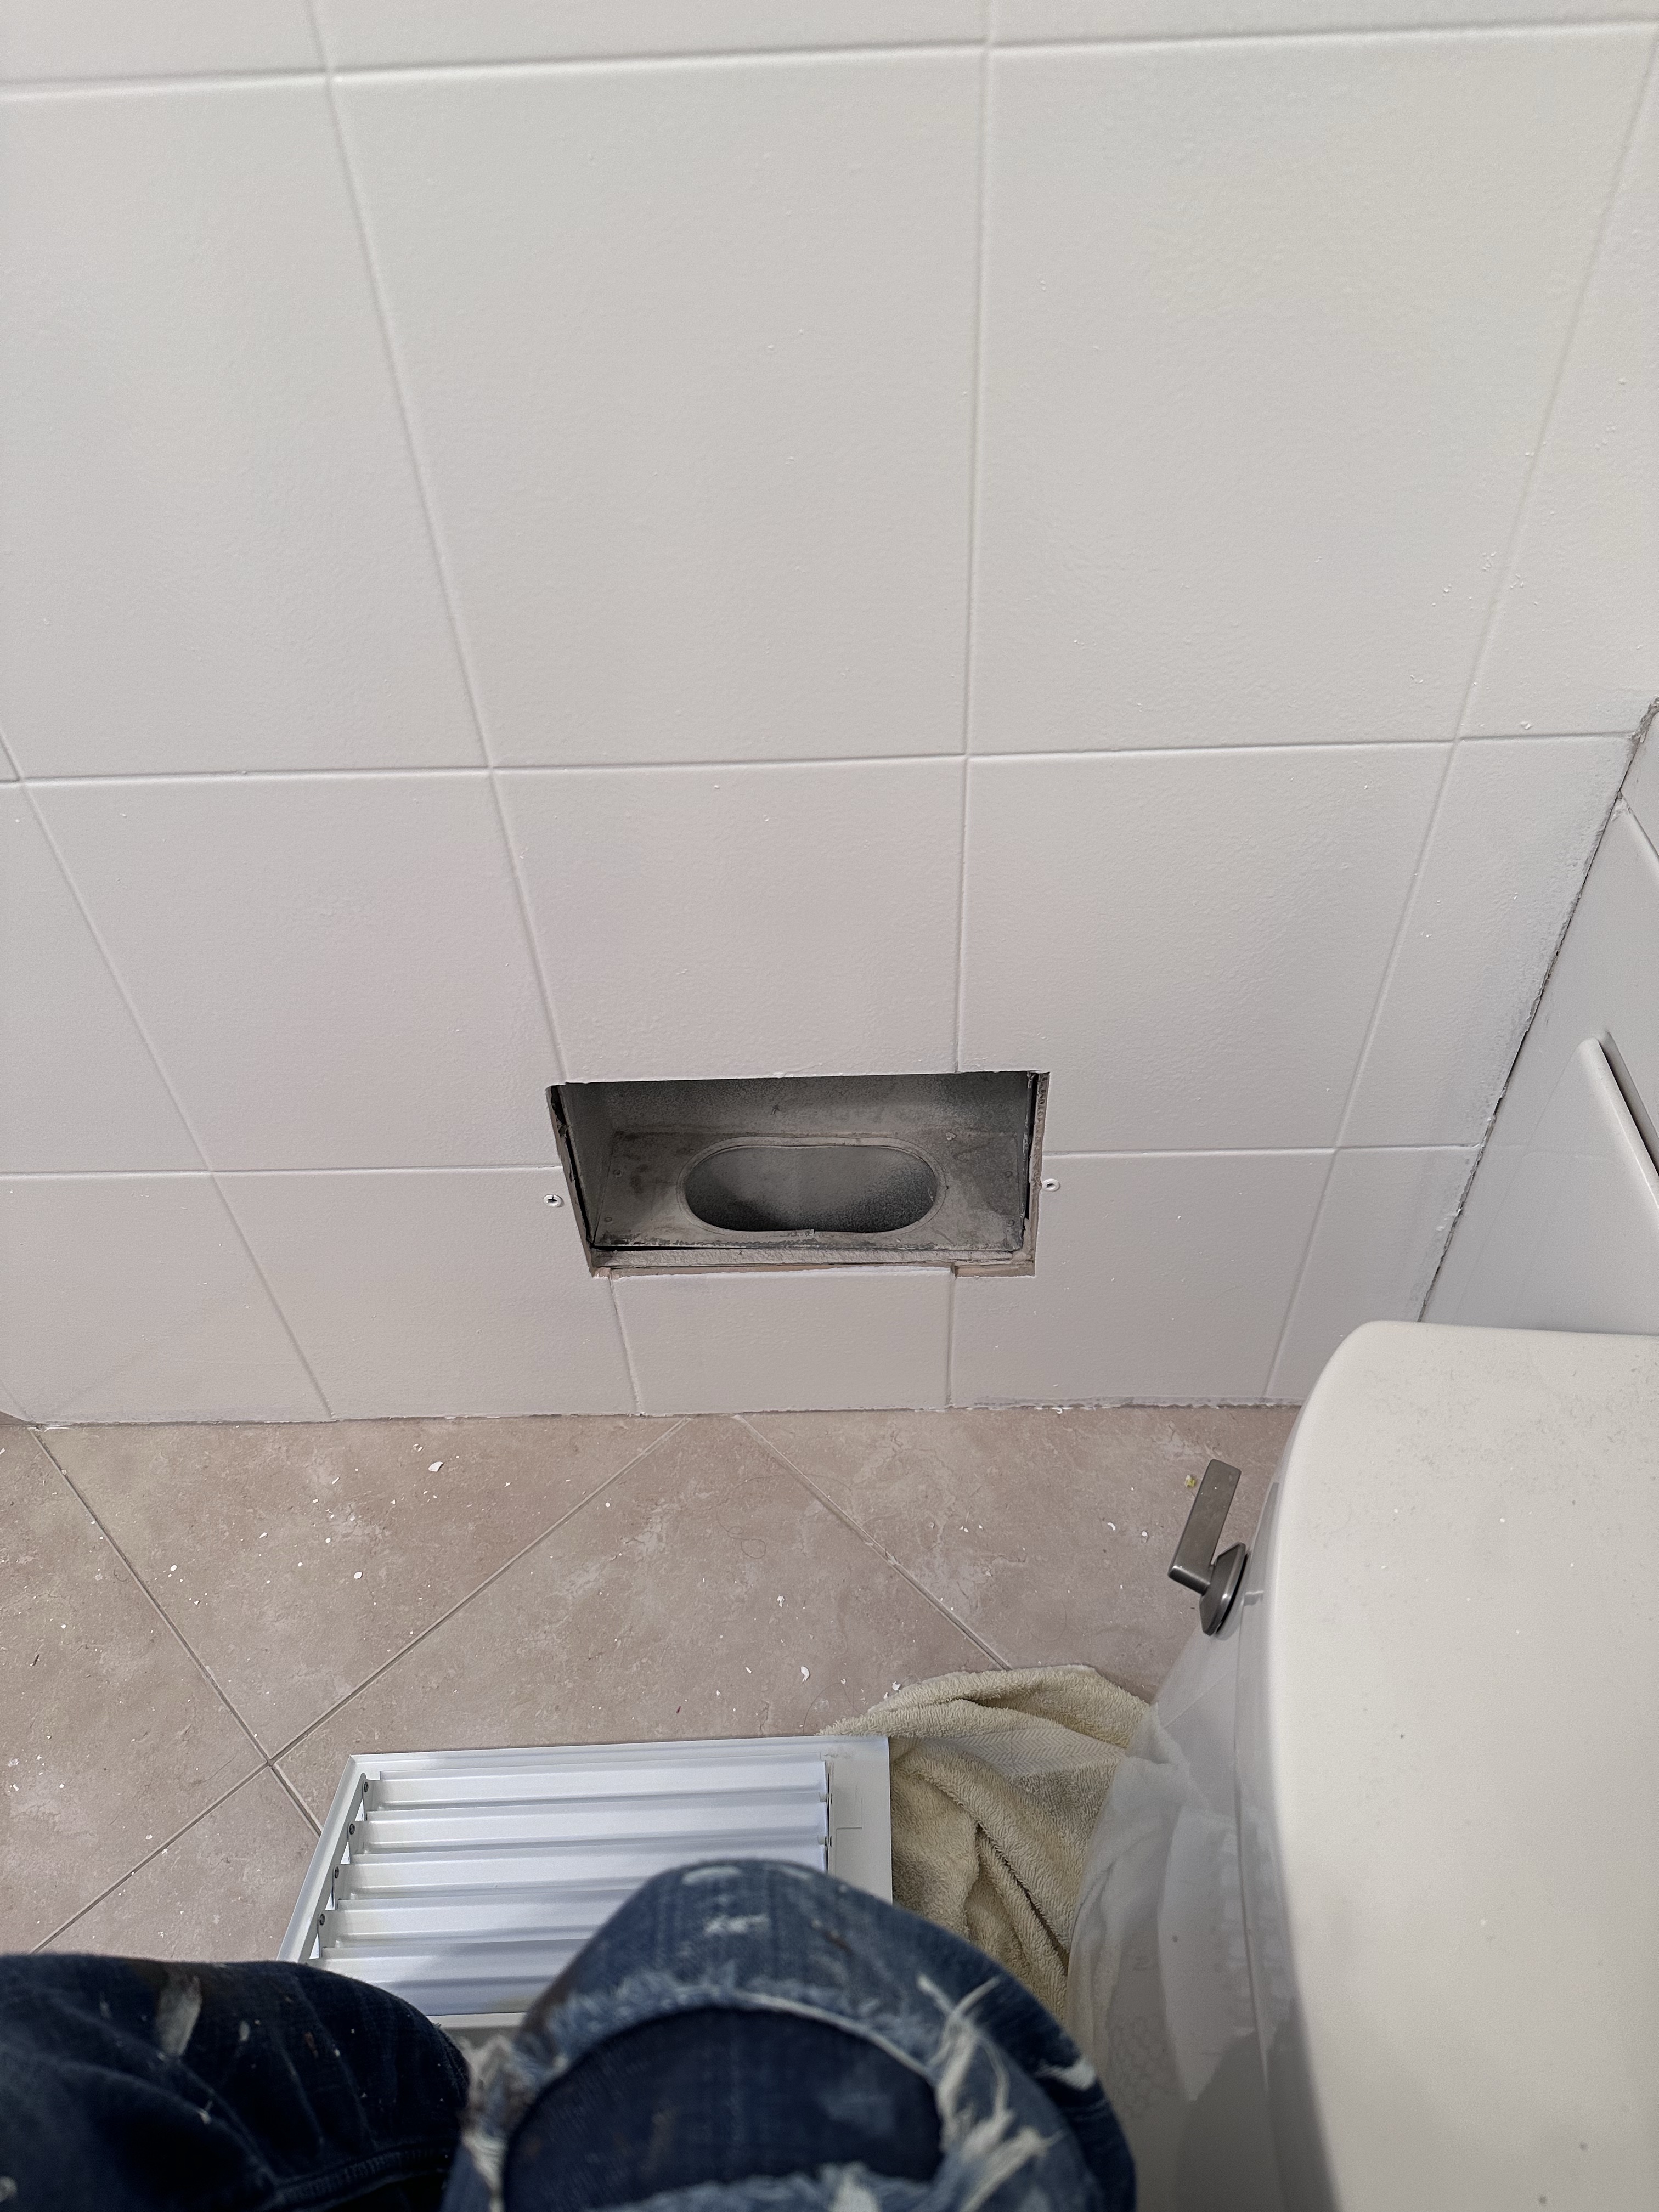
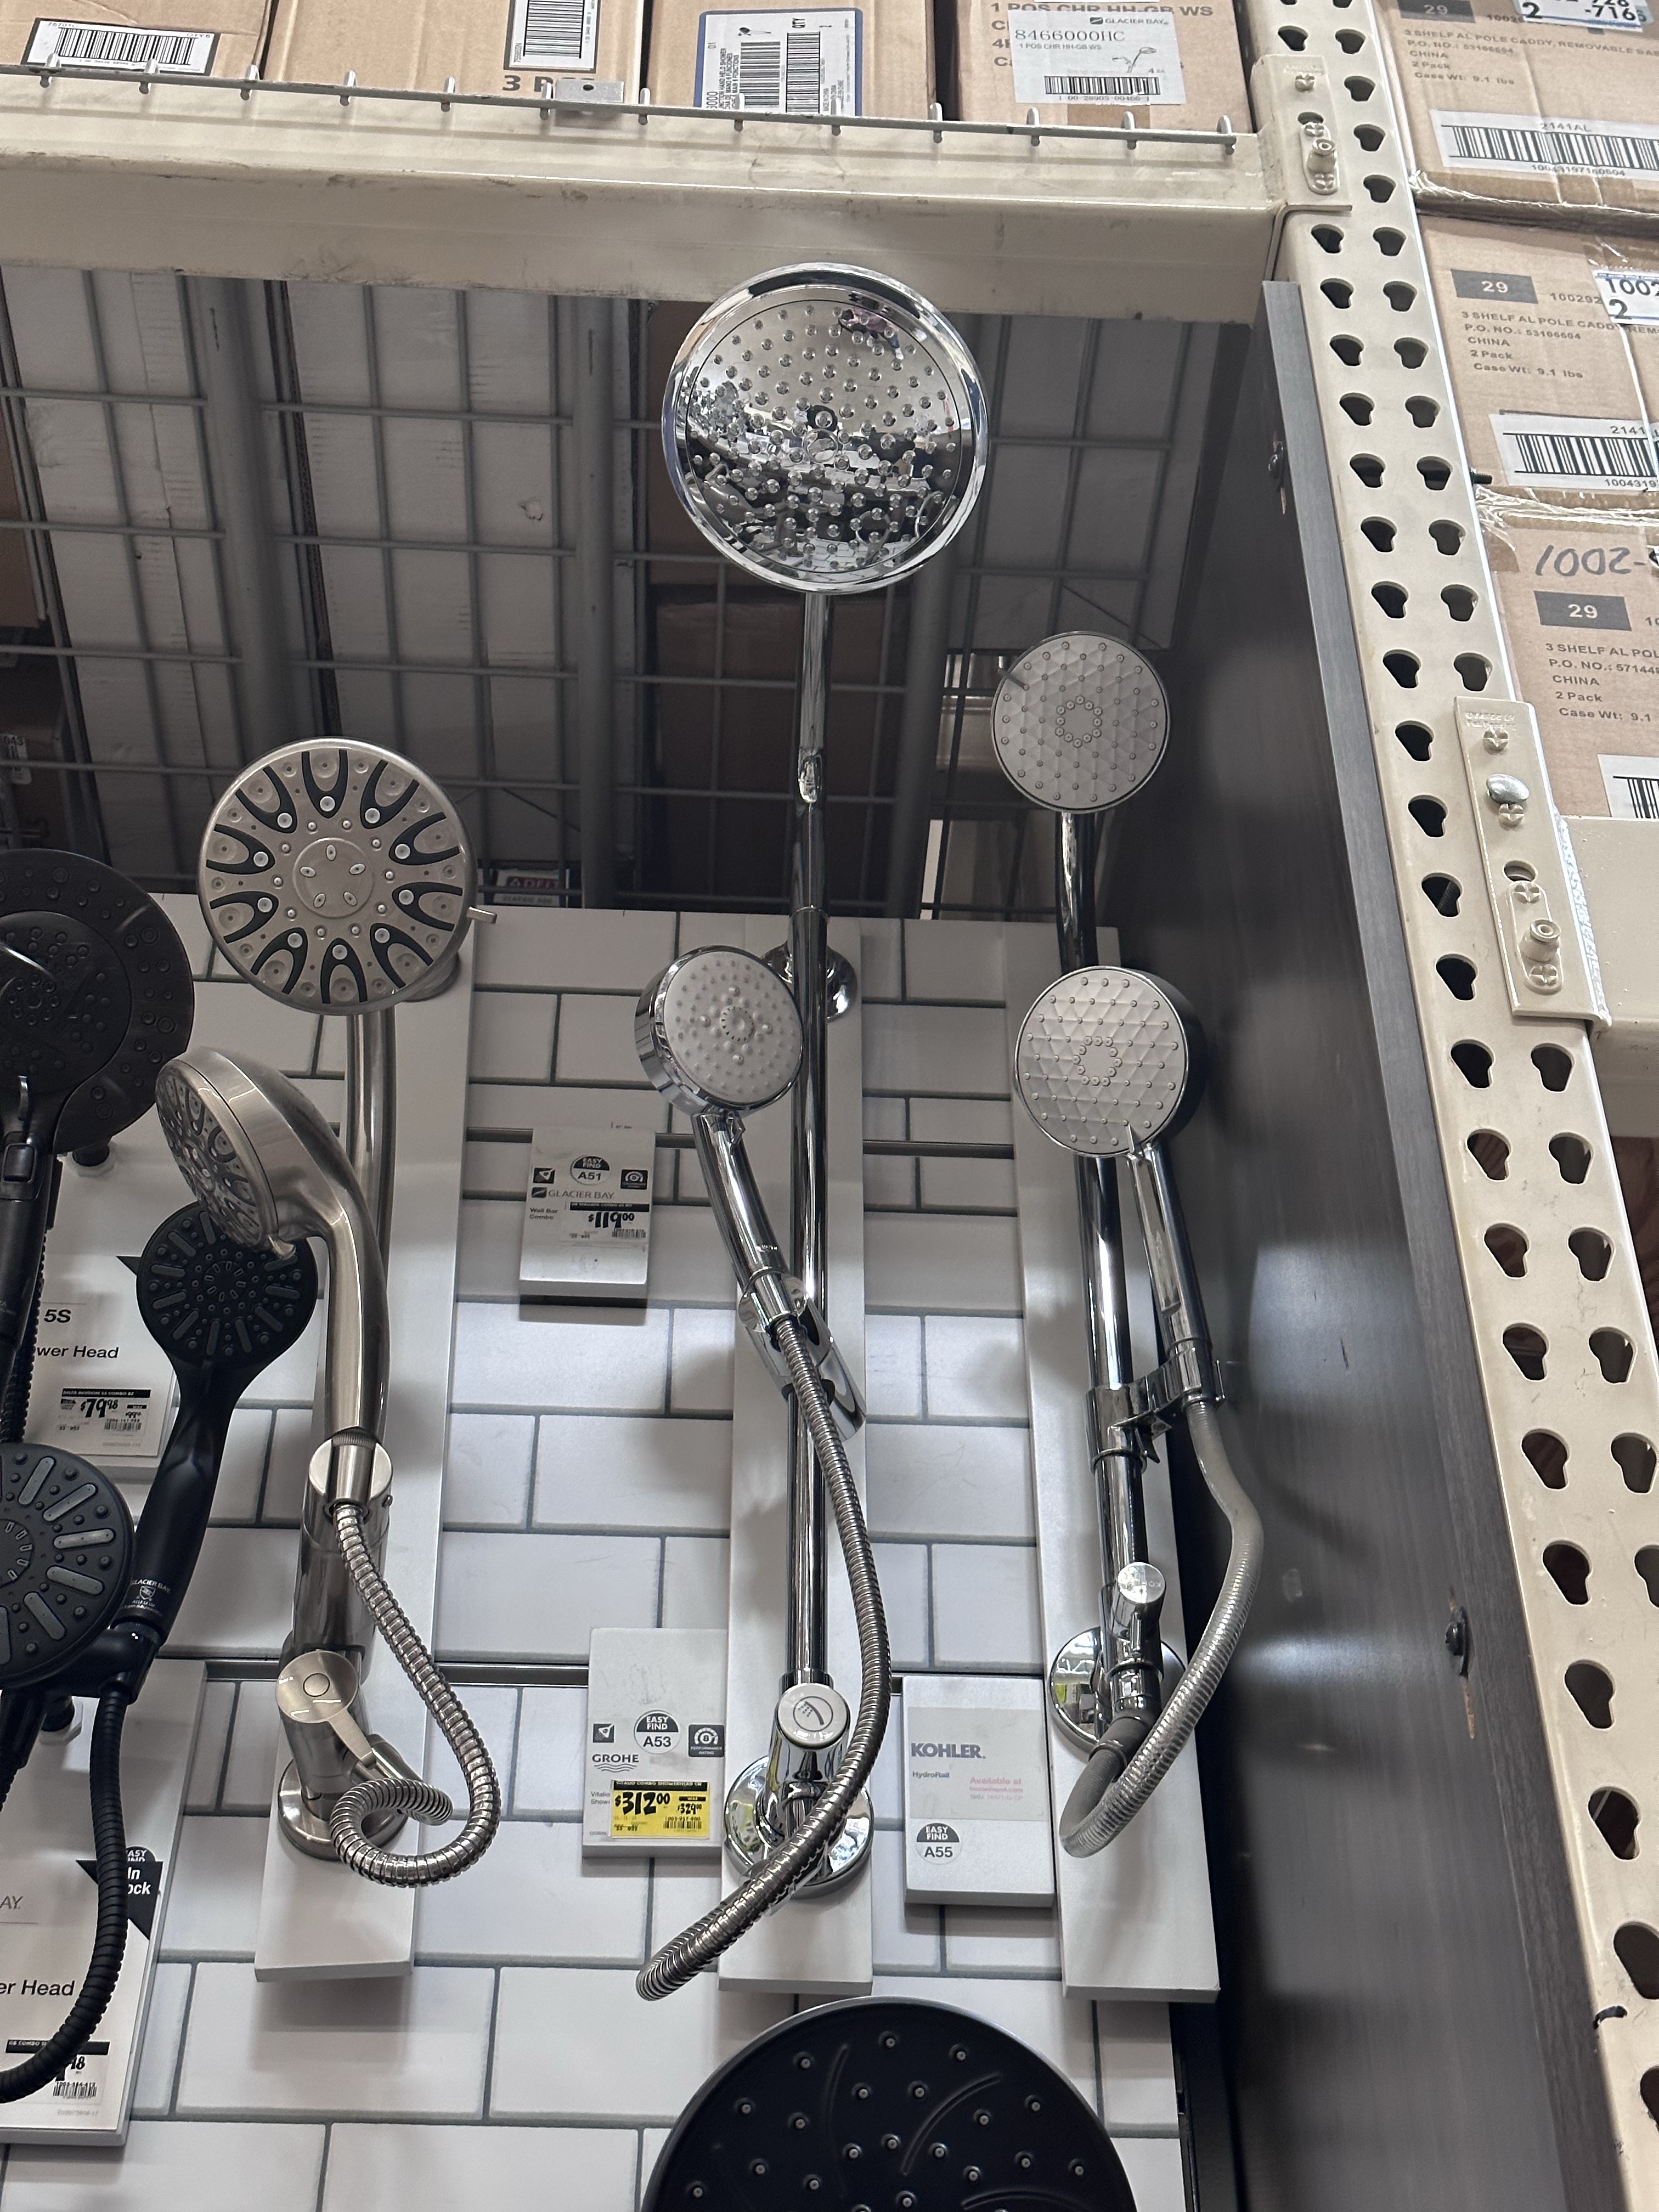
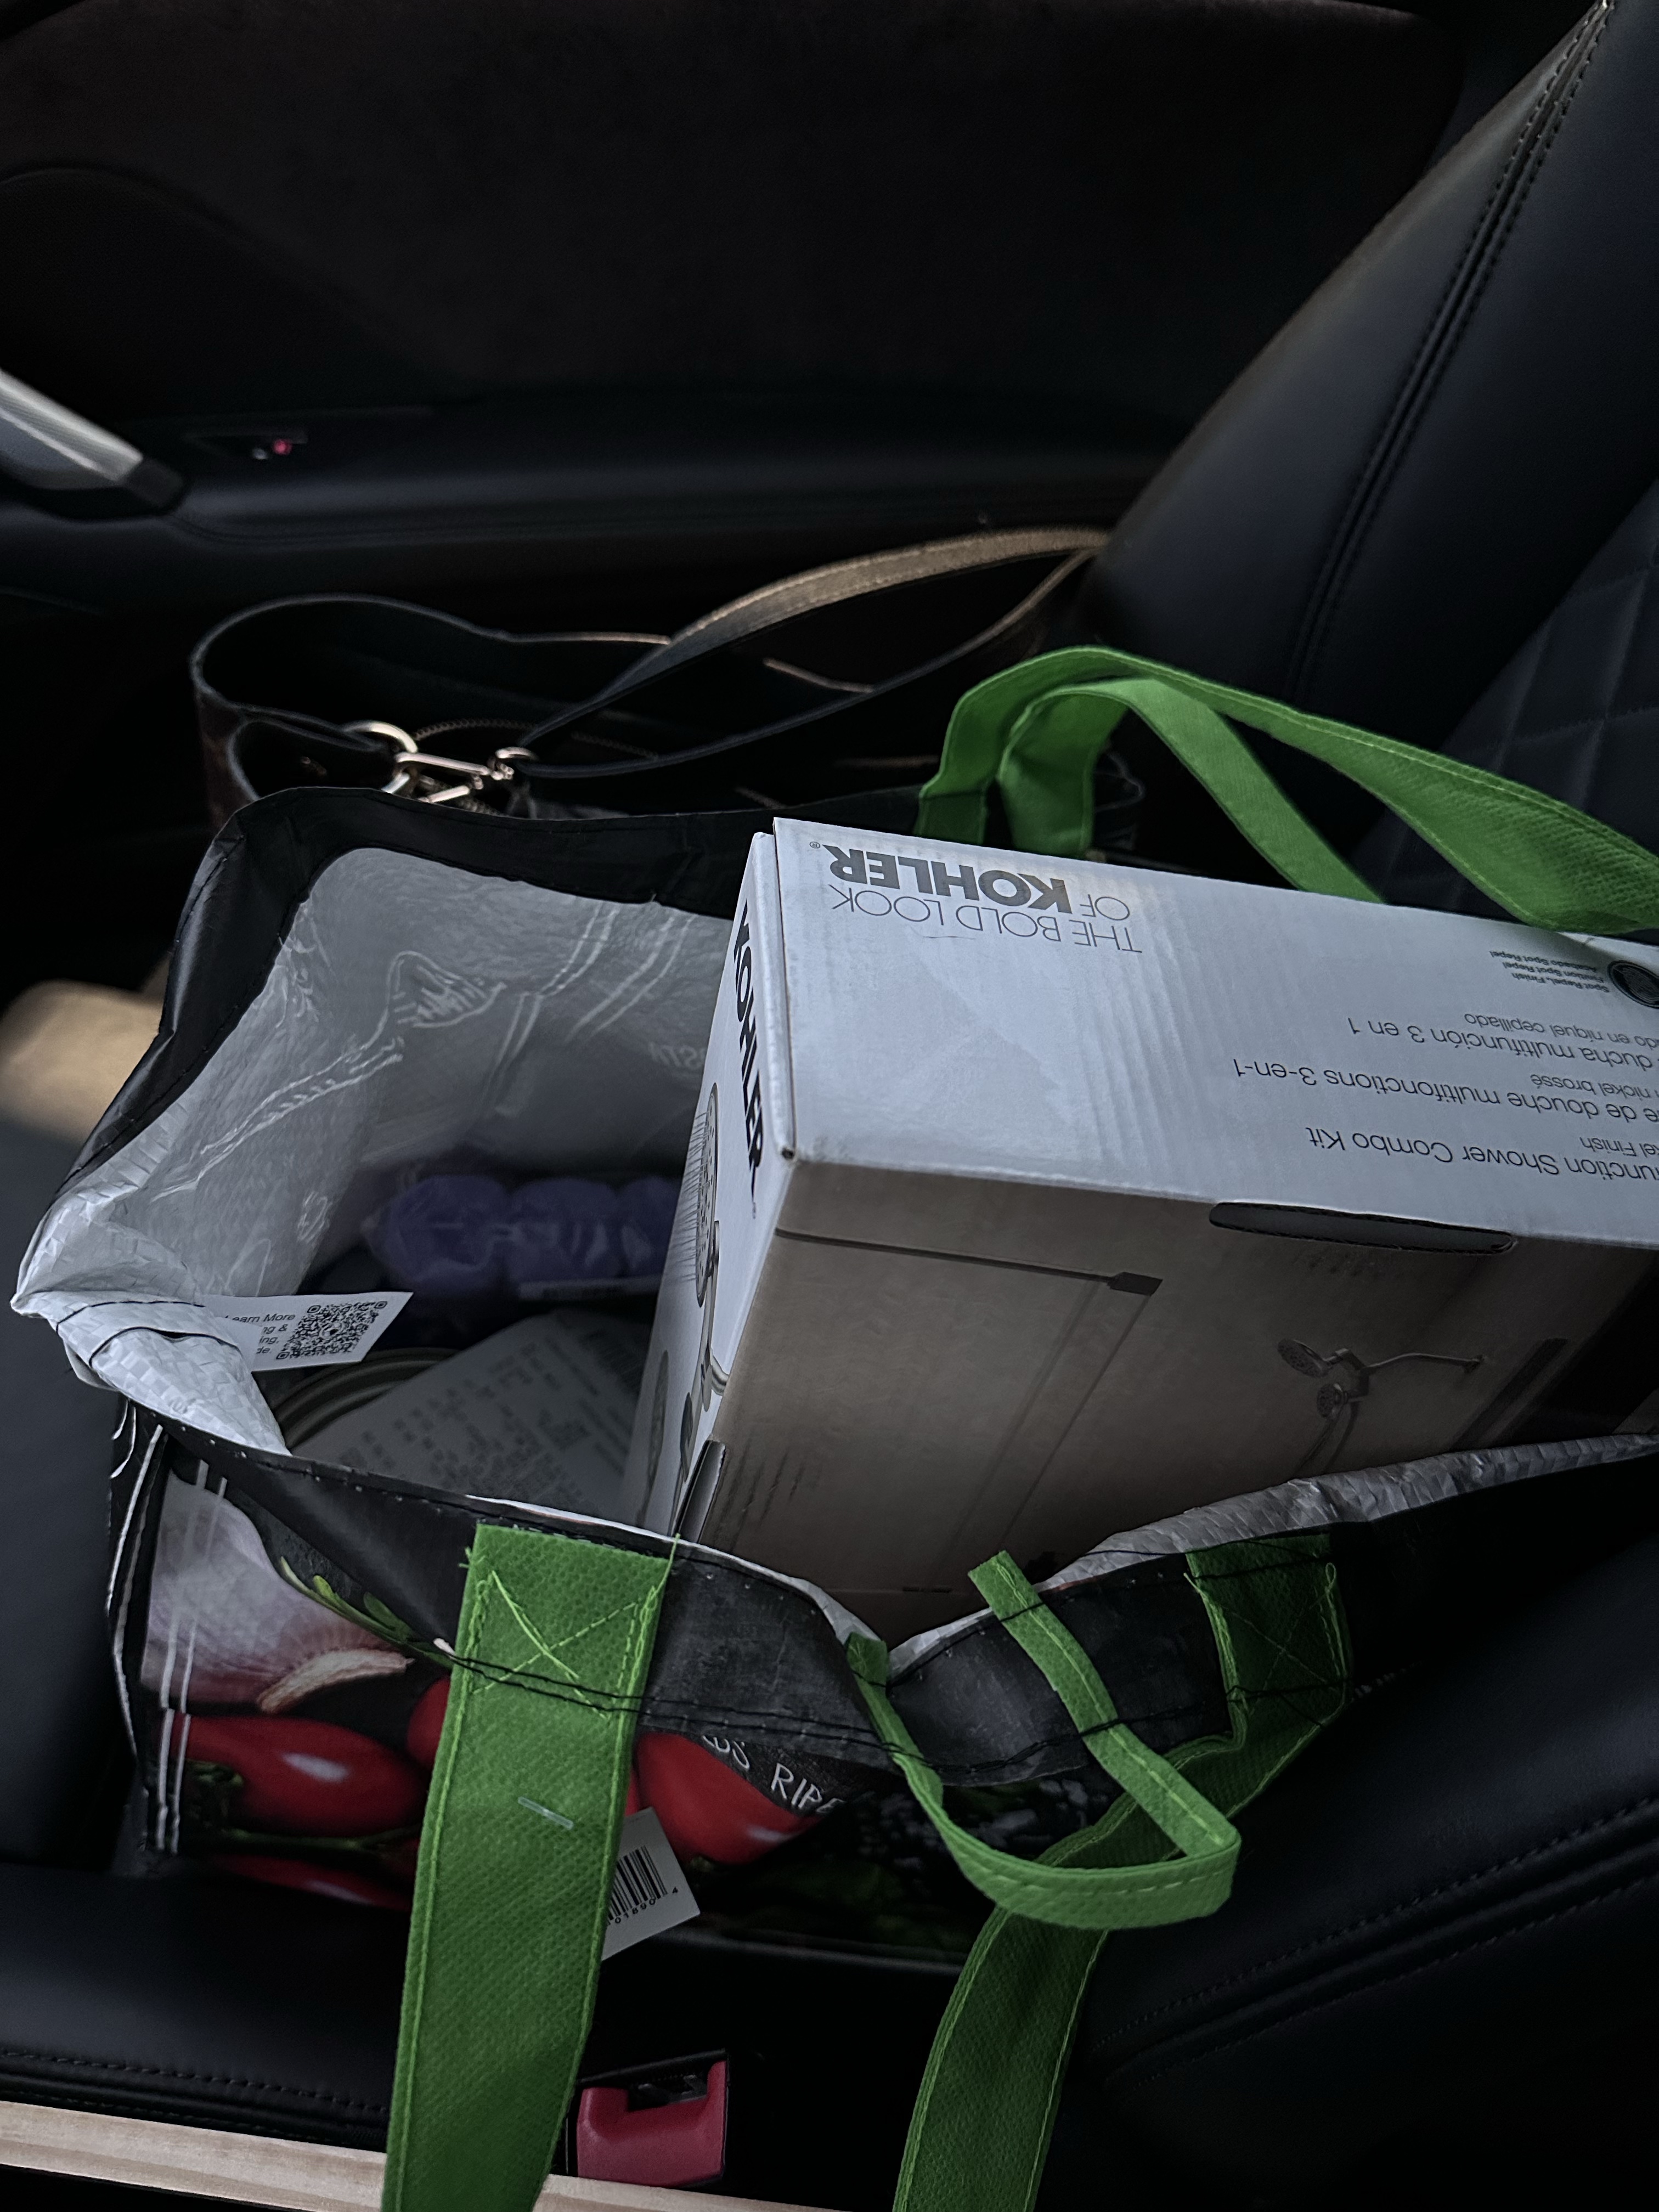
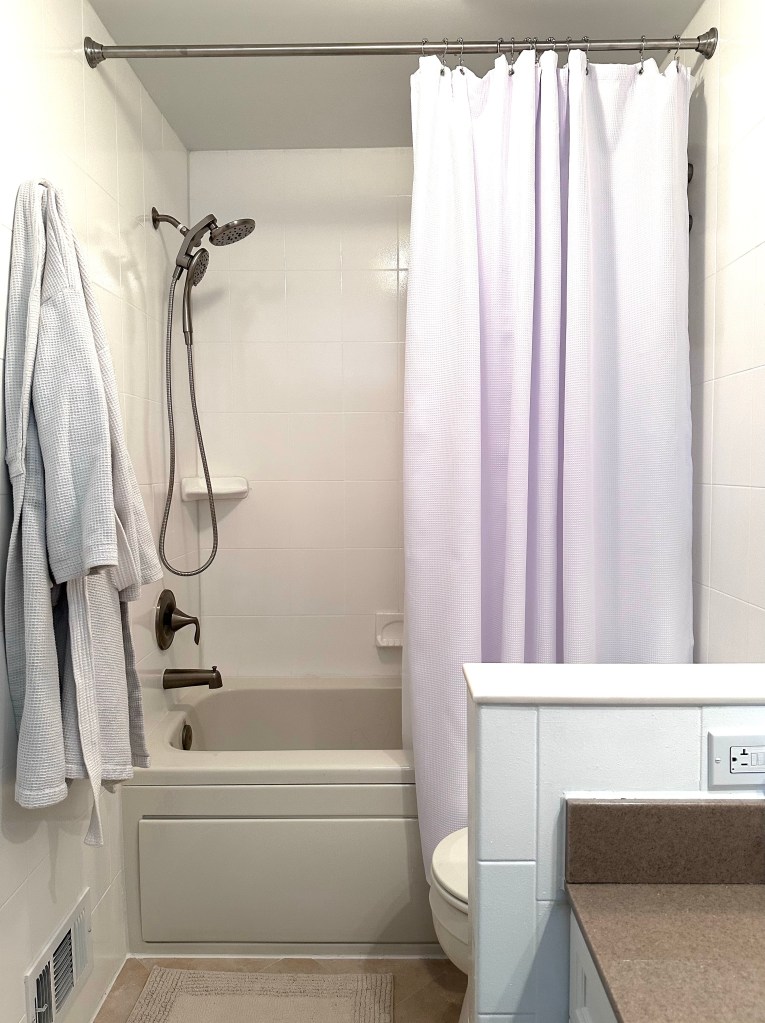
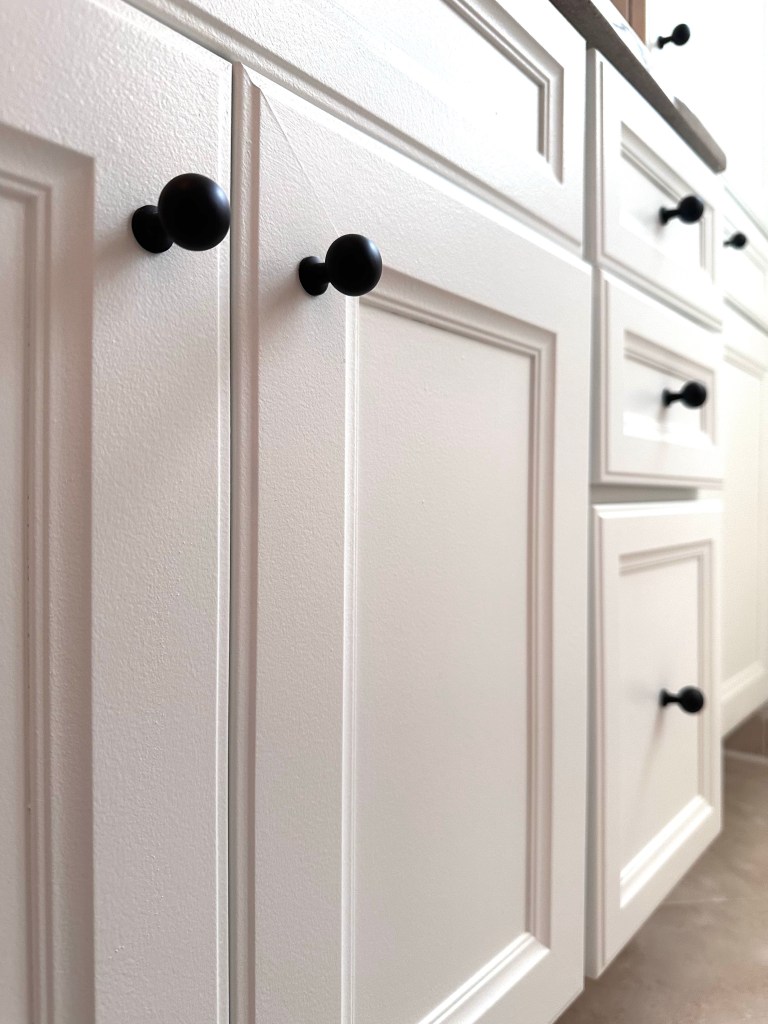
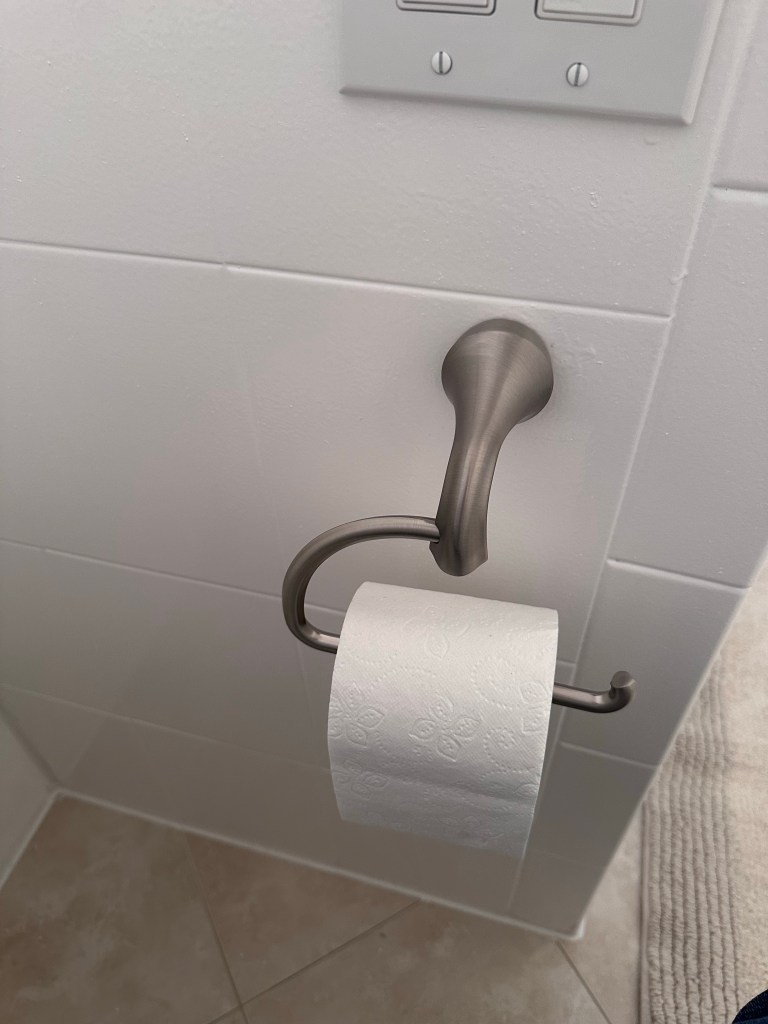
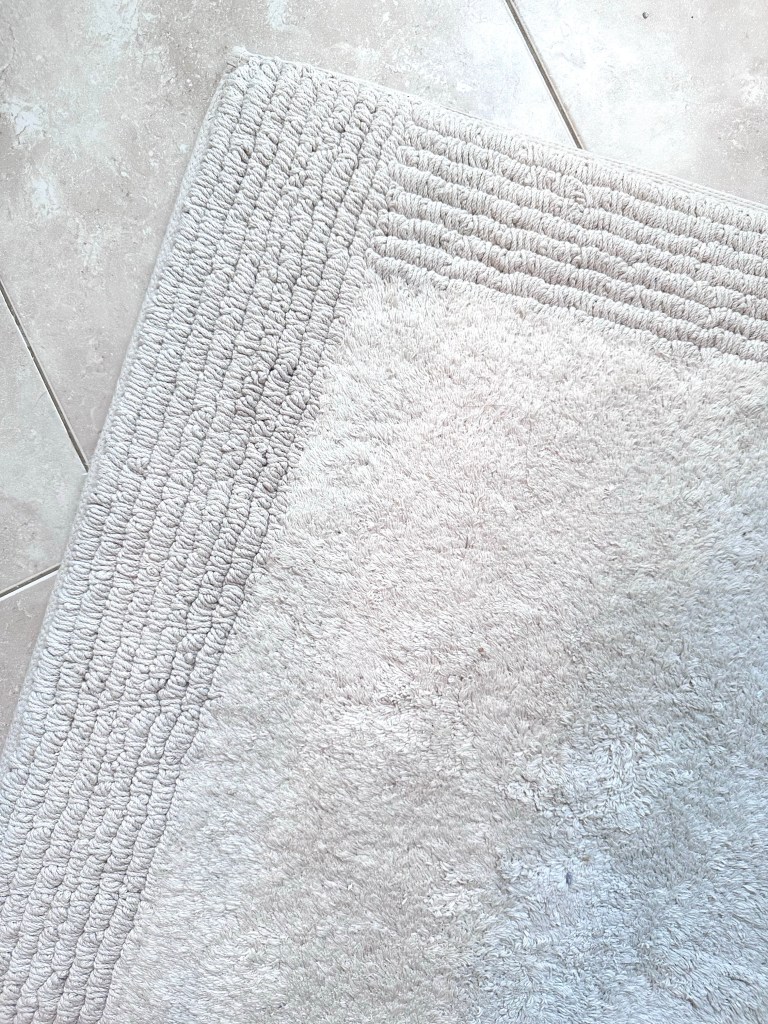
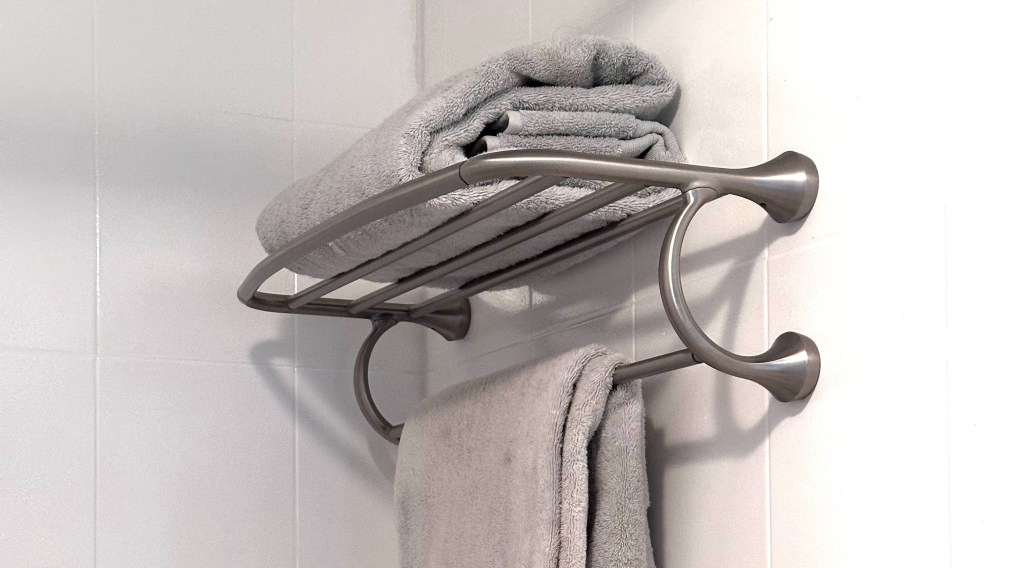
This included scraping out all the old caulk, removing the towel bars and shower surround I didn’t want and patching all the holes (using a two-part epoxy to patch the tiles), switching out the shower head for something nicer, replacing the broken TP holder, replacing the past-its-prime register cover, painting the walls, ceiling, and trim bright white, removing the mirror and vanity light, refinishing the cabinets (using super-strength primer and enamel-finish paint!), refinishing the tiles (using a kit from the home improvement store), and re-caulking.
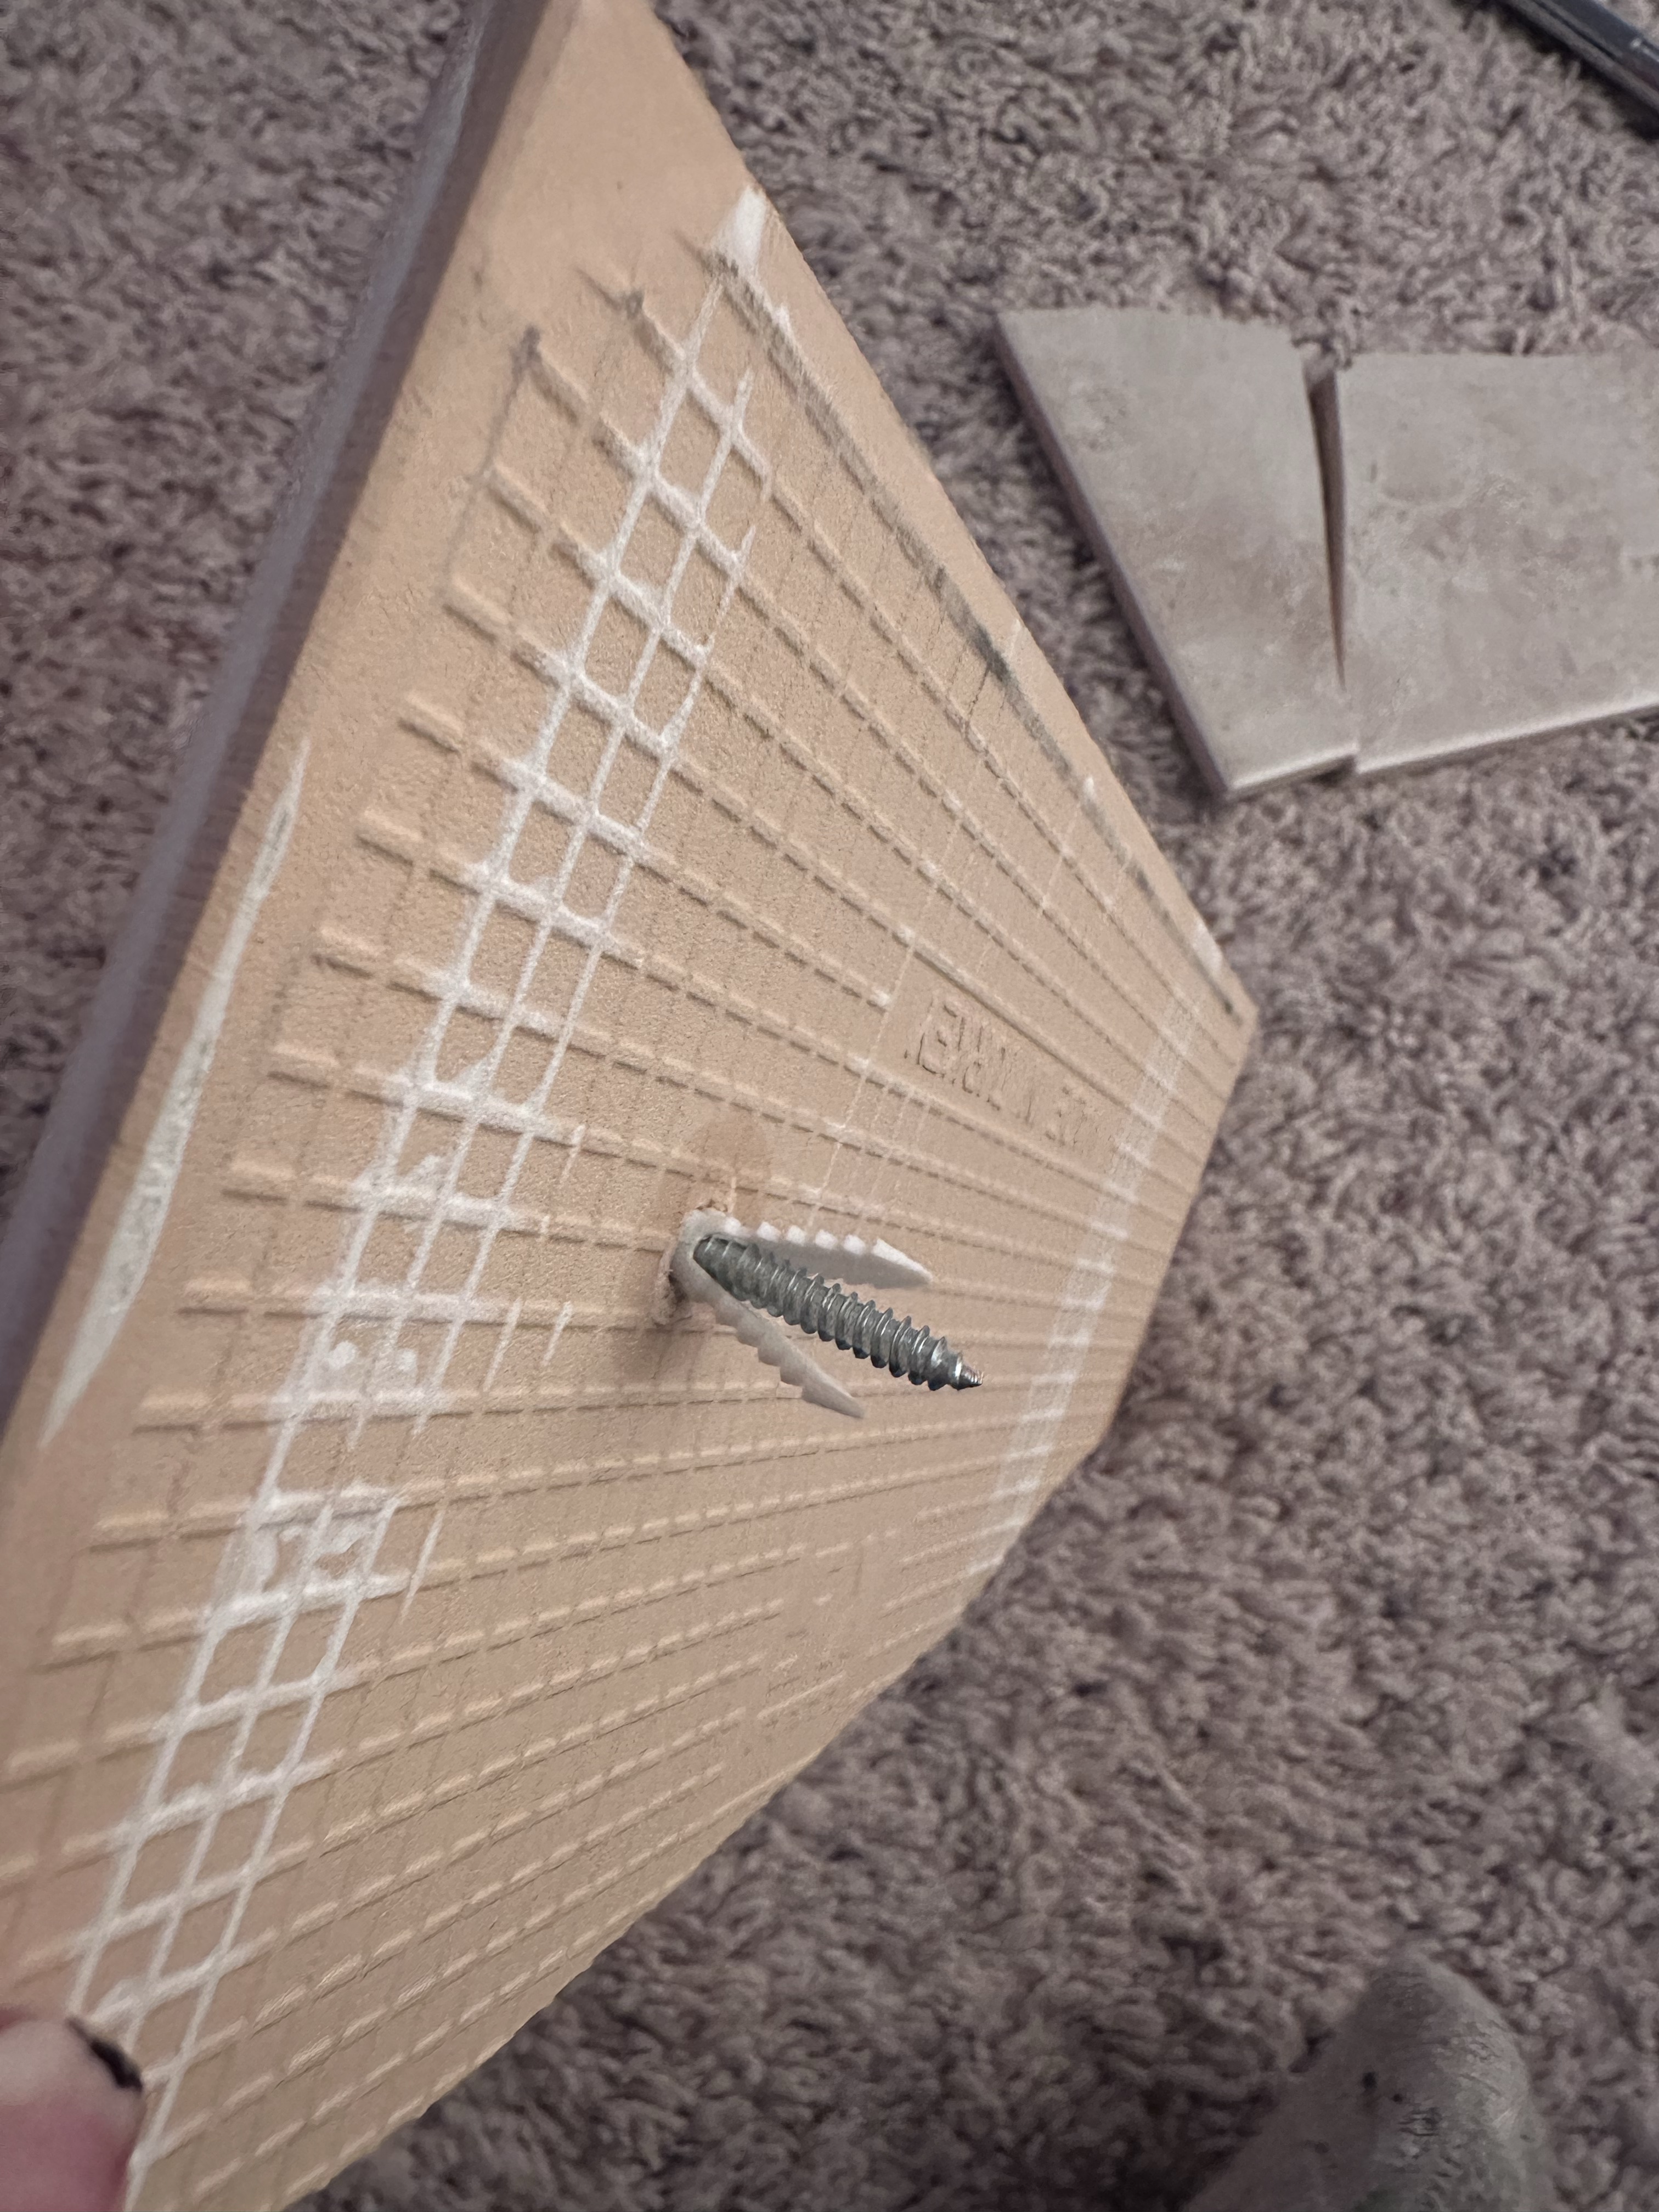
(The hardest part was re-drilling the tile to add the new stuff in – even just ceramic tile takes a special carbide drill bit and needs to be cooled with water while drilling and ya know … you really don’t want to end up 1/16″ off because it’s pretty hard to fix.) Measure thrice, drill once!

Shockingly … I kind of started to like it! Especially with the super dark, moody Primary Bedroom, it was nice to then have a bright and sunny space nearby to start the day.
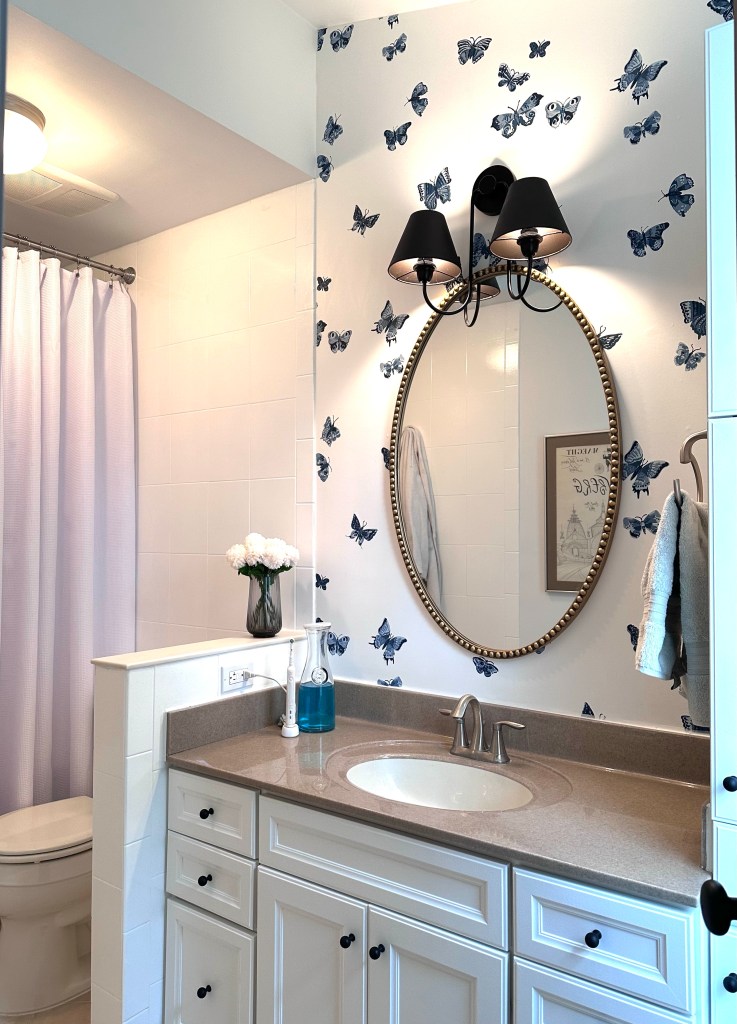
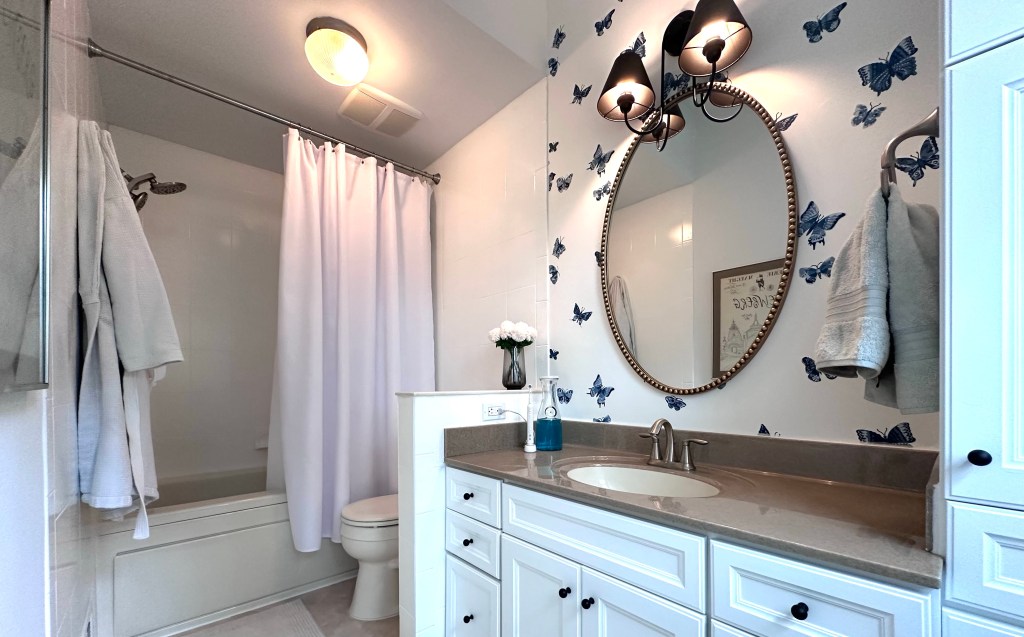
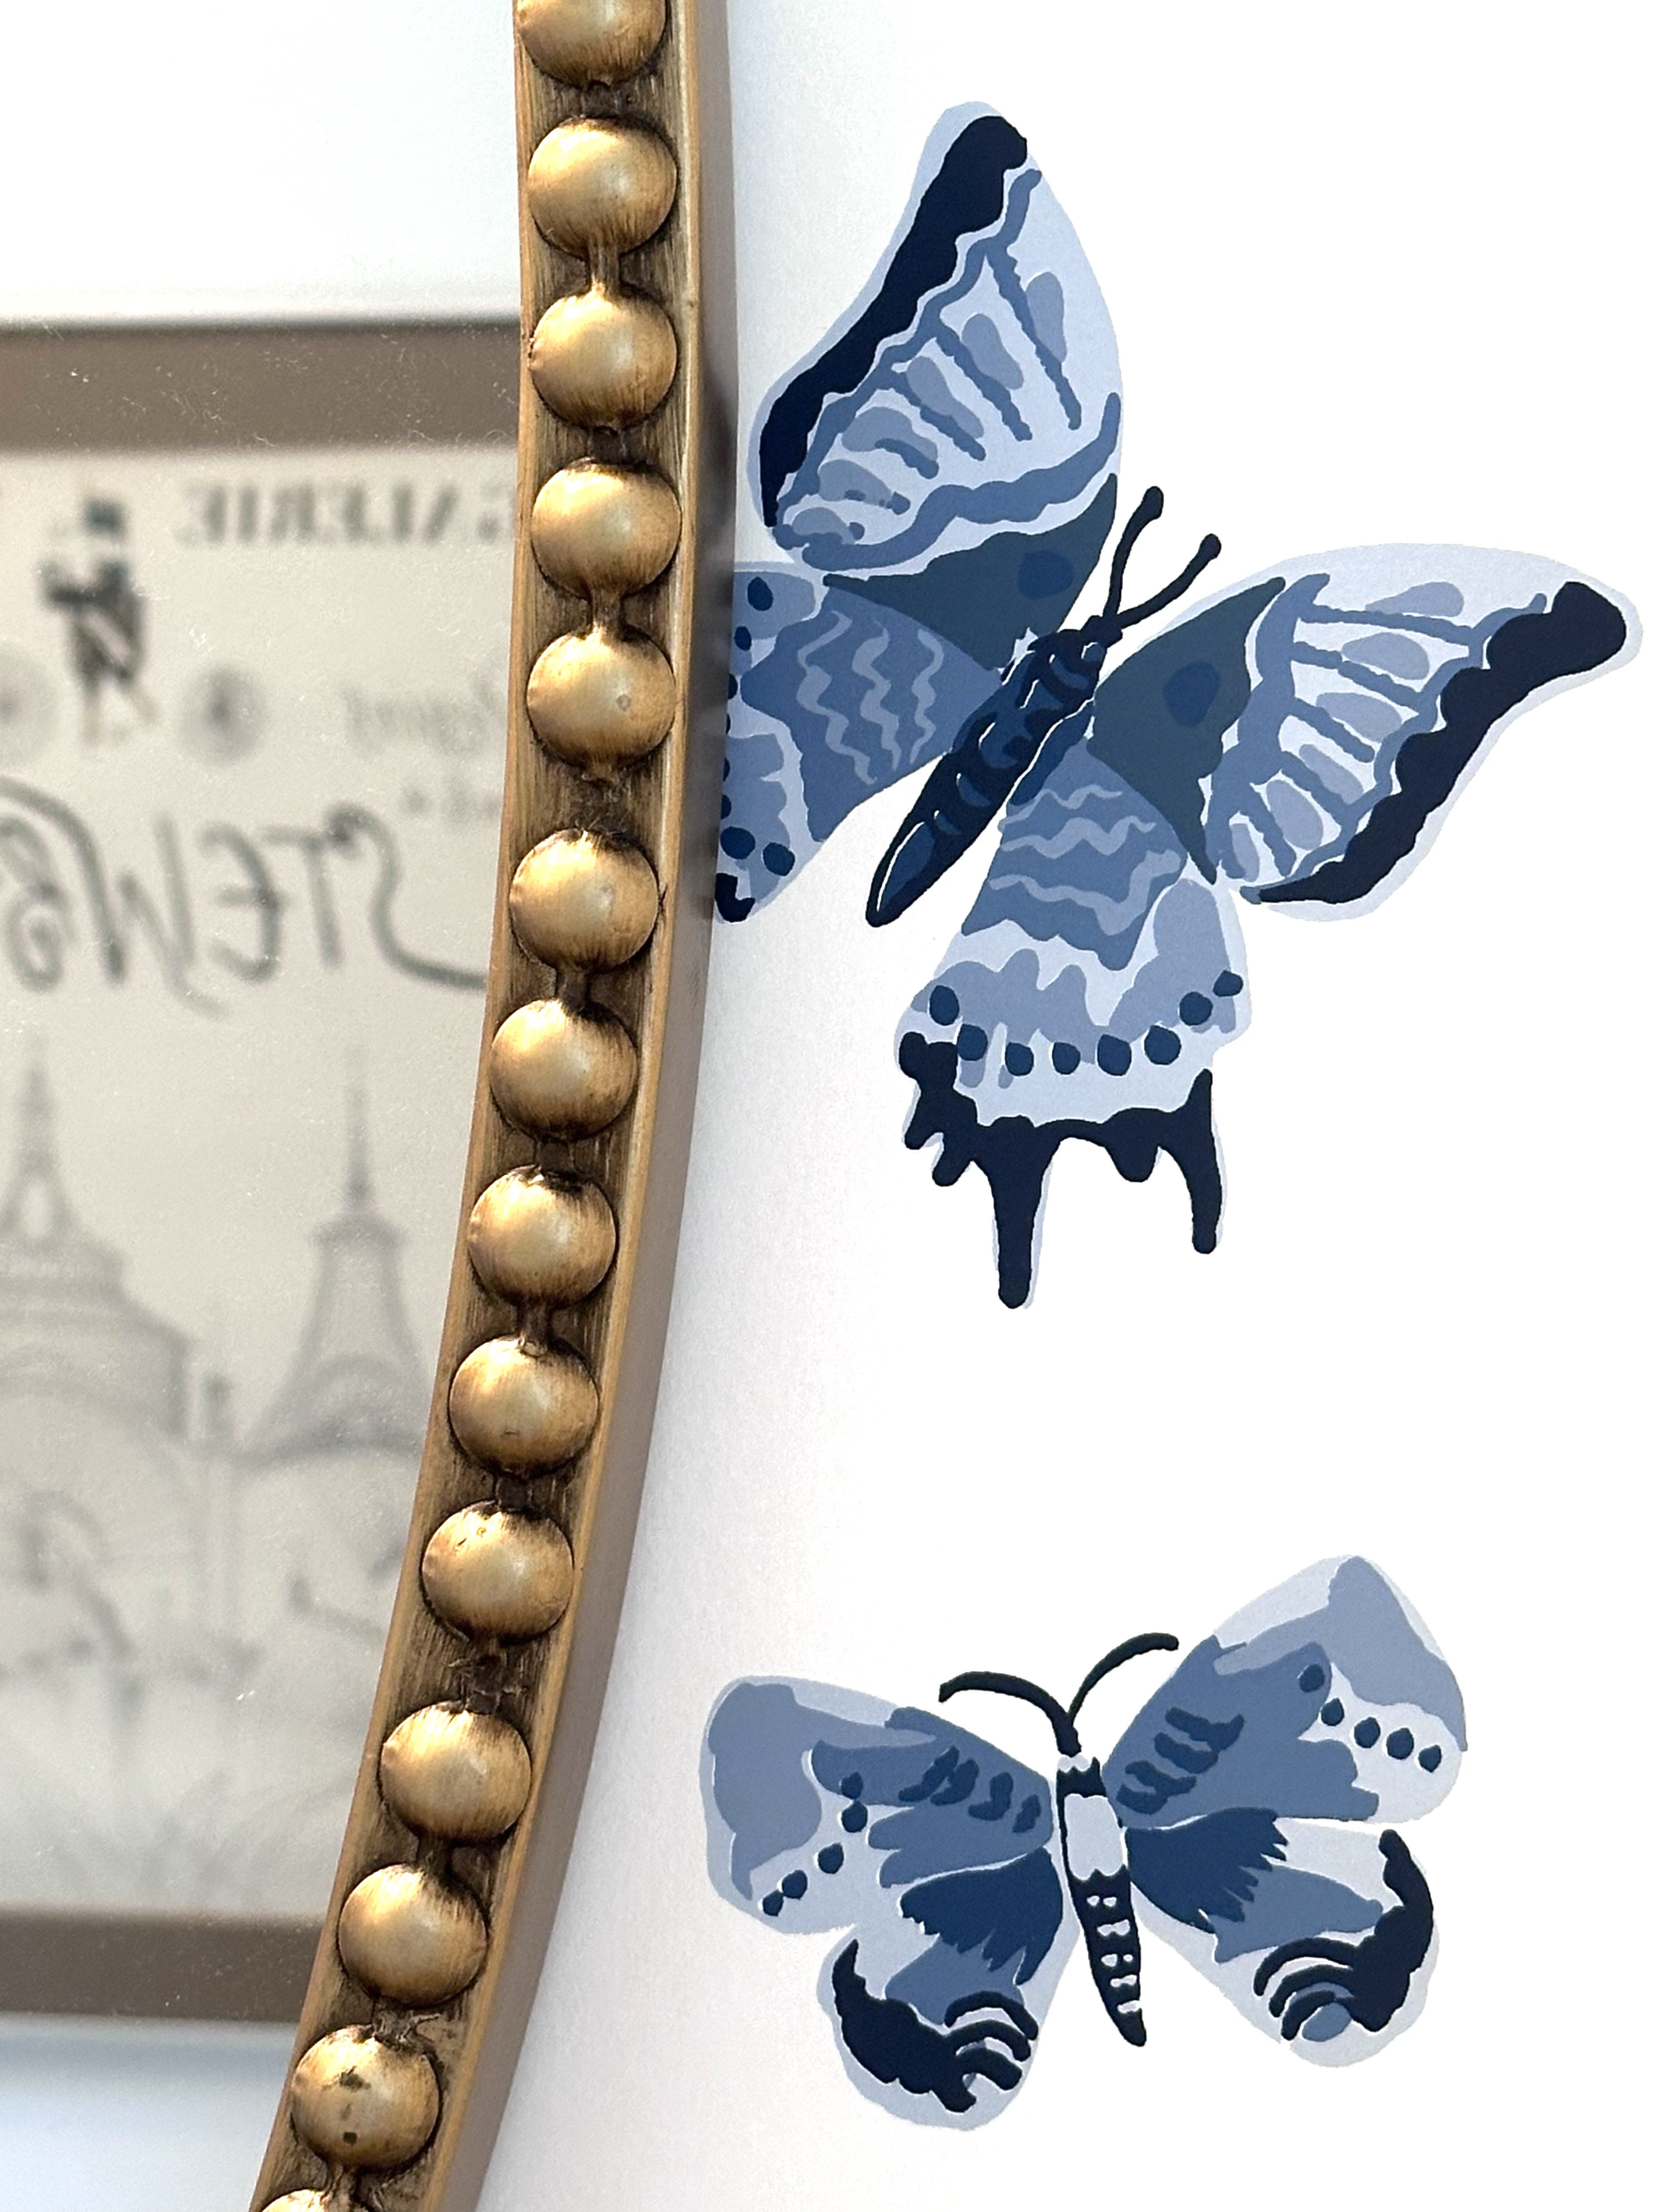
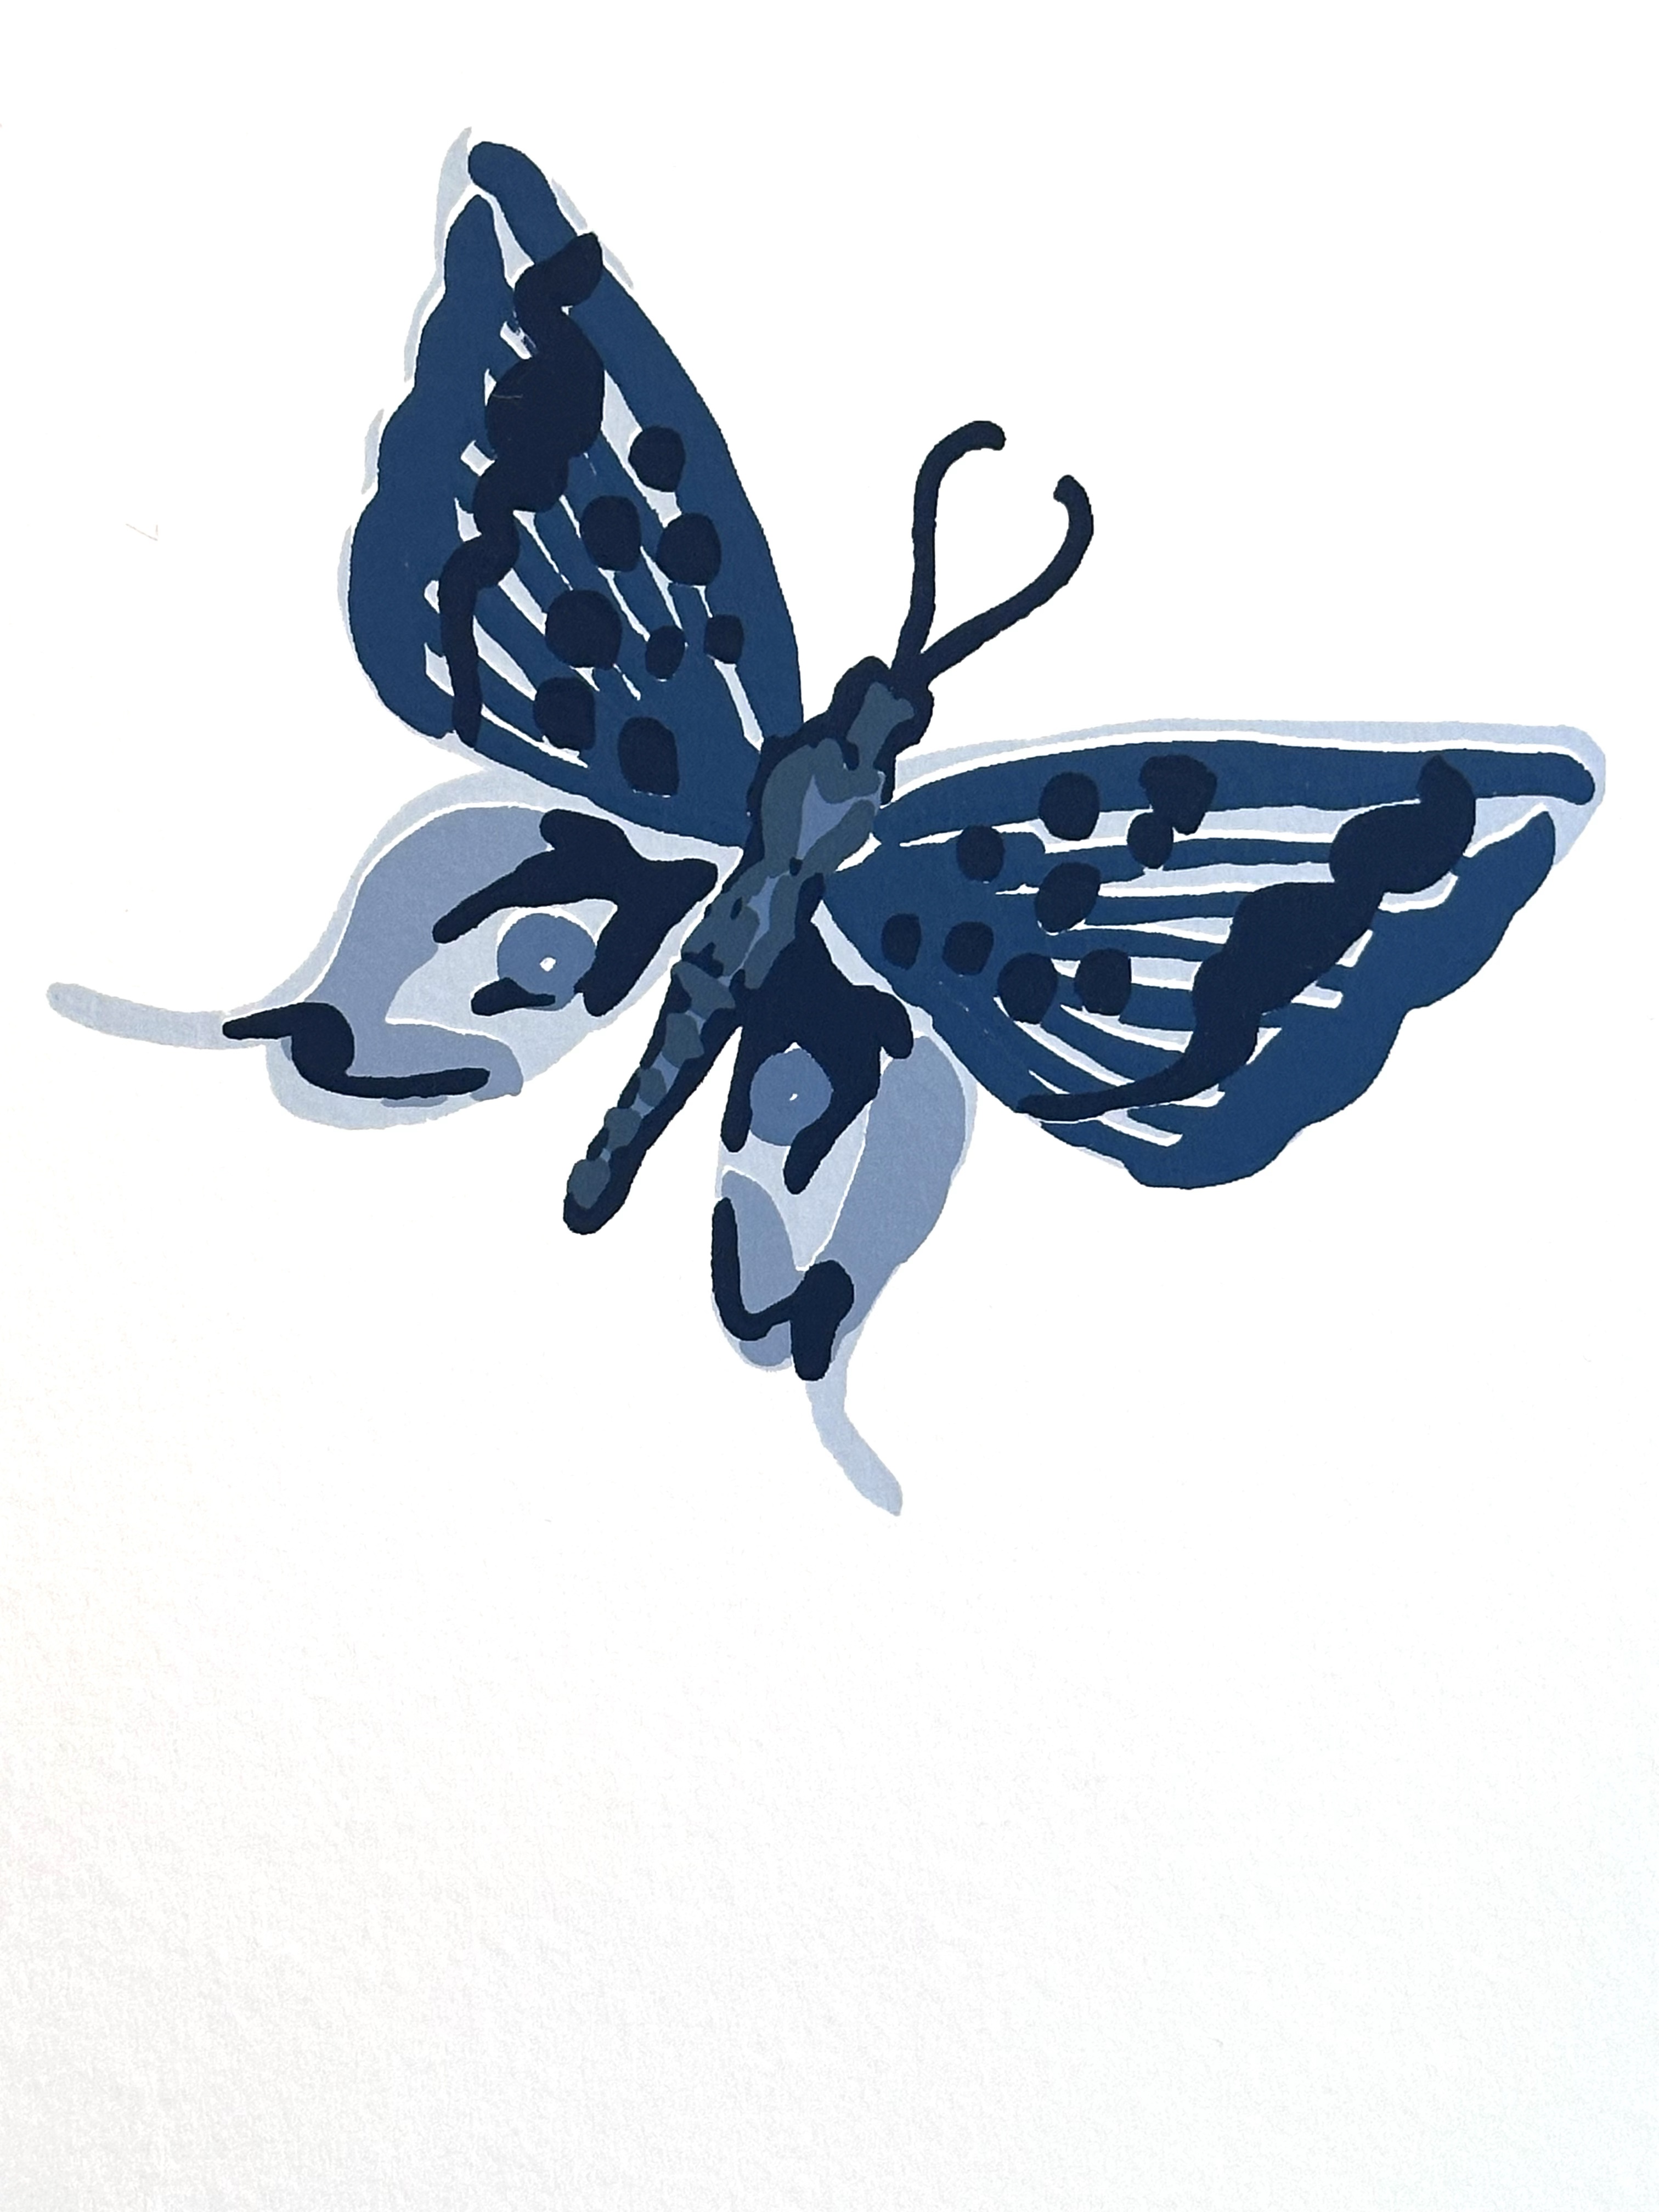
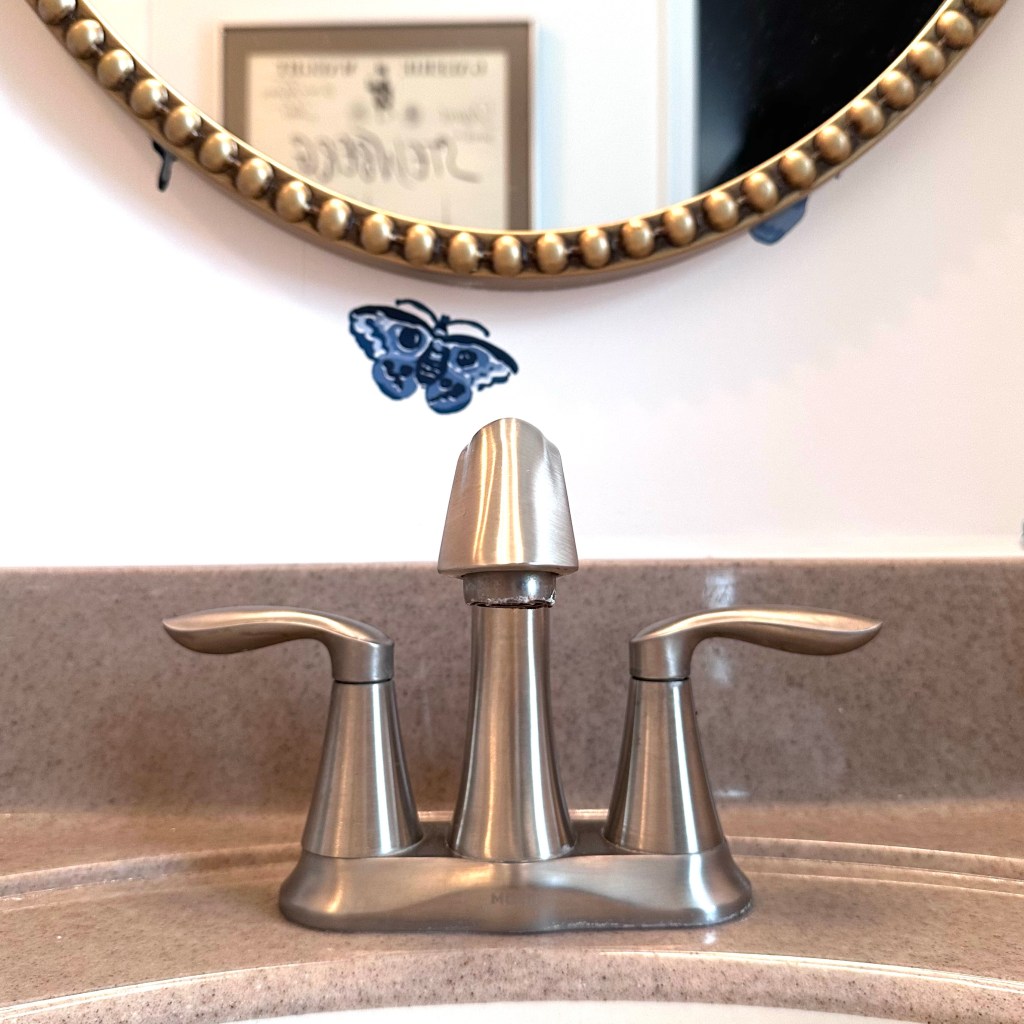
But, I did still wanted to do something to make it special, especially to highlight the tall ceilings in the sink area. Being a bathroom and being now light-and-bright, I wanted to keep a lot of white to obscure some of the various lines a little, but also wanted some blue in there for color. I found this wallpaper, from Hygge & West, in the “Porcelain” colorway:

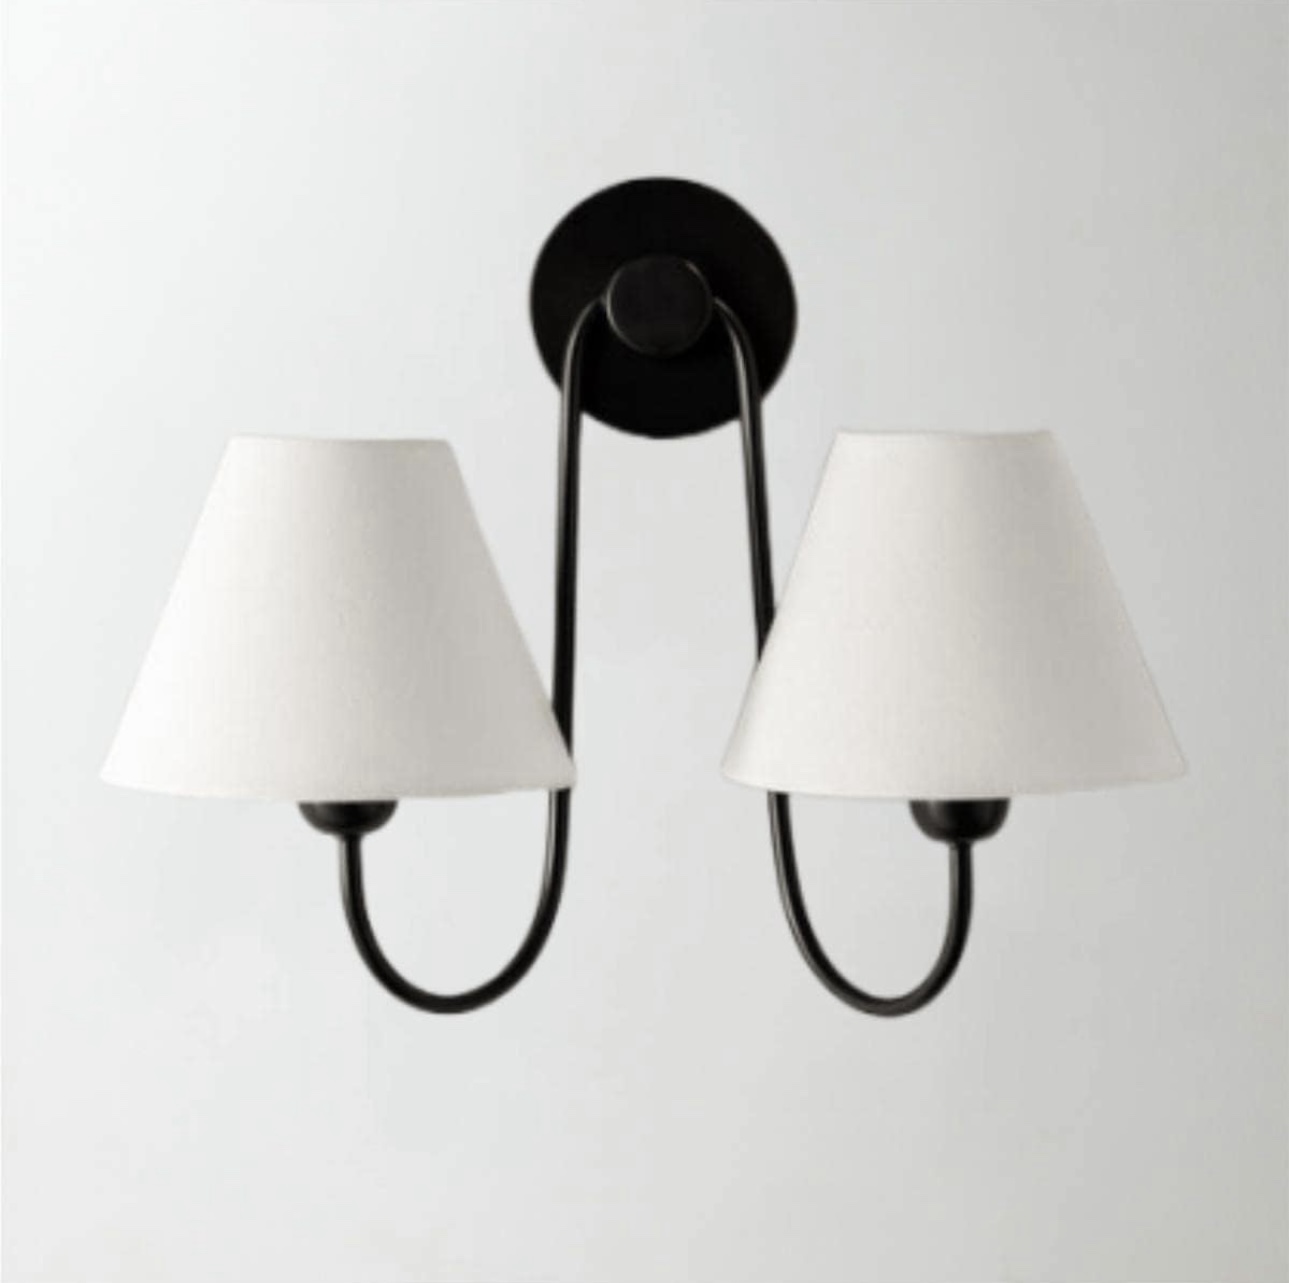
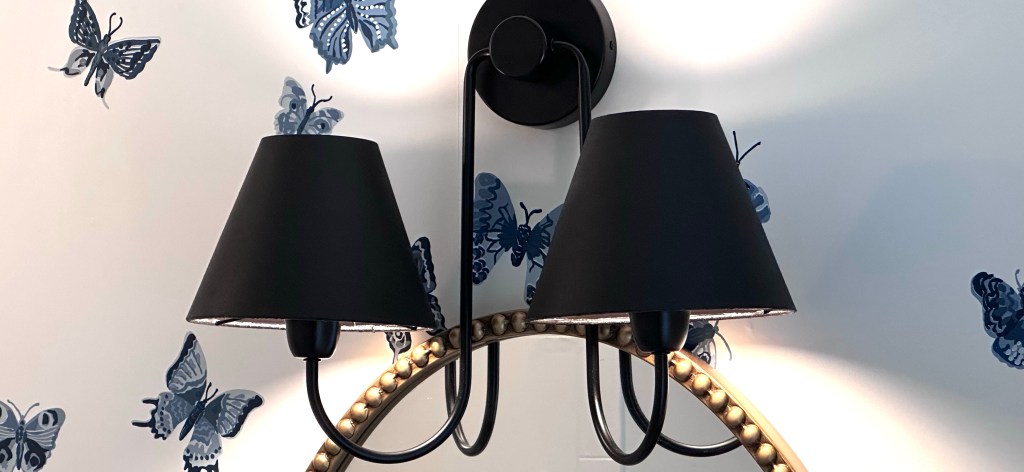
Everyone I showed this to went “Mmm, might want to rethink that”. But, I really liked it, so worse comes to worst, I’ll wallpaper over it with something else when I move out one day. Once I had that, I knew I wanted an oval mirror (again, reducing how many linear elements I add back in to the space), and since the light fixture was originally wired up super high, I found one that kind of swoops down, which I also painted black using some of the extra paint inventory I have lying around.

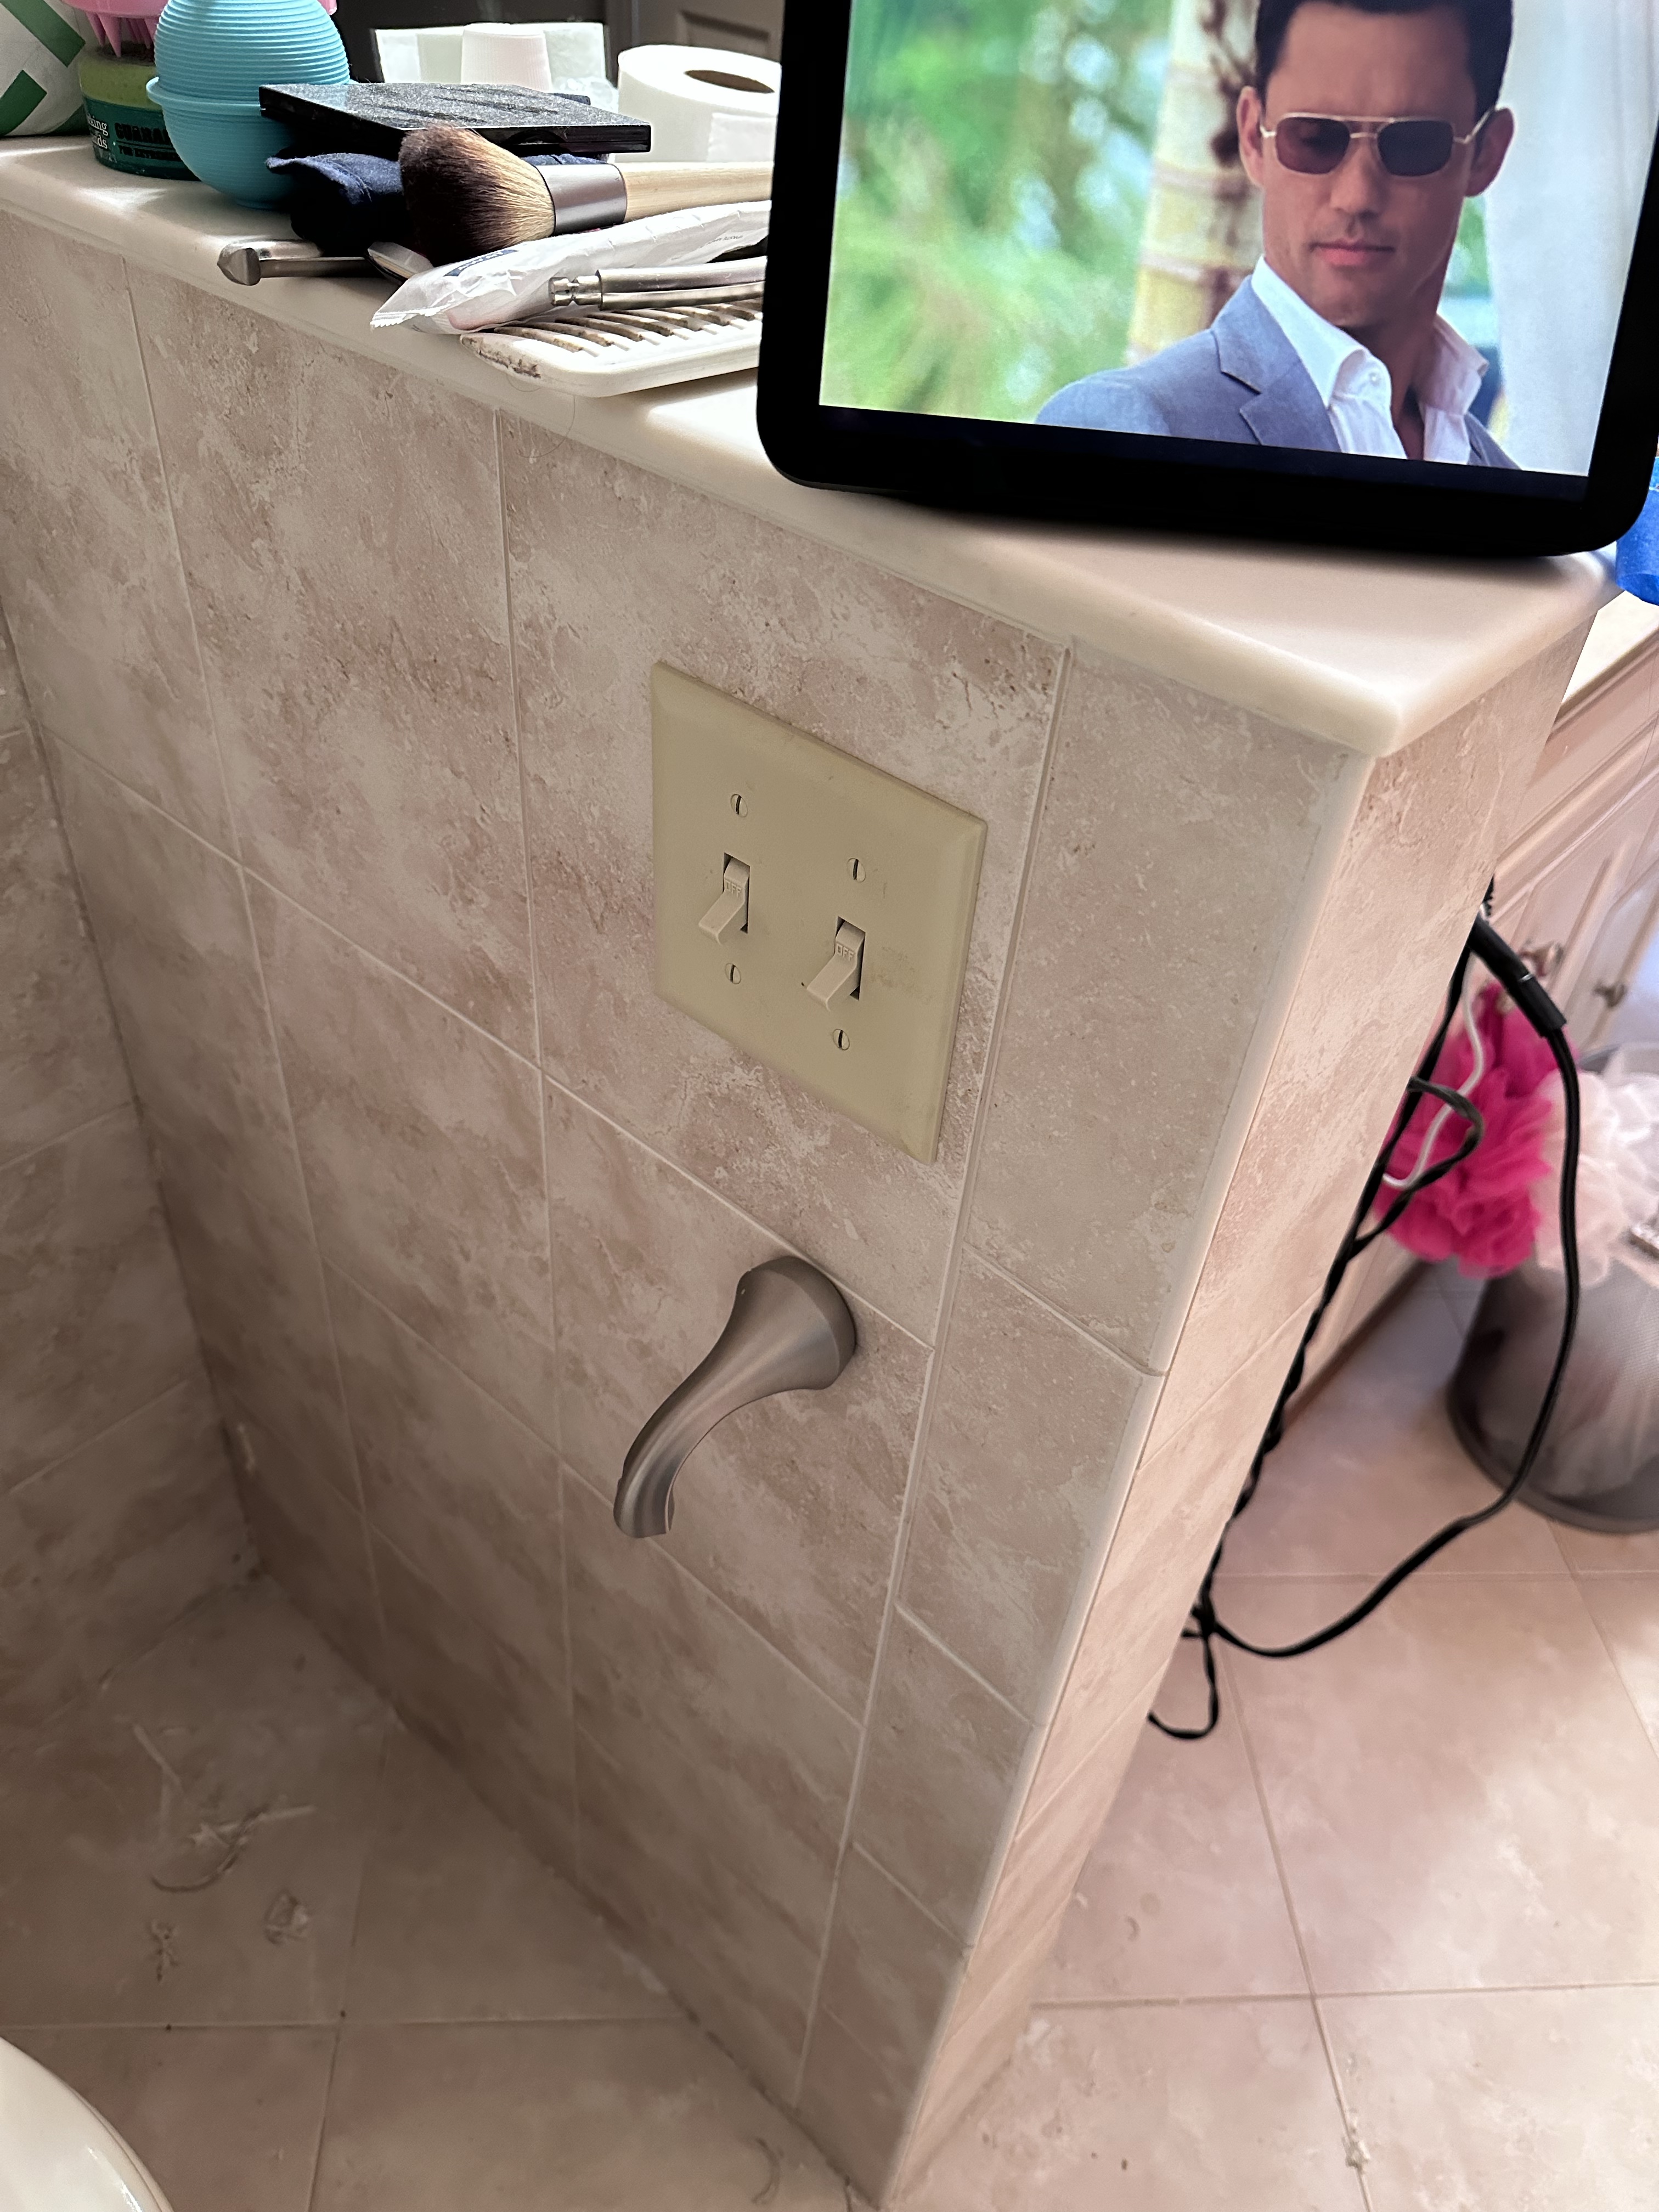
Once all those decisions were made, everything went in pretty smoothly, including a new shower curtain rod with extra-tall extra-white extra-waffley curtain to soften up all the hard surfaces on that side of the bathroom and add the illusion of more height. Then, it was just about adding a few more finishing touches, the last of which was a print I found over Thanksgiving at an antique store in Champaign, Illinois. And, change out yet more light switches and outlets from almond to bright white. Here’s the final look:
And I’m obsessed with my new mouthwash carafe!!
Here’s the before-and-after:

Also, since I’m doing all these renovations to my own house, I obviously never get the big HGTV reveal when I finish a room. But this time, since I did do this one pretty much by myself, I had my parents come back and get the peach-to-porcelain surprise. I didn’t get a picture of that, but it was fun.

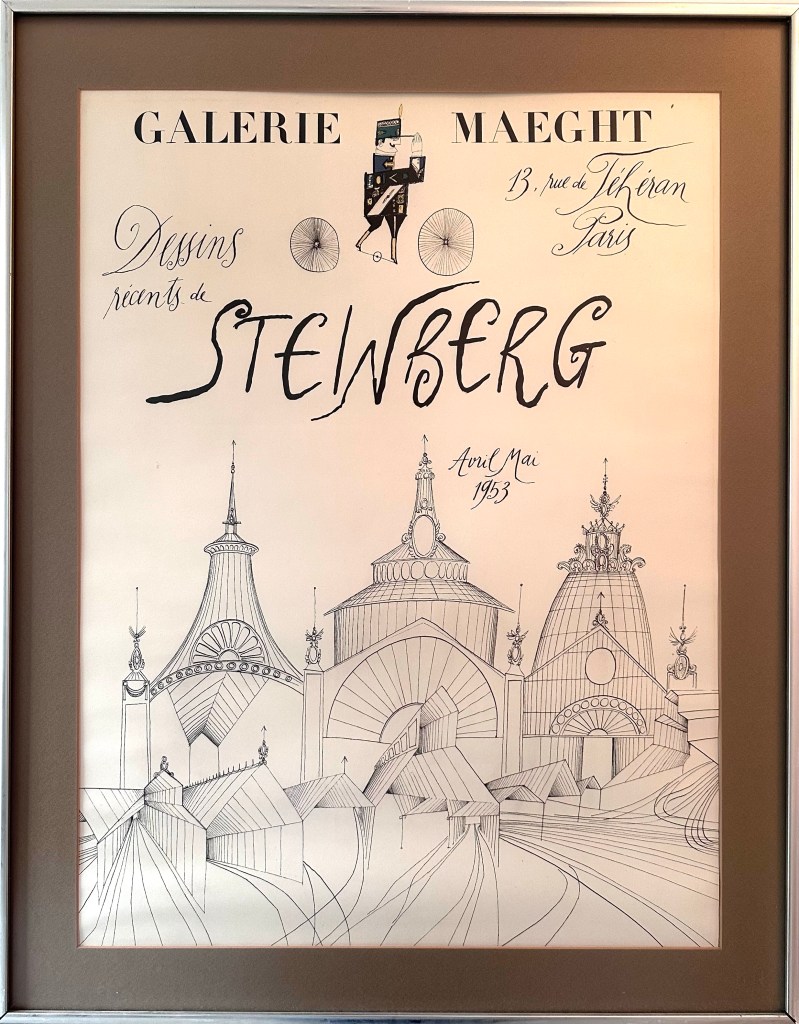
I mean look at this lil’ guy:
This was probably my most gratifying project yet, and I felt really proud of myself for how it all came out. Especially considering the …
Debits!
Talking turkey …
Lots of trips to the home improvement store and online shopping, but the most expensive thing in there was the roll of wallpaper no one likes, which was $290!
Total spent on the Primary Bath: $1,106
Budget remaining (out of $50,000): $38,789
Thanks for reading!

You made a beautiful transformation.
Did you replace the counter? It looks darker in the “after” than it did in the “before”.
LikeLike
Same counter! Maybe slightly *cleaner* in the after, but that’s it!
LikeLike