It’s tiiimmmmmeeeeee!
Time to tackle the beast … the kitchen (and “breakfast room”, too) –
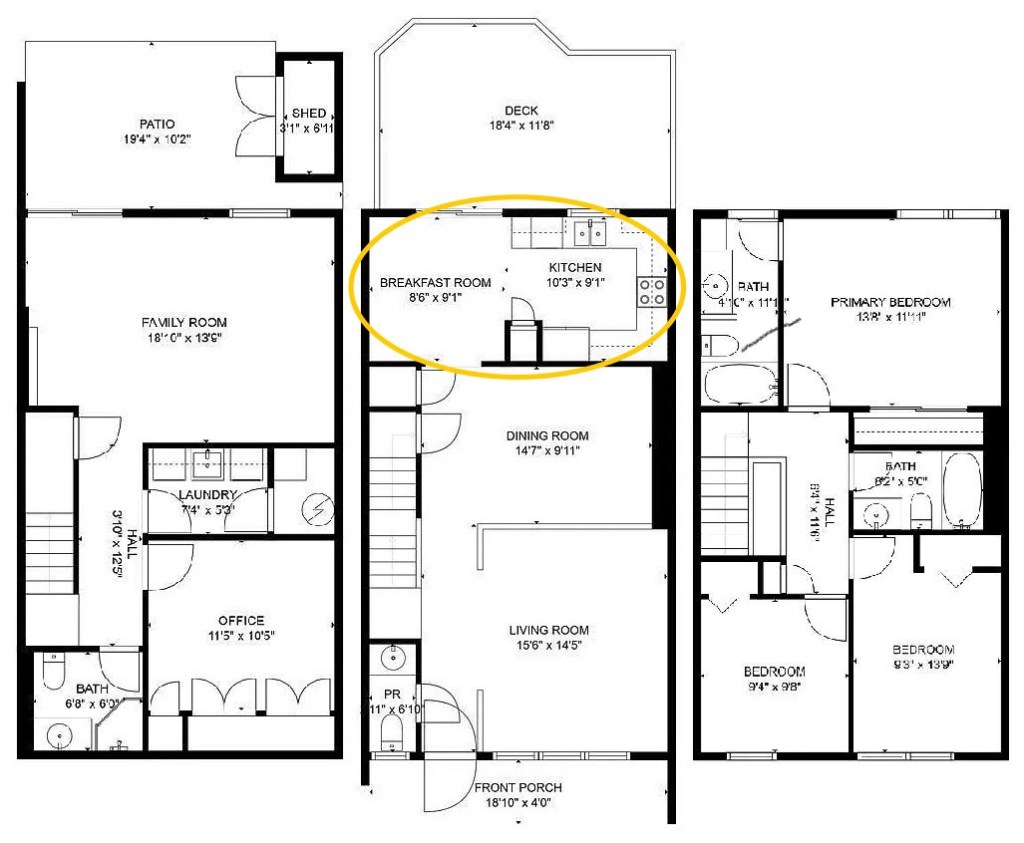
The adventure started a long time ago, in like … March 2023, when I first toured the house. The first thing I do in any house I walk into is start imagining how I would re-design it, and with this house the kitchen was too closed off and not using all its available space to the best of its abilities.
Starting Point
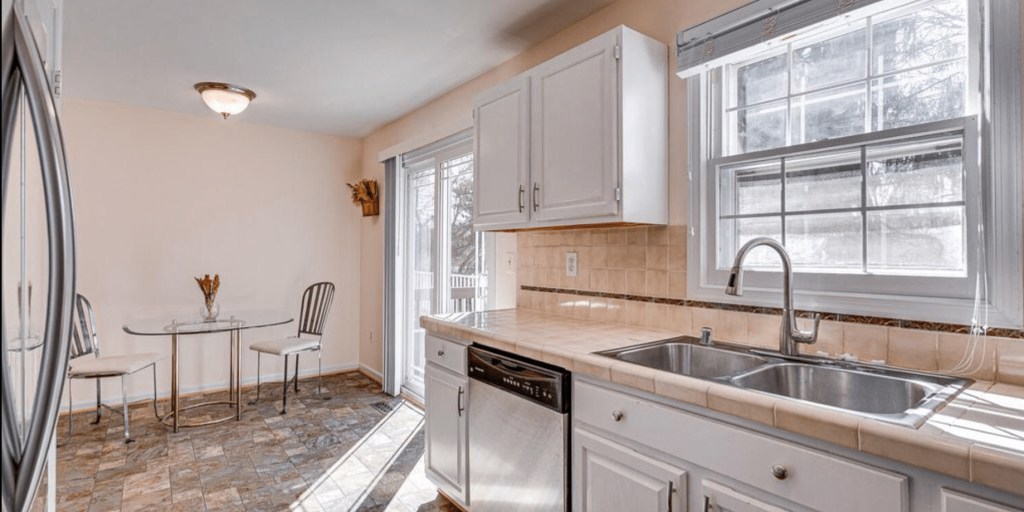
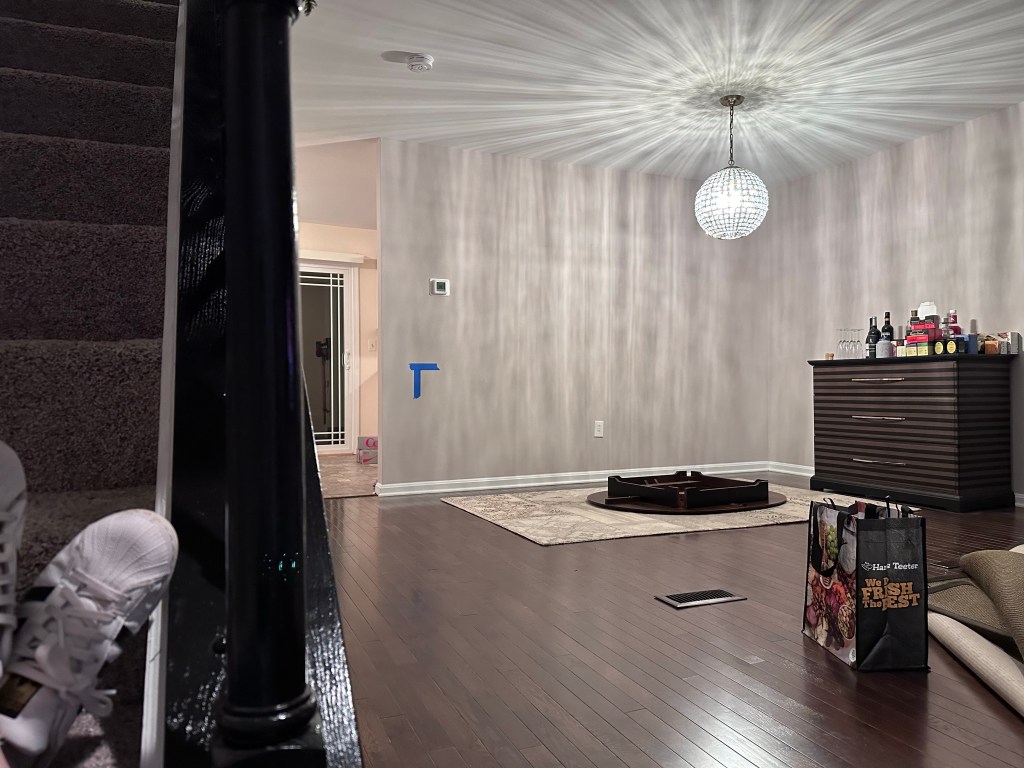
Here’s the original kitchen with all its raw, untapped potential:
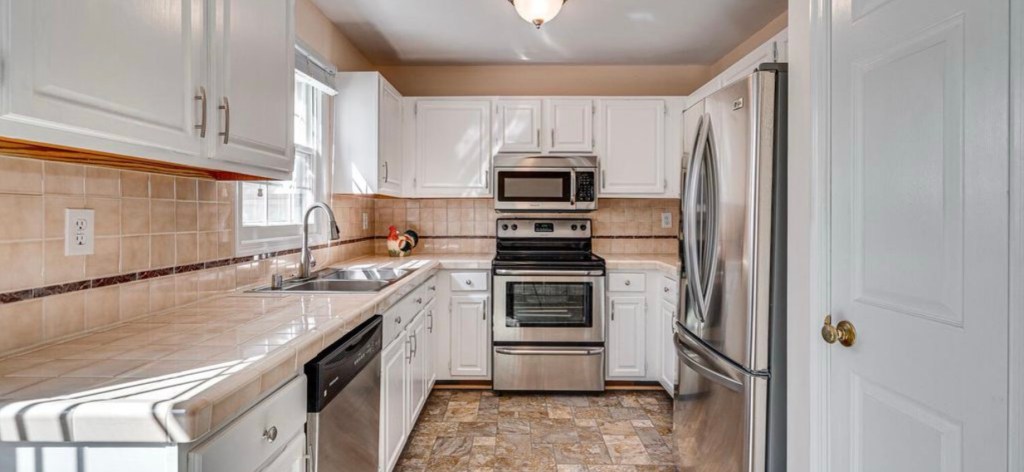
Total boob light count: 2 (appropriately enough)
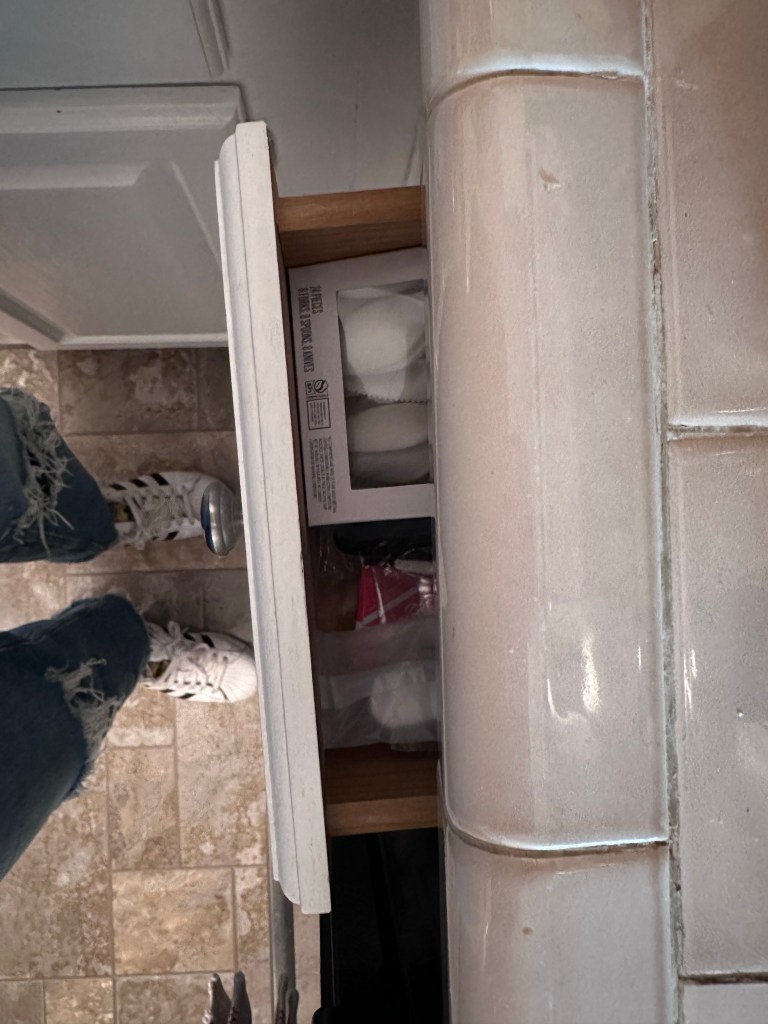
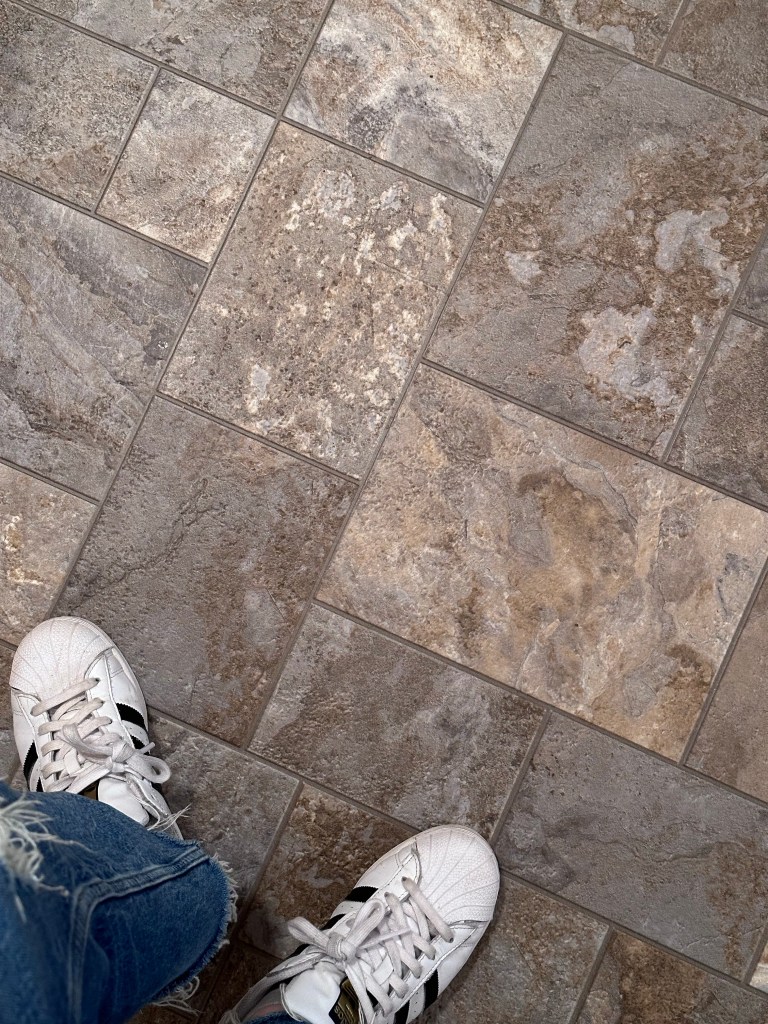
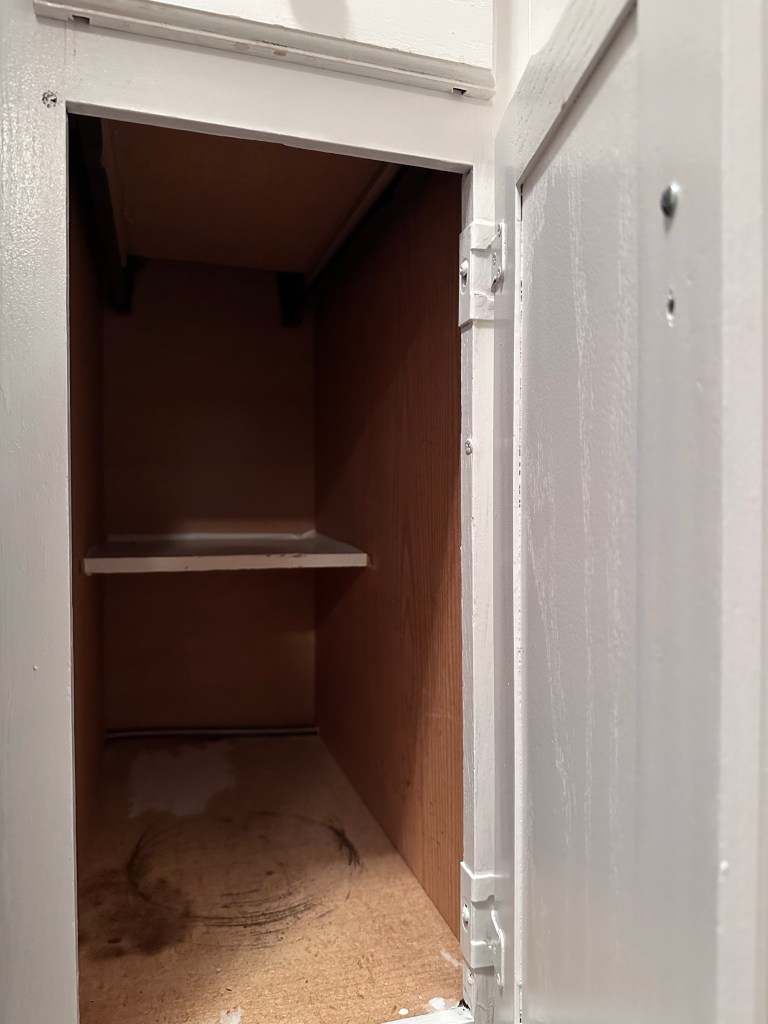
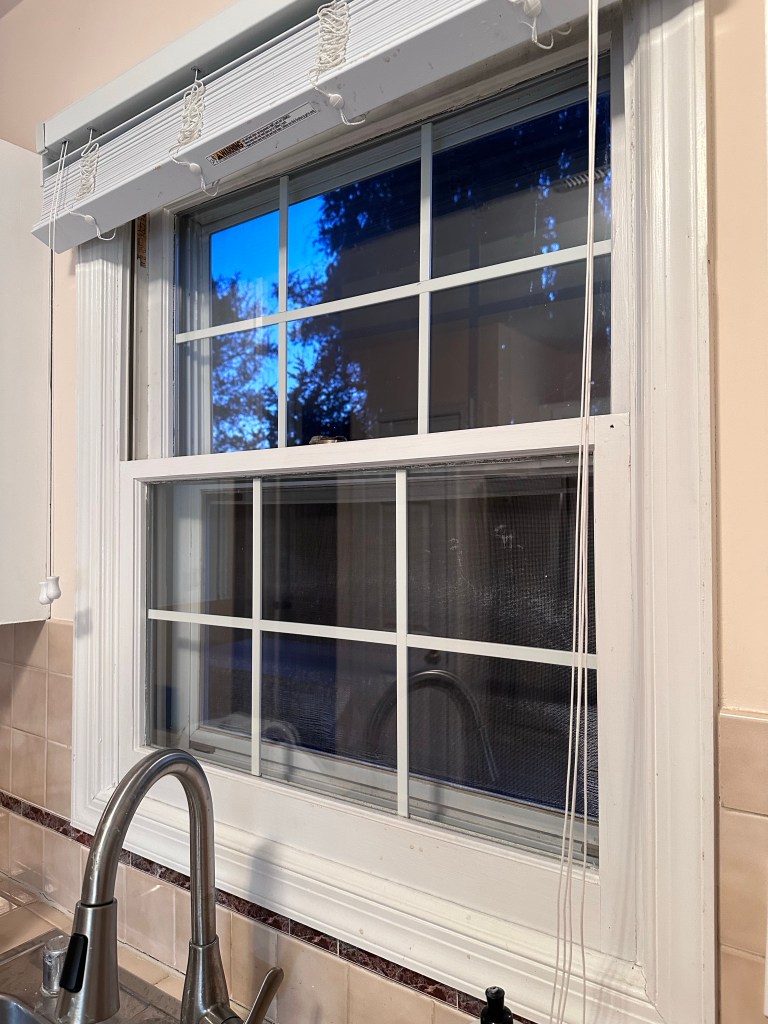
Despite the layout and the boob lights, this kitchen had also just seen better days … tile (and therefore unsanitary grout) countertops, cabinets with chipping paint and stained interiors, two layers of sheet vinyl on the floors, drawers that don’t work, and a janky wood window that needs replacing. And the microwave was installed too close to the top of the range?
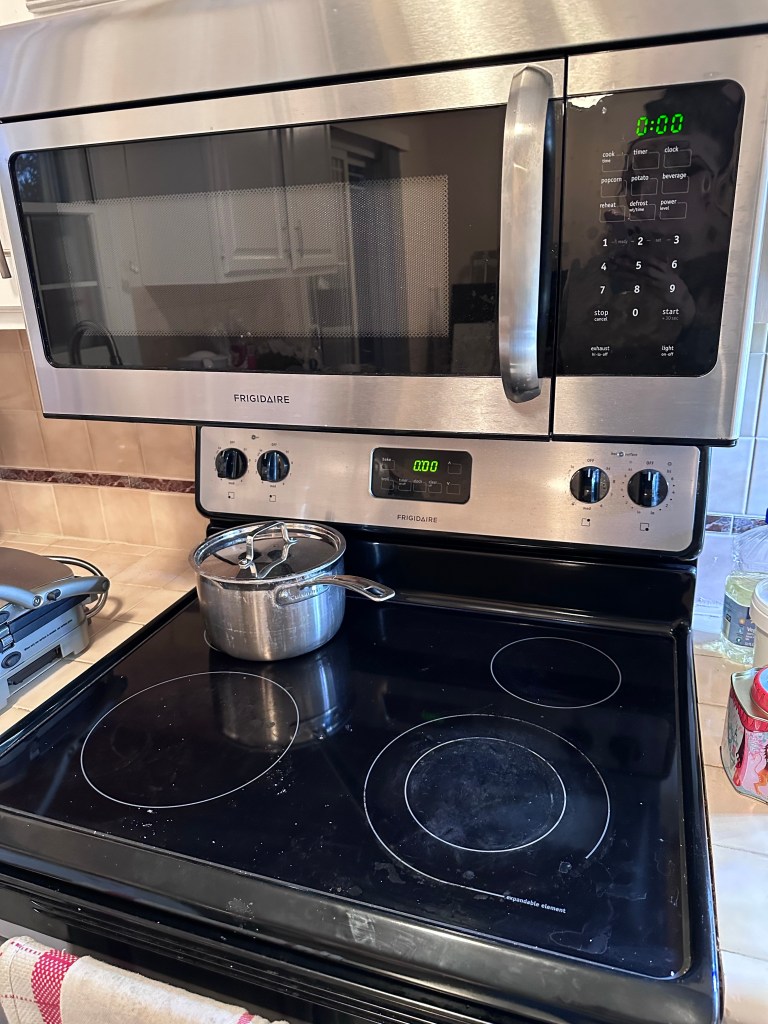
But on the plus-side, new-ish appliances! You guys can stay.
Planning the Design
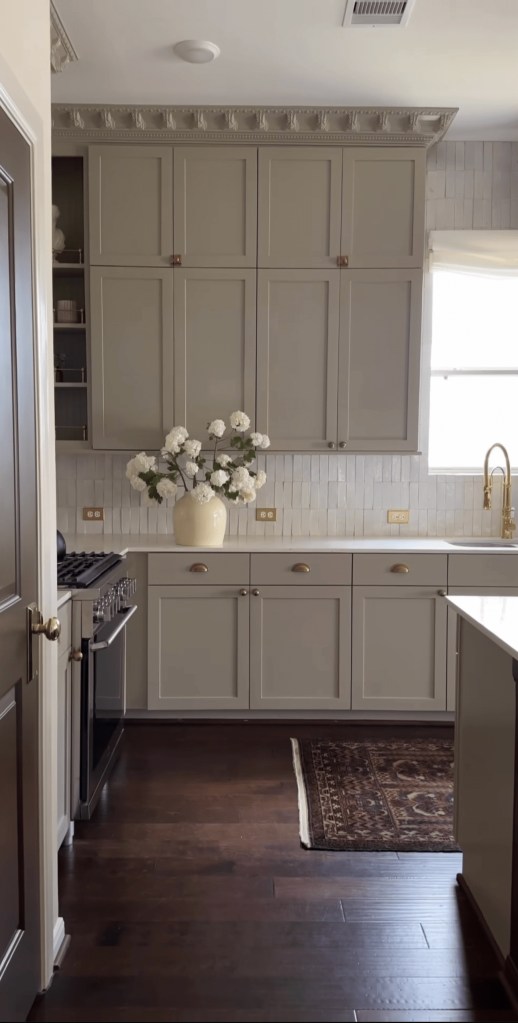
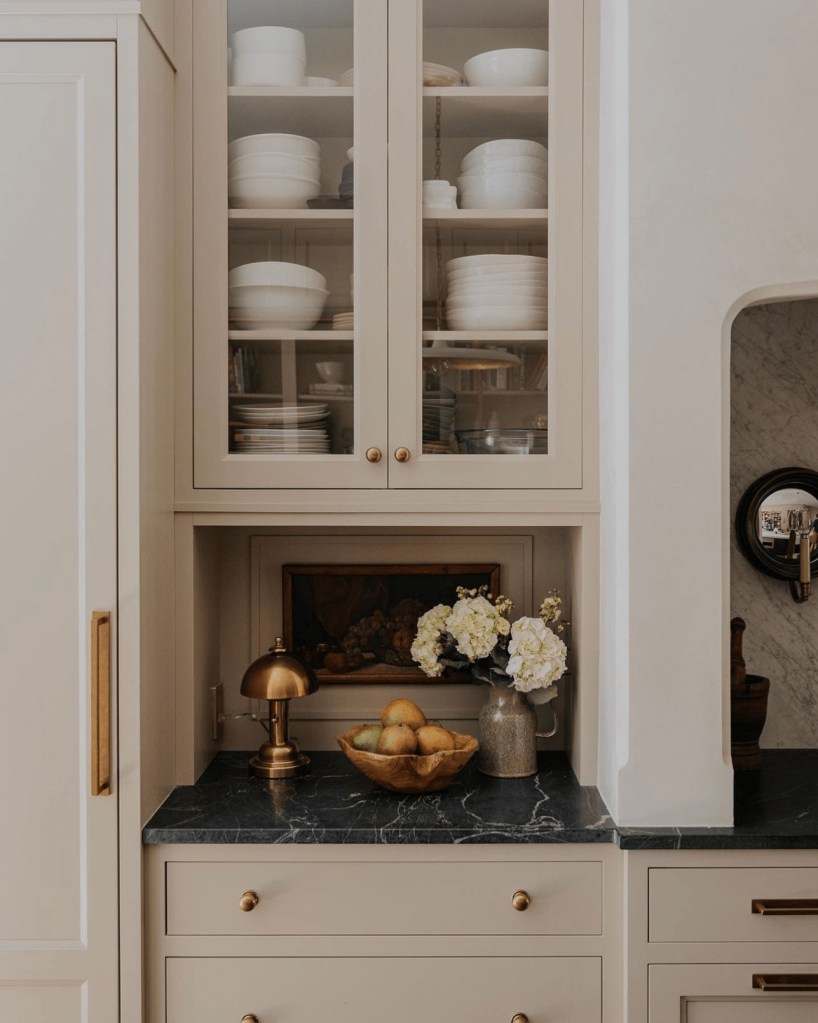
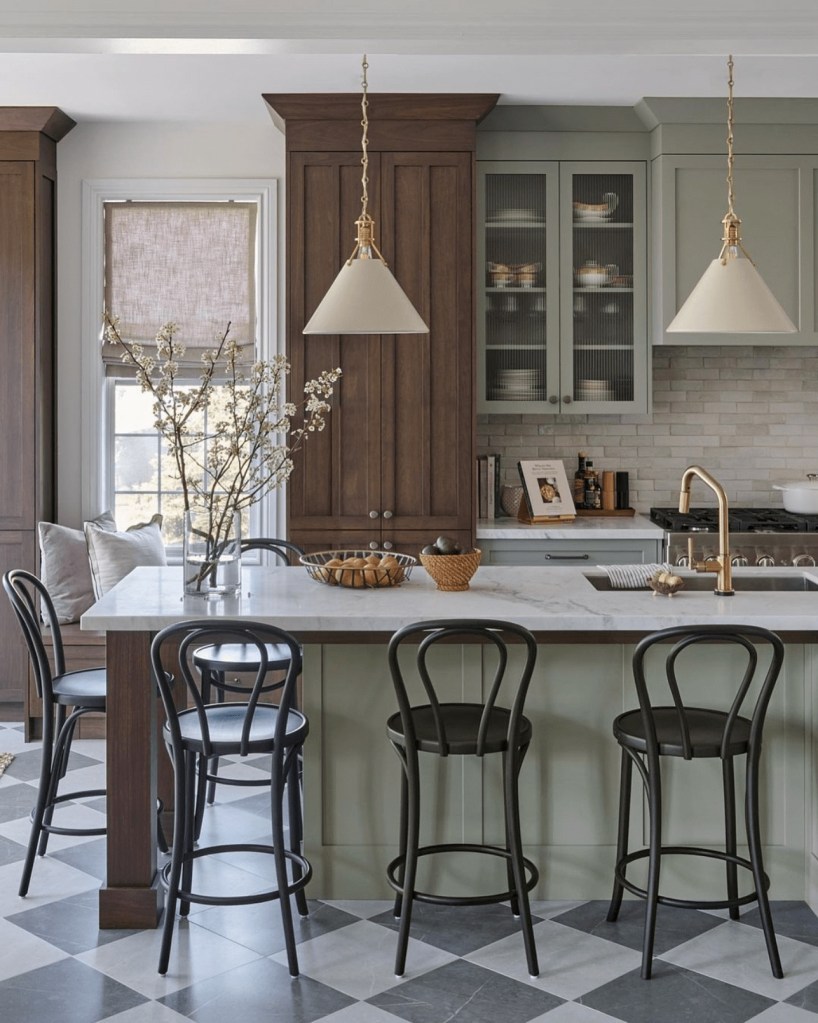
Lots and lots of “Instagram research” here! And recall that the design direction of the whole house is something along the lines of modern Cape Cod –
(I actually really quickly found some vinyl, marble-look peel-and-stick tile for like $1.50 per square foot, in stock at Home Depot, and I loved it! But my contractor, a flooring professional by trade, said absolutely ~hell no~ to using that in an area that gets that much use. I installed it in the laundry room instead 😁)
Back IRL, I also spent quite a bit of time scoping out the kitchen section of IKEA. They have a bunch of door design options, all of which work with the same cabinet boxes, but it’s not every permutation by any stretch:
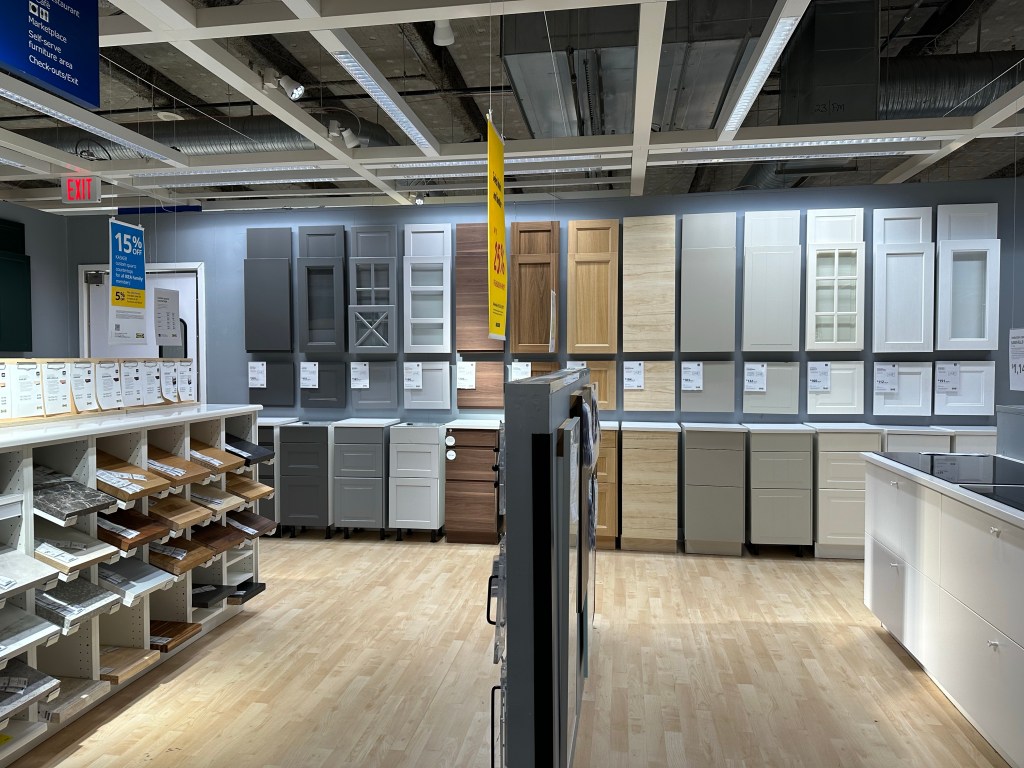
Based on price point, look (it does have a wood-grain effect), and availability of glass-inset doors, I went with the Enköping style fronts:
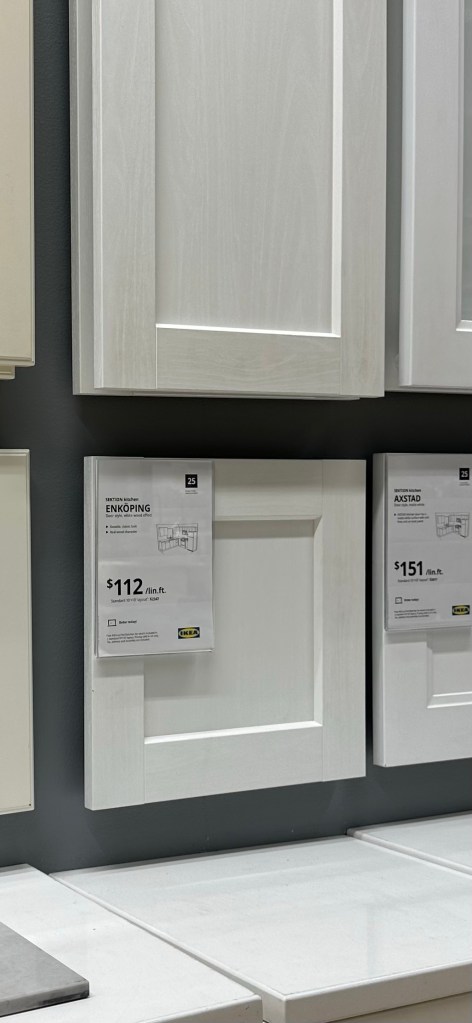
But notice “color” was not a factor because I definitely don’t want white cabinets. And I definitely don’t want dirty white cabinets.
Anyway, in my travels through the store I also found these things which looked cool:
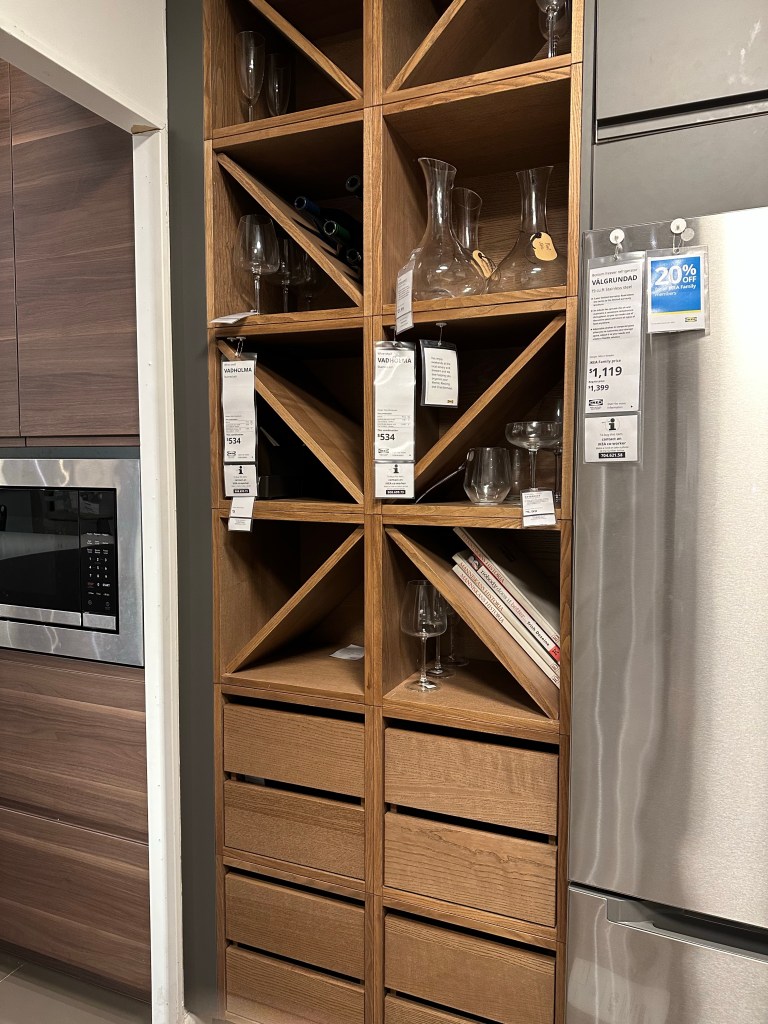
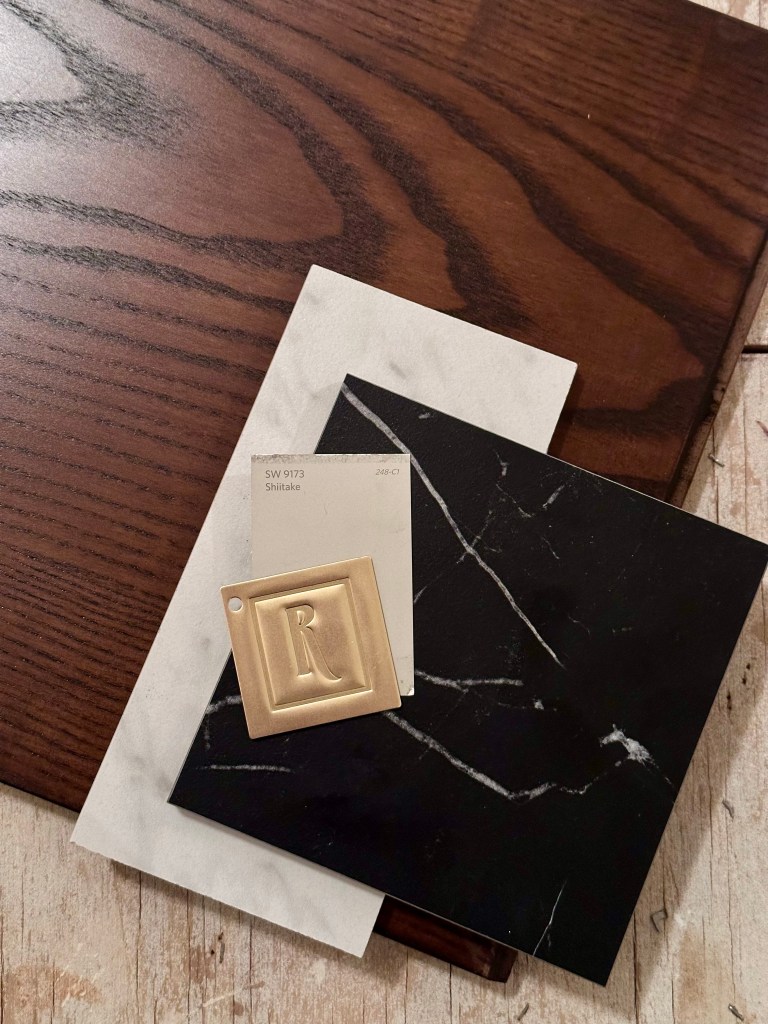
Then there was lots of waffling between going all green (“Evergreen Fog”) for the kitchen and going beige … ultimately, I went with “Shiitake” (both options from the original West Elm x Sherwin Williams pallet from the Living & Dining Rooms post). The above-mentioned faux-bois cubbies are also not any kind of wood tone I have going on, so originally I was planning on painting them, but then the Internet informed me that you can actually stain IKEA laminate if you use gel stain rather than water-based.
And although IKEA had well-priced cabinet hardware right there in the cabinet section … I figured it would be worth going high-end on the jewelry. So, found these at Rejuvenation:

Lastly on the design front, I was all set to go simple stainless undermount on the sink, until …
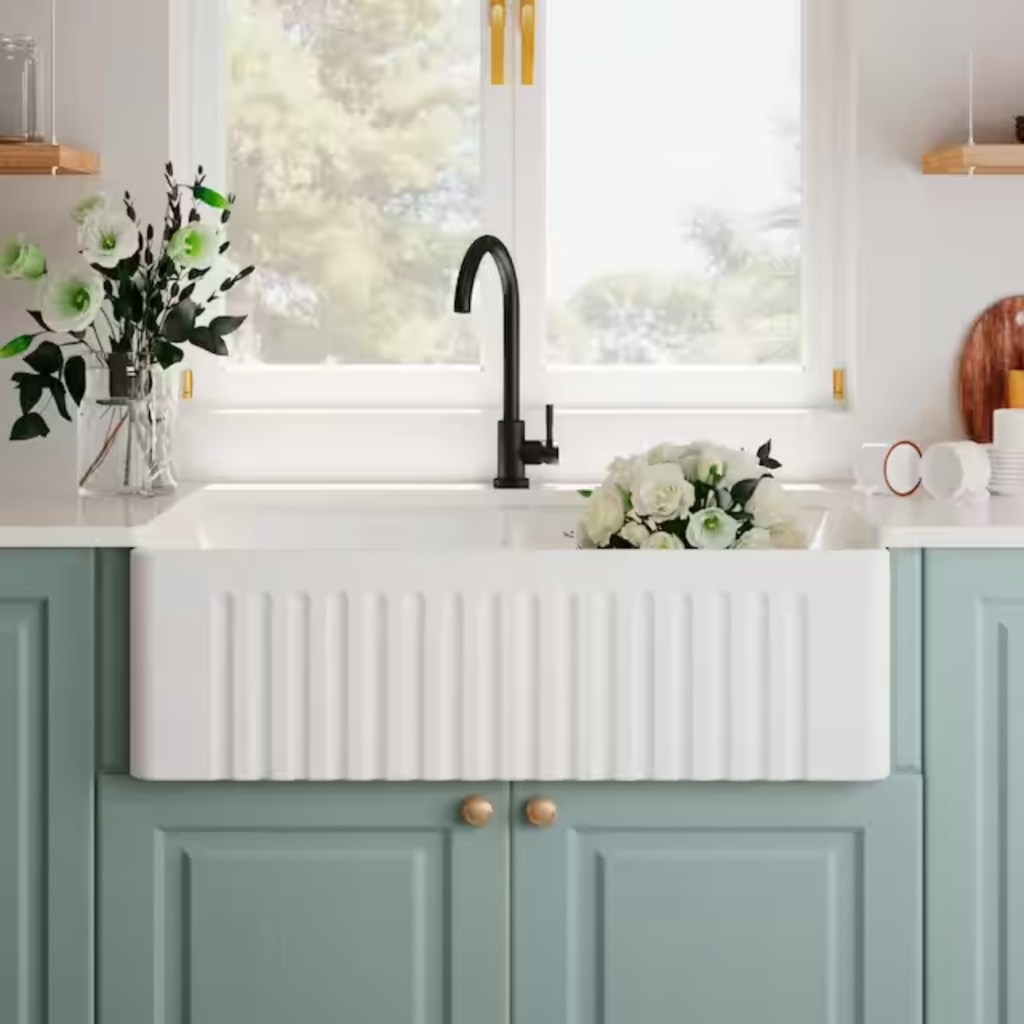
Does anyone know how to install that? Me neither, we’ll figure it out later I’m sure it’s not that complicated.
Here’s the mood board!
Planning the Layout
The first 47387483929 steps were using IKEA’s kitchen planner tool to figure out the exact layout (and later, to order the actual cabinets and pieces I’d need). Once the existing kitchen was demo’ed – more on that later – I took super careful measurements of the space including existing plumbing and electrical, and even measuring the width of each wall in multiple places along the top and the bottom.
Of course, I also sought tons of feedback from friends and family, from whom I was constantly seeking second and third opinions, treating as a focus group, etc.
And after probably 8-9 months of that, the last thing I did was schedule a free design consultation with IKEA, which was actually amazingly helpful in terms of checking that all the spacing was okay between cabinets, talking about pros and cons of adding trim pieces below the wall cabs (extra time and expense, but hides the under cabinet lighting!), and more. I had done pretty well coming up with the layout already and taking those careful measurements, but the design consultant was still able to find some remaining items to clean-up, and also knew some of the idiosyncrasies of the planner tool that needed double-checking.
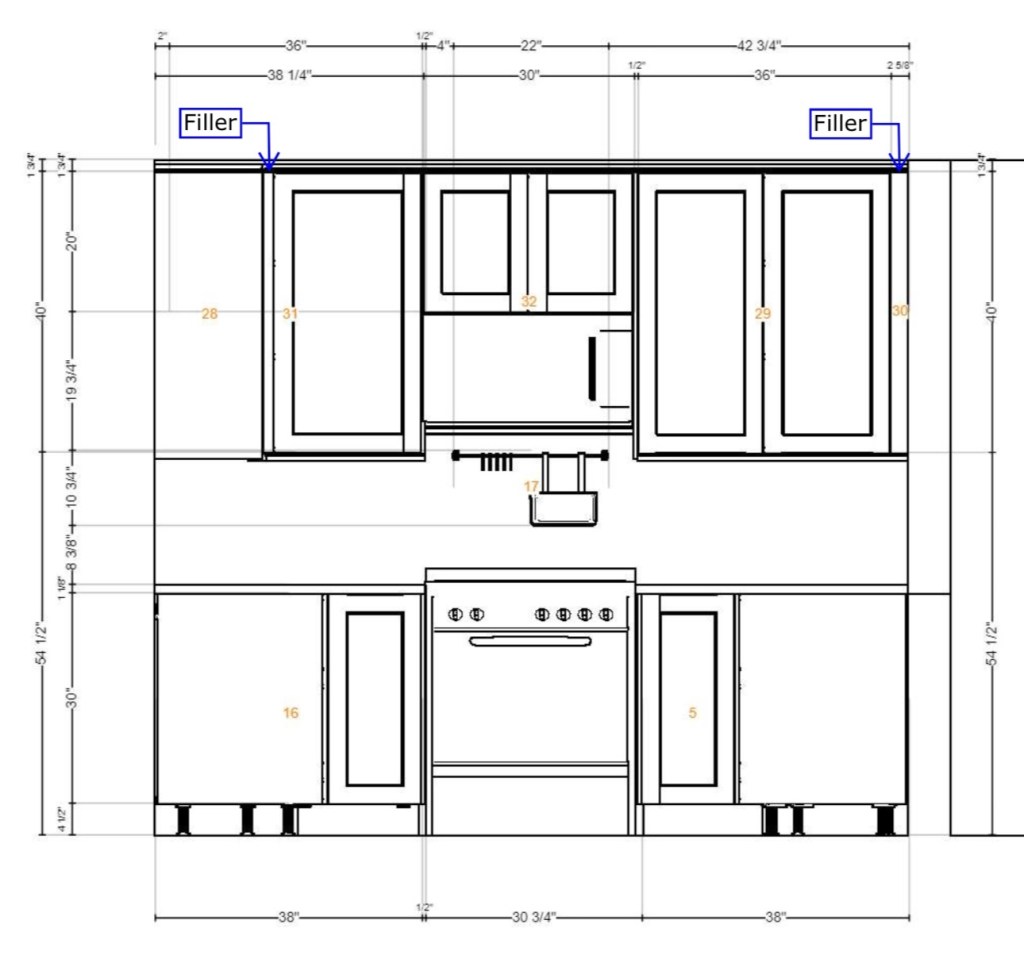
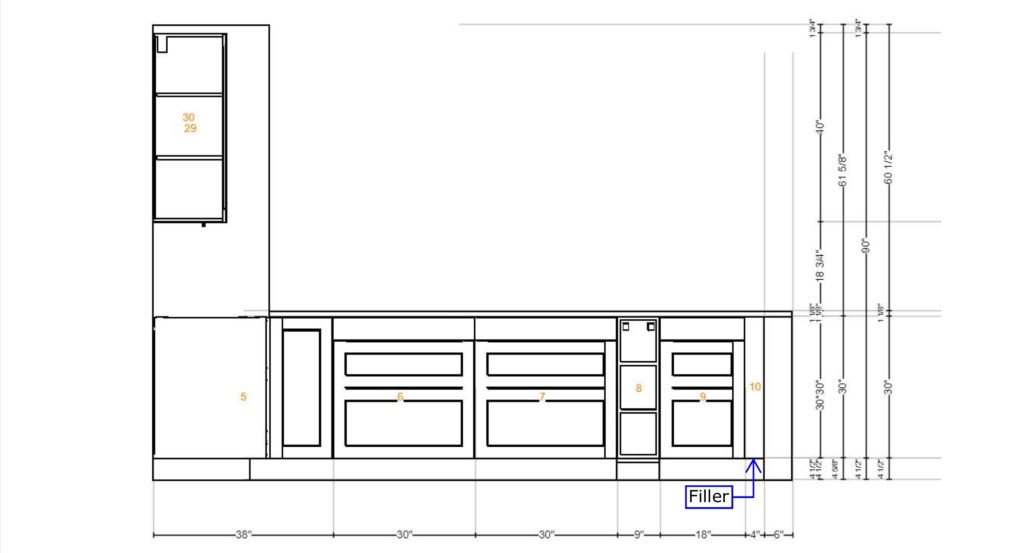
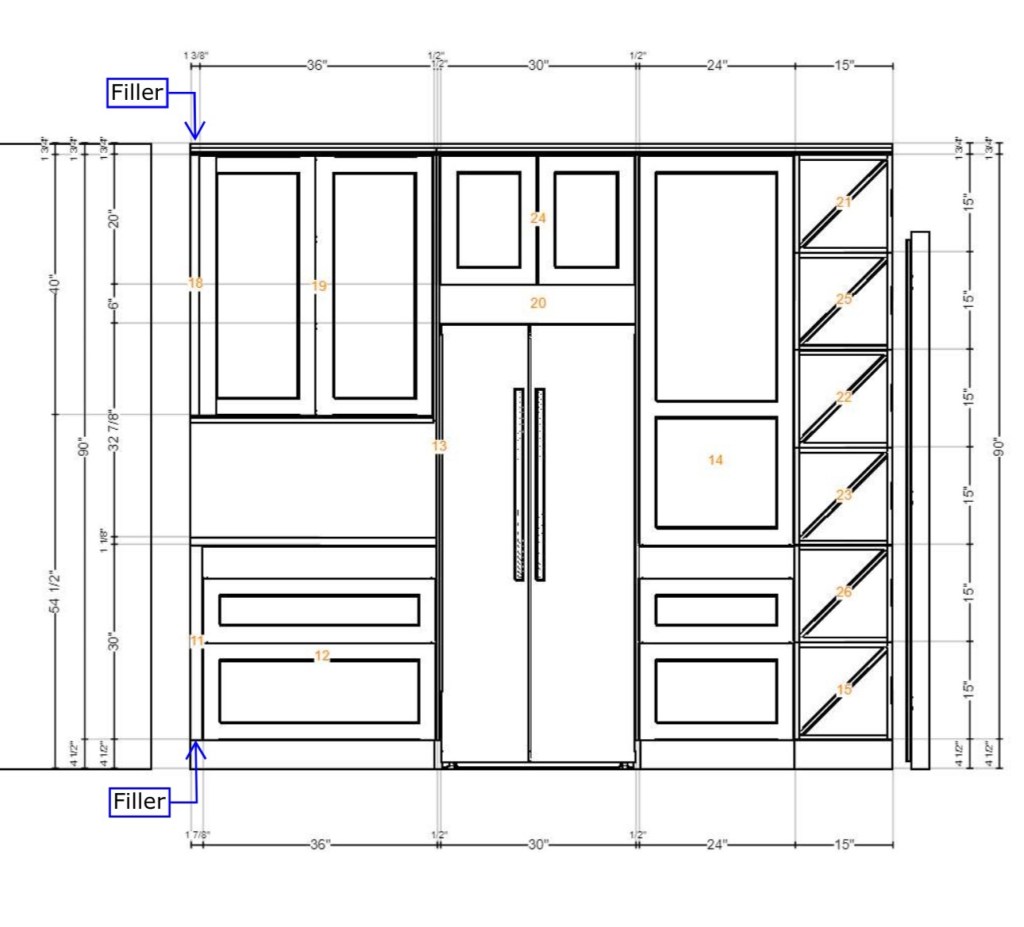
So with that, here are the final renderings (with the IKEA consultant’s notes):

Demolition!
Okay, I am planning to do most of the work on this kitchen myself.
~However~
There’s big open spaces above the cabinets, which means there are definitely dead bugs up there. Also, I drive a tiny car that’s not meant for hauling construction debris. Also, although I’m confident I could learn to drywall, I do sense that it would take me awhile to get it nearly as perfect as a pro.
Therefore, I put out the bat signal and my fave contractor and project manager, and their amazing team, popped in over the holidays to help. A mere $2,700 and 3-4 business days later, my kitchen went from this:
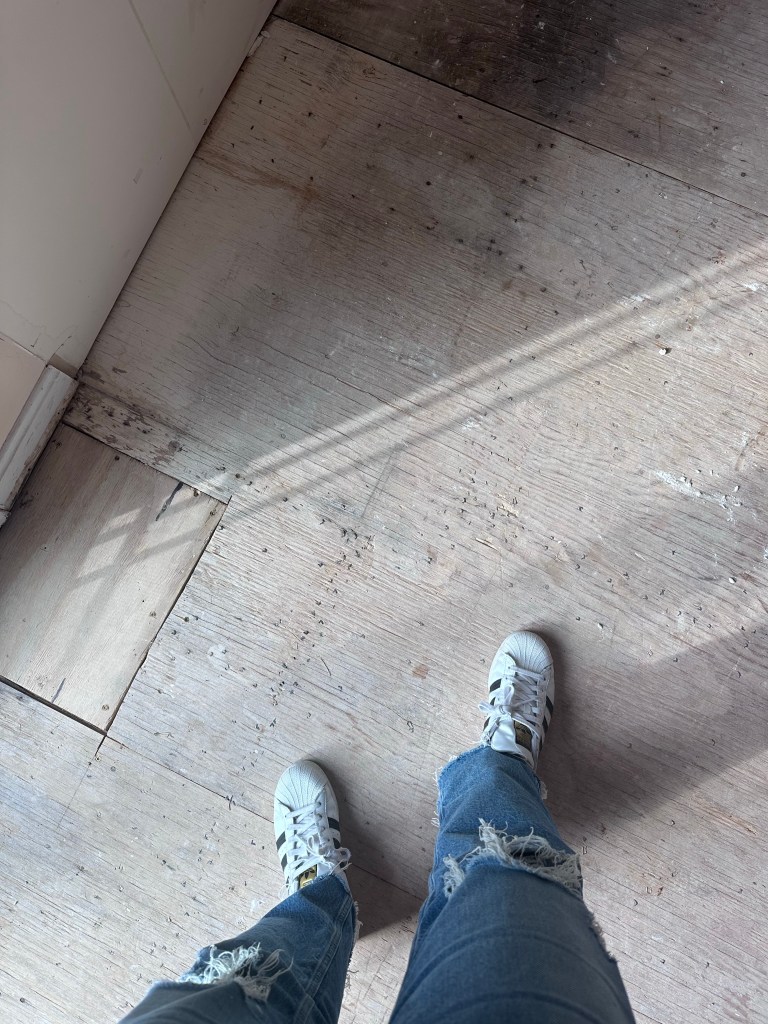
… to this:
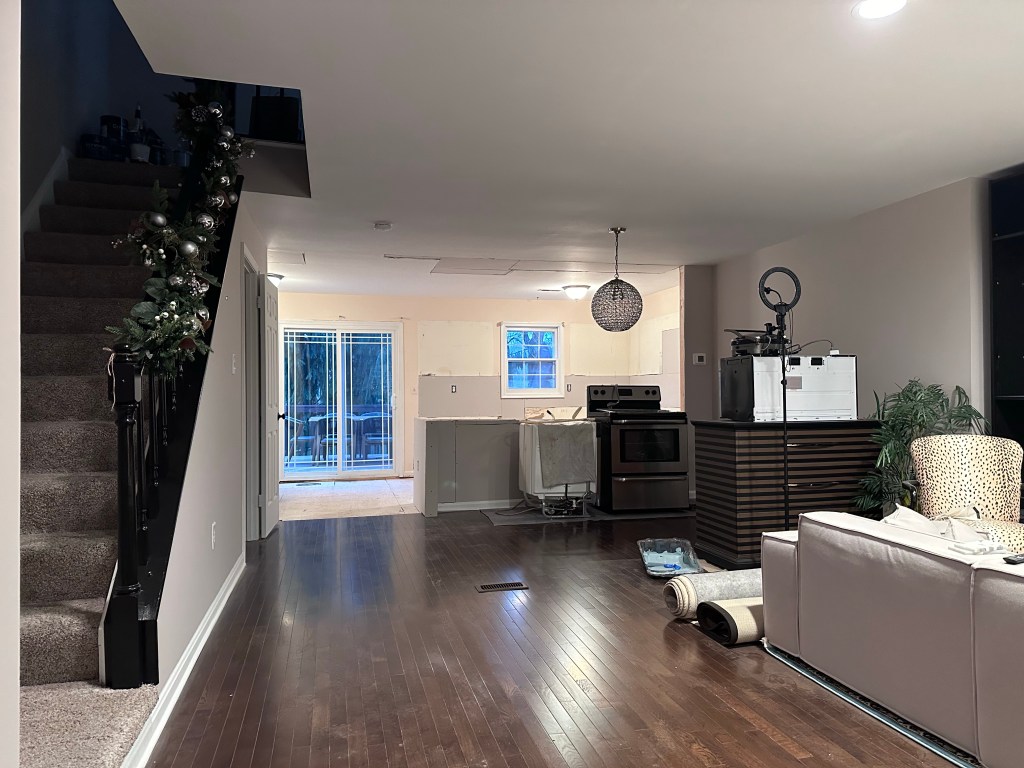
😃😃😃
That’s awesome and well worth the money.
So at this point I was feeling pretty good about the process, so I think I’ll leave it there for now! Oh yeah, except for …
The Budget
- Cabinets: $8,150
- Knobs (x17), pulls (x16): $770
- Faucet: $520
- Sink: $300
- Countertops $6,000
- Beadboard wallcovering: $200
- Floor tile: $1,500
- Wall demo, dumpster fees, re-drywall: $2,785
- New window: $1,300
- Contingency for random extras: $1,200
Total Kitchen renovation budget: $22,800
Also worth noting, once I got all my planning and budgeting done, my actual last step was I invited the listing agent who had sold me the house back to run it all by him. He was good with the plan, the finishes, and the proposed investment, so I felt good about proceeding.
Next Time, on Debits & Design …
Poops start hitting fans. But, progress continues.
Thanks for reading, see you next time!
